A foundation is, without a doubt, one of the most important elements of construction. It supports the entire weight of the structure, and evenly distributes the load over the ground underneath. It holds the building together as a single unit (extremely important in seismic zones), keeps it level, minimizes settling to prevent cracking accompanied by water infiltration, and raises the walls off the ground to keep them safe from water. If the foundation is poorly built, the building will not last long. As critically important as this phase of the construction is, it also happens to be my very least favorite aspect of the entire building process because it’s expensive, time-consuming, and super-tedious with no art/creativity involved.
Once the building was designed and a building permit was received, we began clearing the brush and excavating for the foundation. Filled with organic material and therefore inherently unstable, the top layer of the soil is seldom adequate to build upon so it’s typically removed. In this case, because of the expansive clay soil, our engineer recommended we remove the top 80-cm (31.5 inches) and replace it with well-compacted gravel. The clay soil gets rock hard when it’s dry so it was very nice to have a backhoe available to do all the digging for us.

The 80cm of clay soil that the backhoe removed supplied us with more than enough clay to build our house.

May not look like much from far but this is what it looked like up close:

Once the 80-cm of clay was removed (about 30-cm wider than the footprint of the foundation), a dump truck delivered about 10 loads of gravel, a fraction of which was used for the driveway.

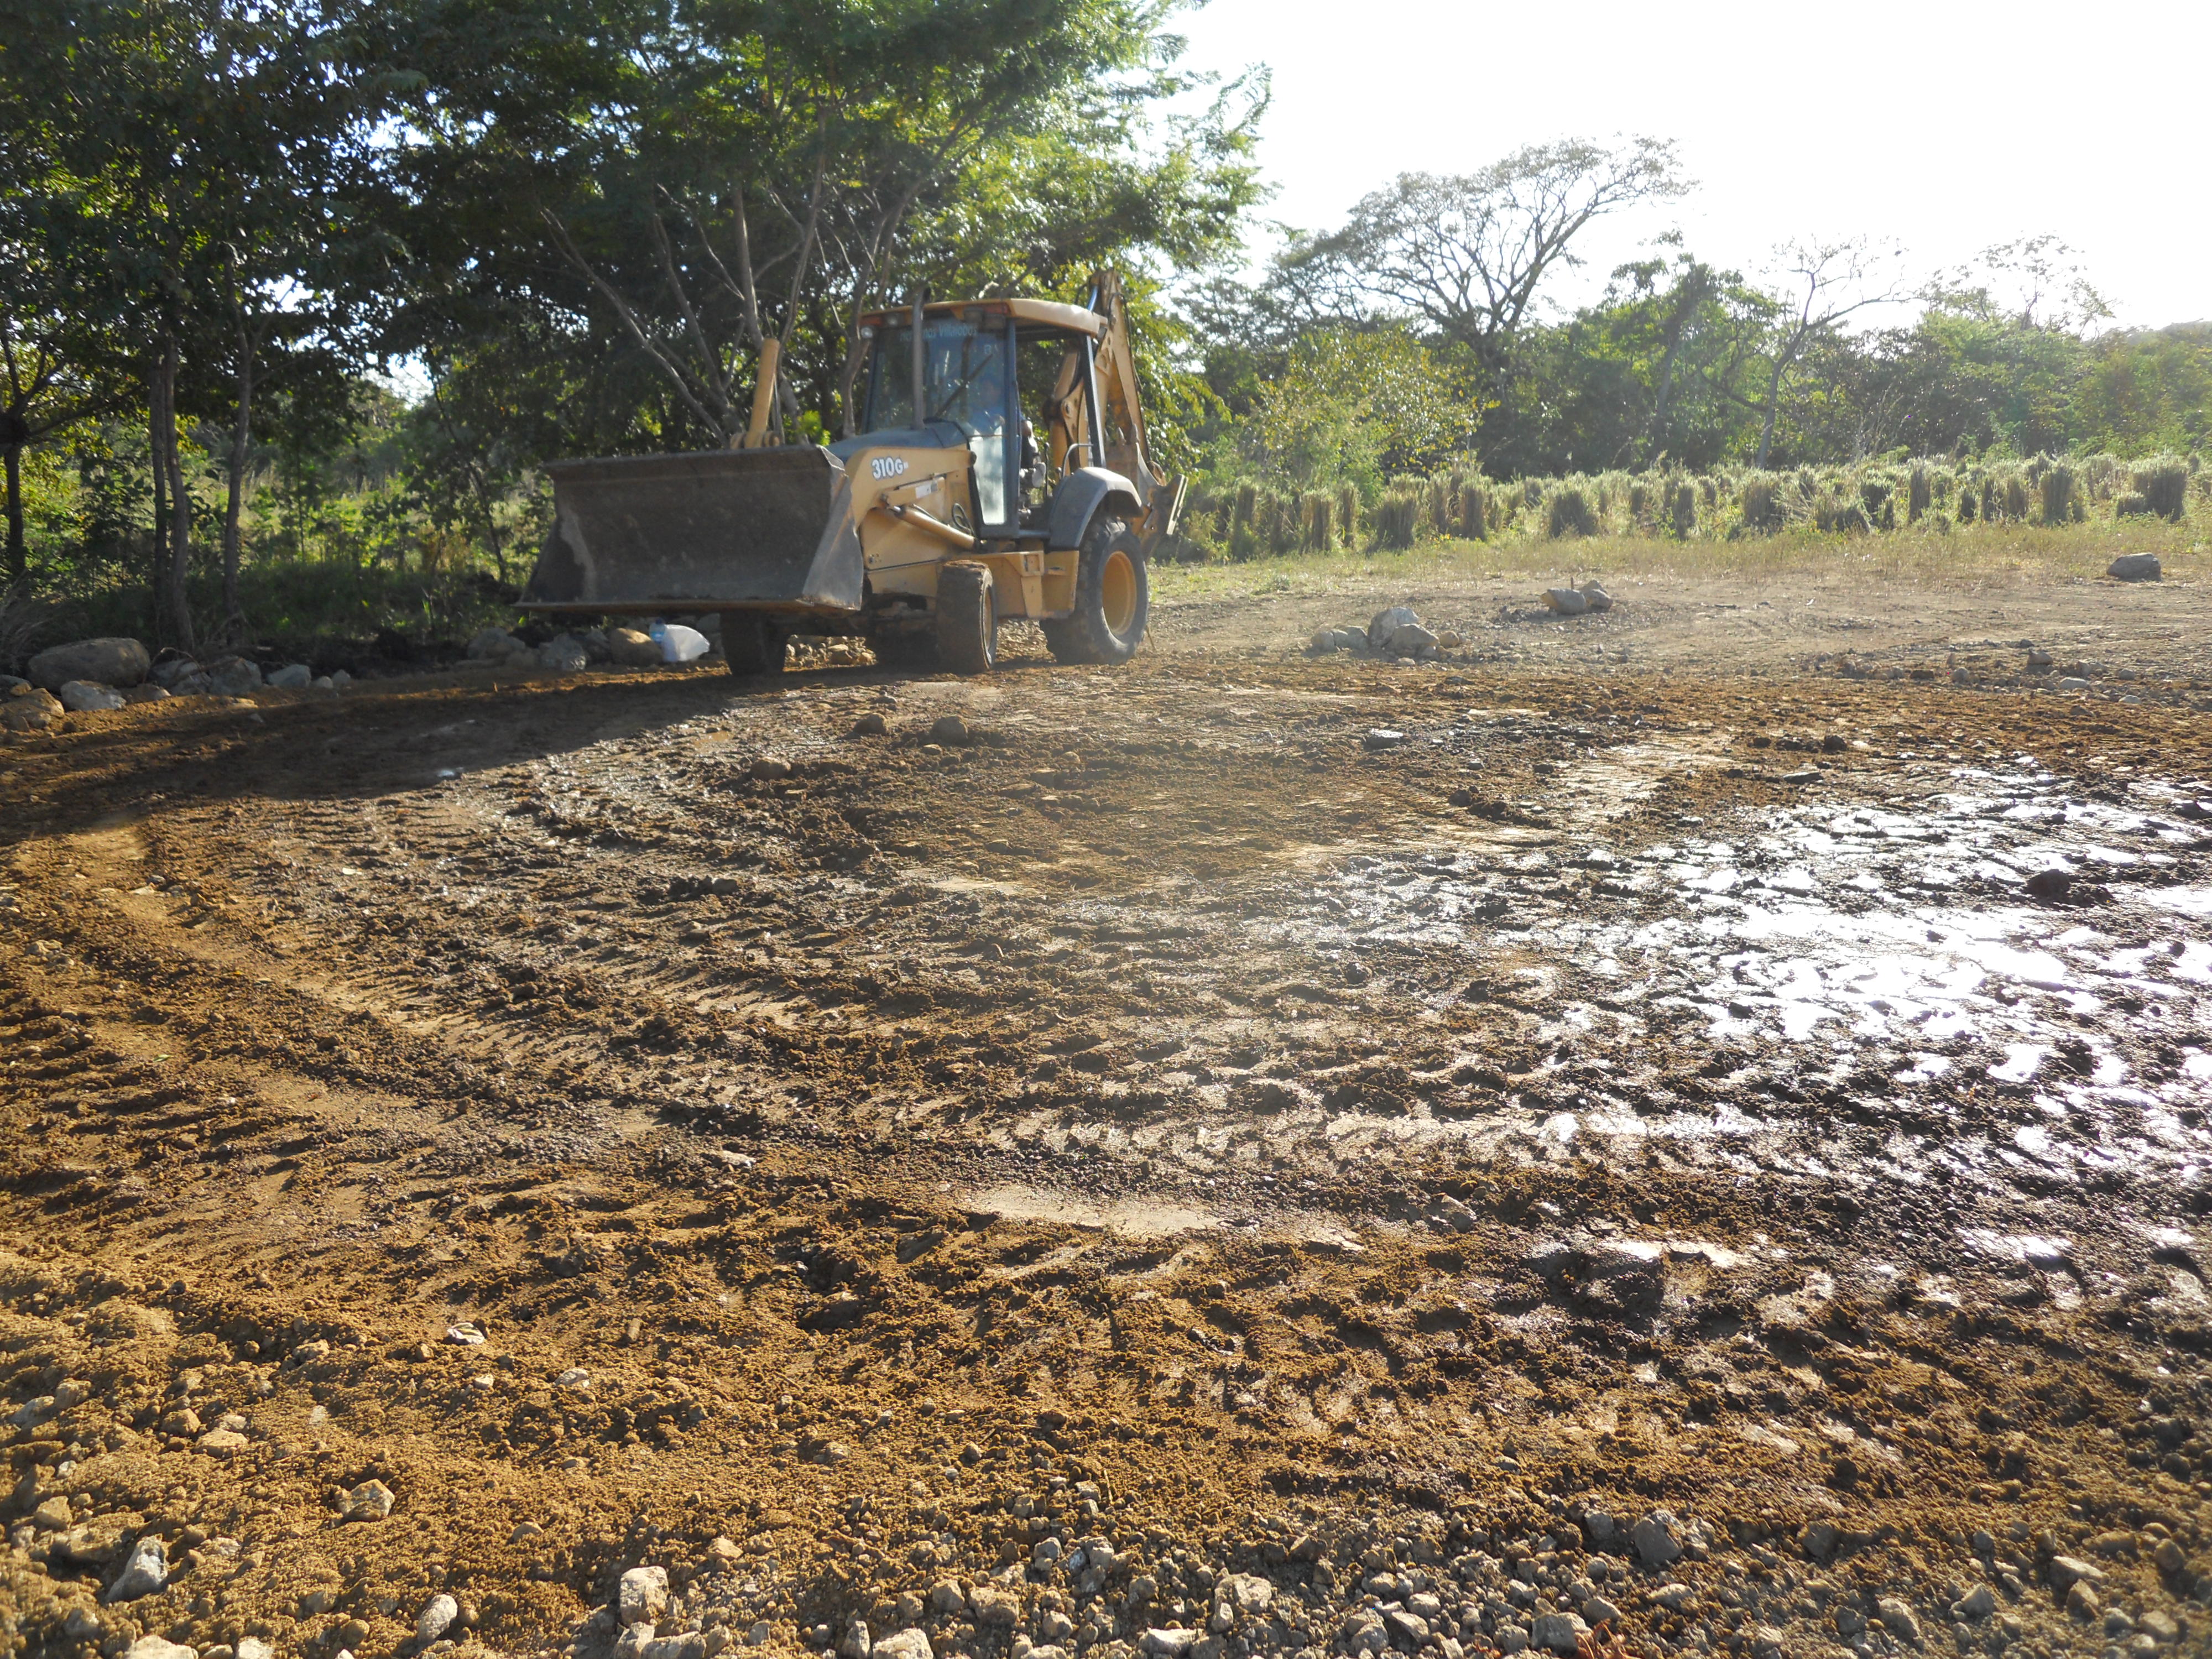
The gravel was spread in layers by the backhoe about 6 inches at a time, dampened, then compacted, first with the backhoe…

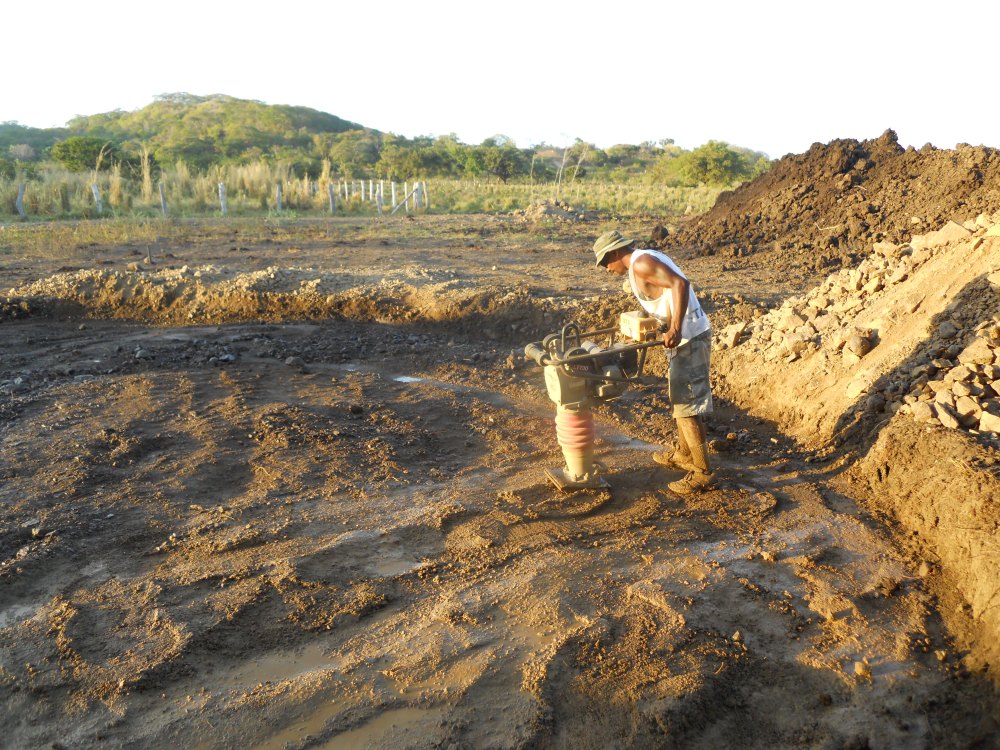
…and then by hand with a pneumatic compactor that pulverized all the larger pieces.
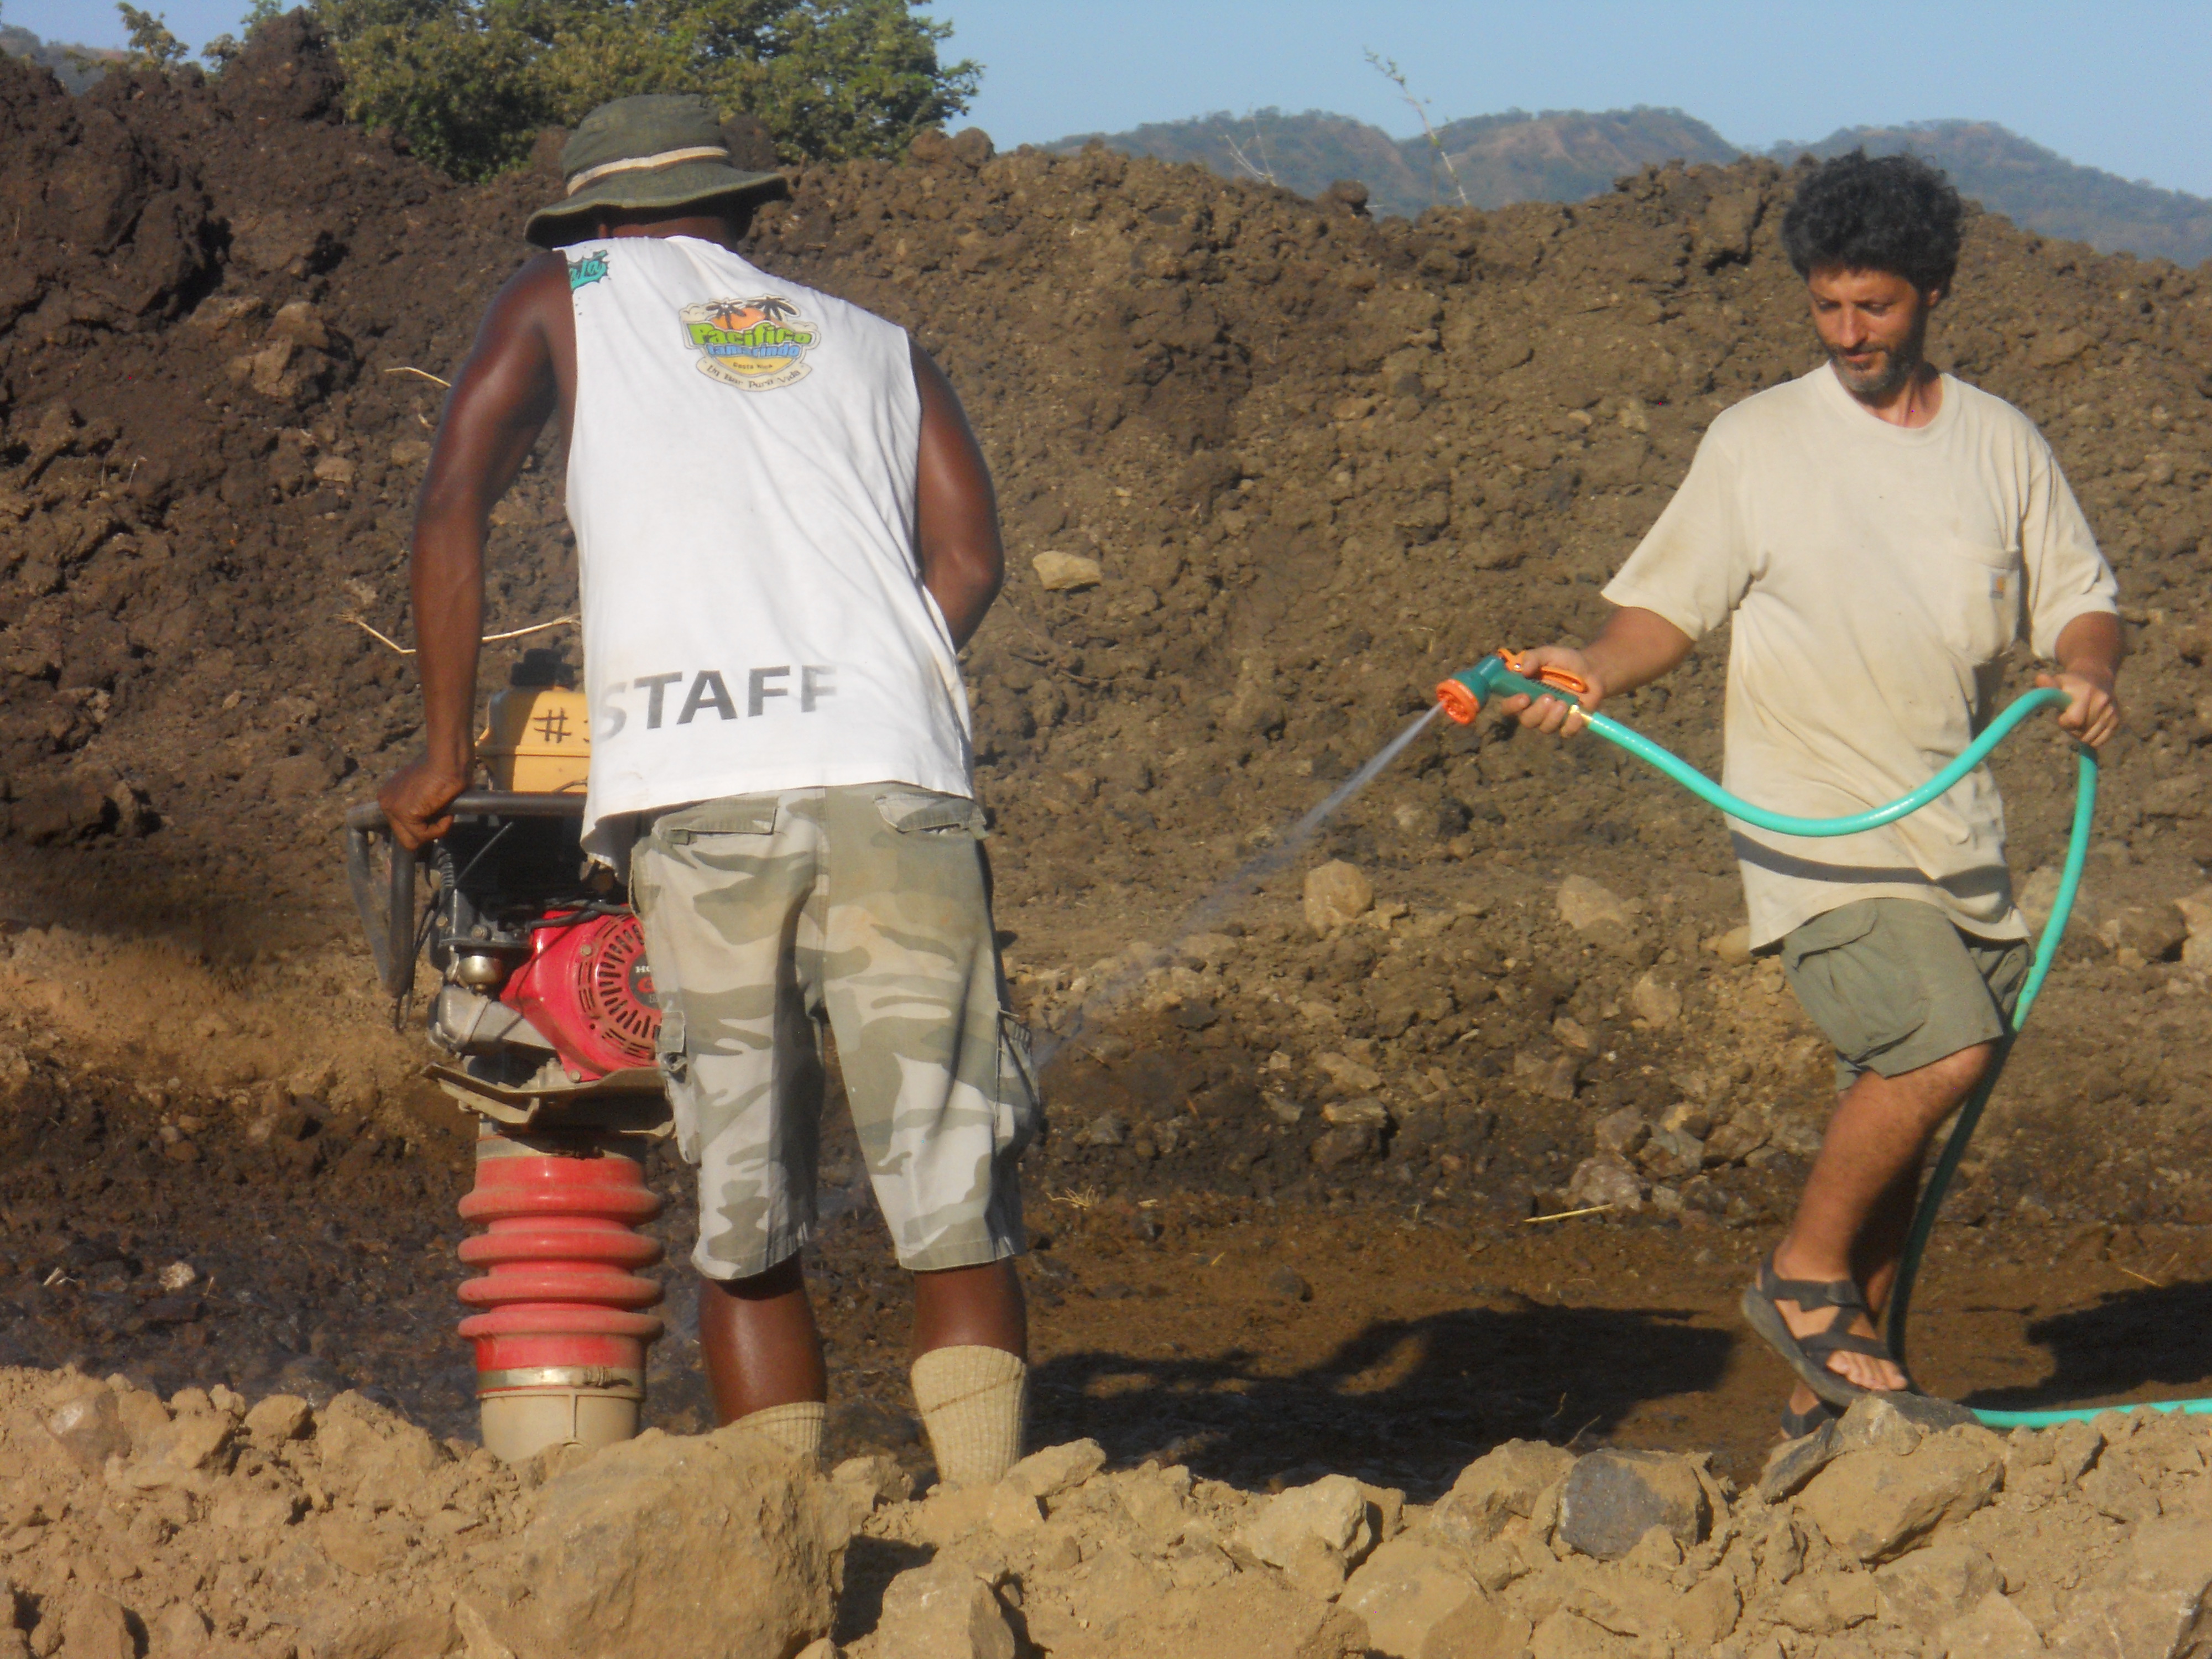
By the time Jesus was done with the compacting, all the large stones were completely pulverized, and no significant air spaces were left in the soil.
 Here, the backhoe is in the final stages of compressing and regrading the site to improve the drainage:
Once the site was well-compacted, a circular trench was excavated around the perimeter and a (~4-ft/1.25 m) deep hole was dug for the central post. We added a bit of concrete and some rebar, and later some scrap wood as a guide before attempting to insert the post into the hole.

Getting the heavy 10-meter tall central post into the ground was a lot more difficult than expected. It helped to first prop it up onto the scaffolding before using the pickup truck to lift it the rest of the way up. Yannai lifted and guided it from the platform while Seco and Jesus used ropes to help guide it into the hole from opposite sides while I inched the pickup forward.

Unmilled teak poles are never perfectly straight to begin with, plus the surface itself is full of protrusions, so using a level is pointless. For this reason, I devised an alternative method to help determine when the central post was plumb. I simply used a framing square mounted on a level mounted on a wheelbarrow so I could check it from all directions and modify the pole’s position accordingly.

Once I was satisfied with the position of the central post, we filled the rest of the hole with concrete to set it in place and began the next phase–assembling all the rebar to reinforce the concrete slab.

This is what it (and I) looked like when we were done:


Viewed from above, it looked a lot like a steel spider web:

Here you can see the drain and water lines for the kitchen and bathroom added, along with the formwork for the concrete, which was now ready to be poured…

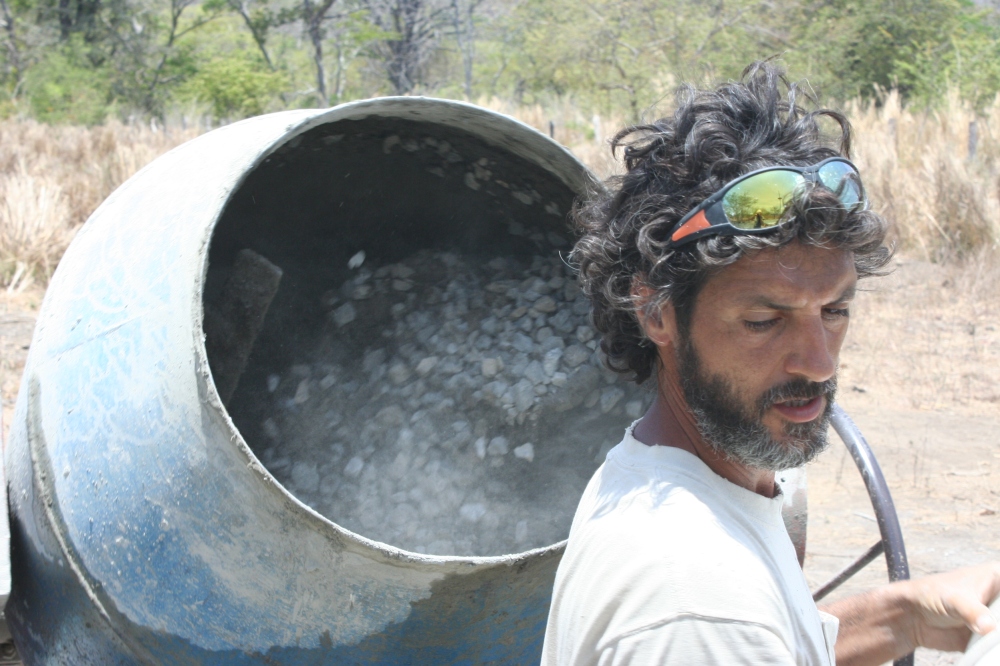
Too bad it wasn’t economically practical to have a cement truck take care of this phase but a big special thanks to Yannai and Byrum for helping with the most tedious and back-breaking part of the job–filling the buckets with sand and gravel and feeding them along with the cement, nylon fibers (to increase the tensile strength), and water into the mixer, over and over again while the cows watched!

They then wheeled the heavy wheelbarrow to Jesus and I while we shoveled, vibrated, and screeded it into place.


Not sure what to write about this photo other than that my wife liked the determined look on my face and made me include it.
 At this point the slab was almost done with holes left to later insert the 12 smaller (7.5 m) teak poles.

A huge bull stress-testing the freshly poured slab:

One by one, twelve additional teak poles were positioned into place and wired onto the round plywood form attached to the top of the central post.
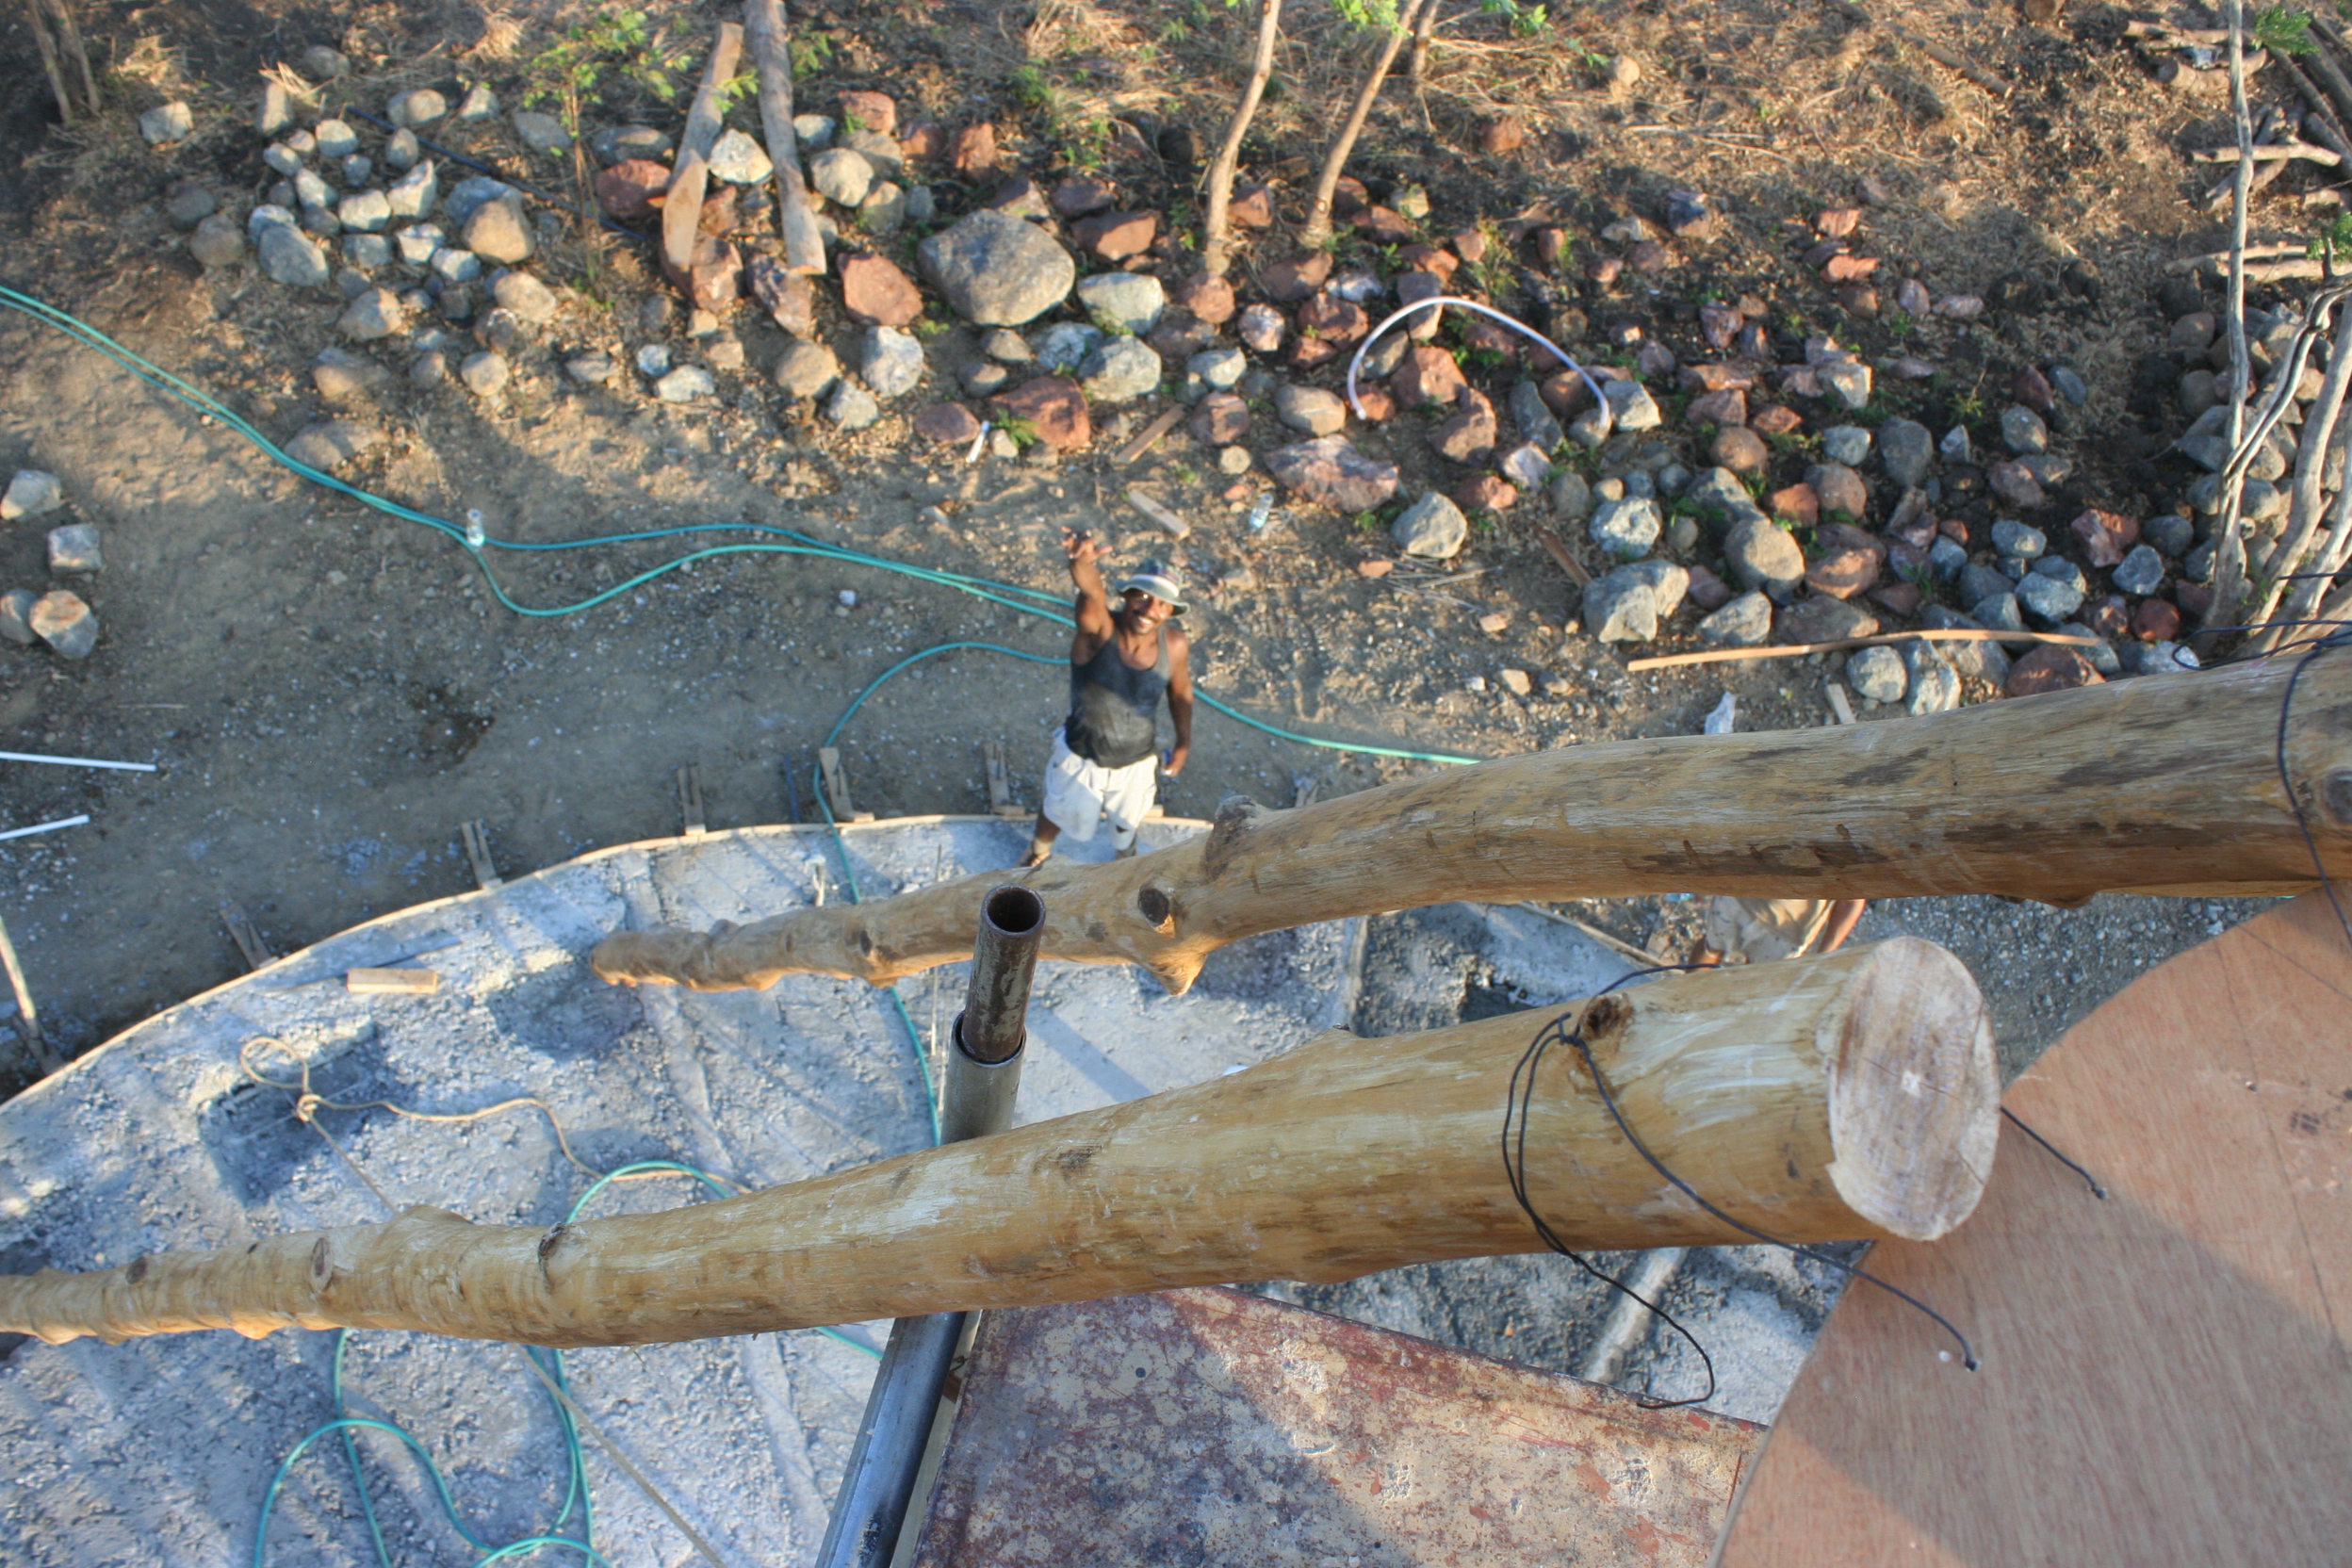
Here’s what it looked like with the 12 teak poles in their respective positions:

While brainstorming with Yannai Kalman on a good design for the (1.25m/4-foot diameter) upper vent opening, he suggested a 12-pointed star. I liked the idea so much we made a cardboard template and had it fabricated out of 1″x4″ rectangular steel pipe by a talented local welder and now friend, Paul Bazan.

We sawed off the extra length from the poles, and braced them into position with the 12-pointed star and some scrap wood. I was so relieved to be done with this phase…

