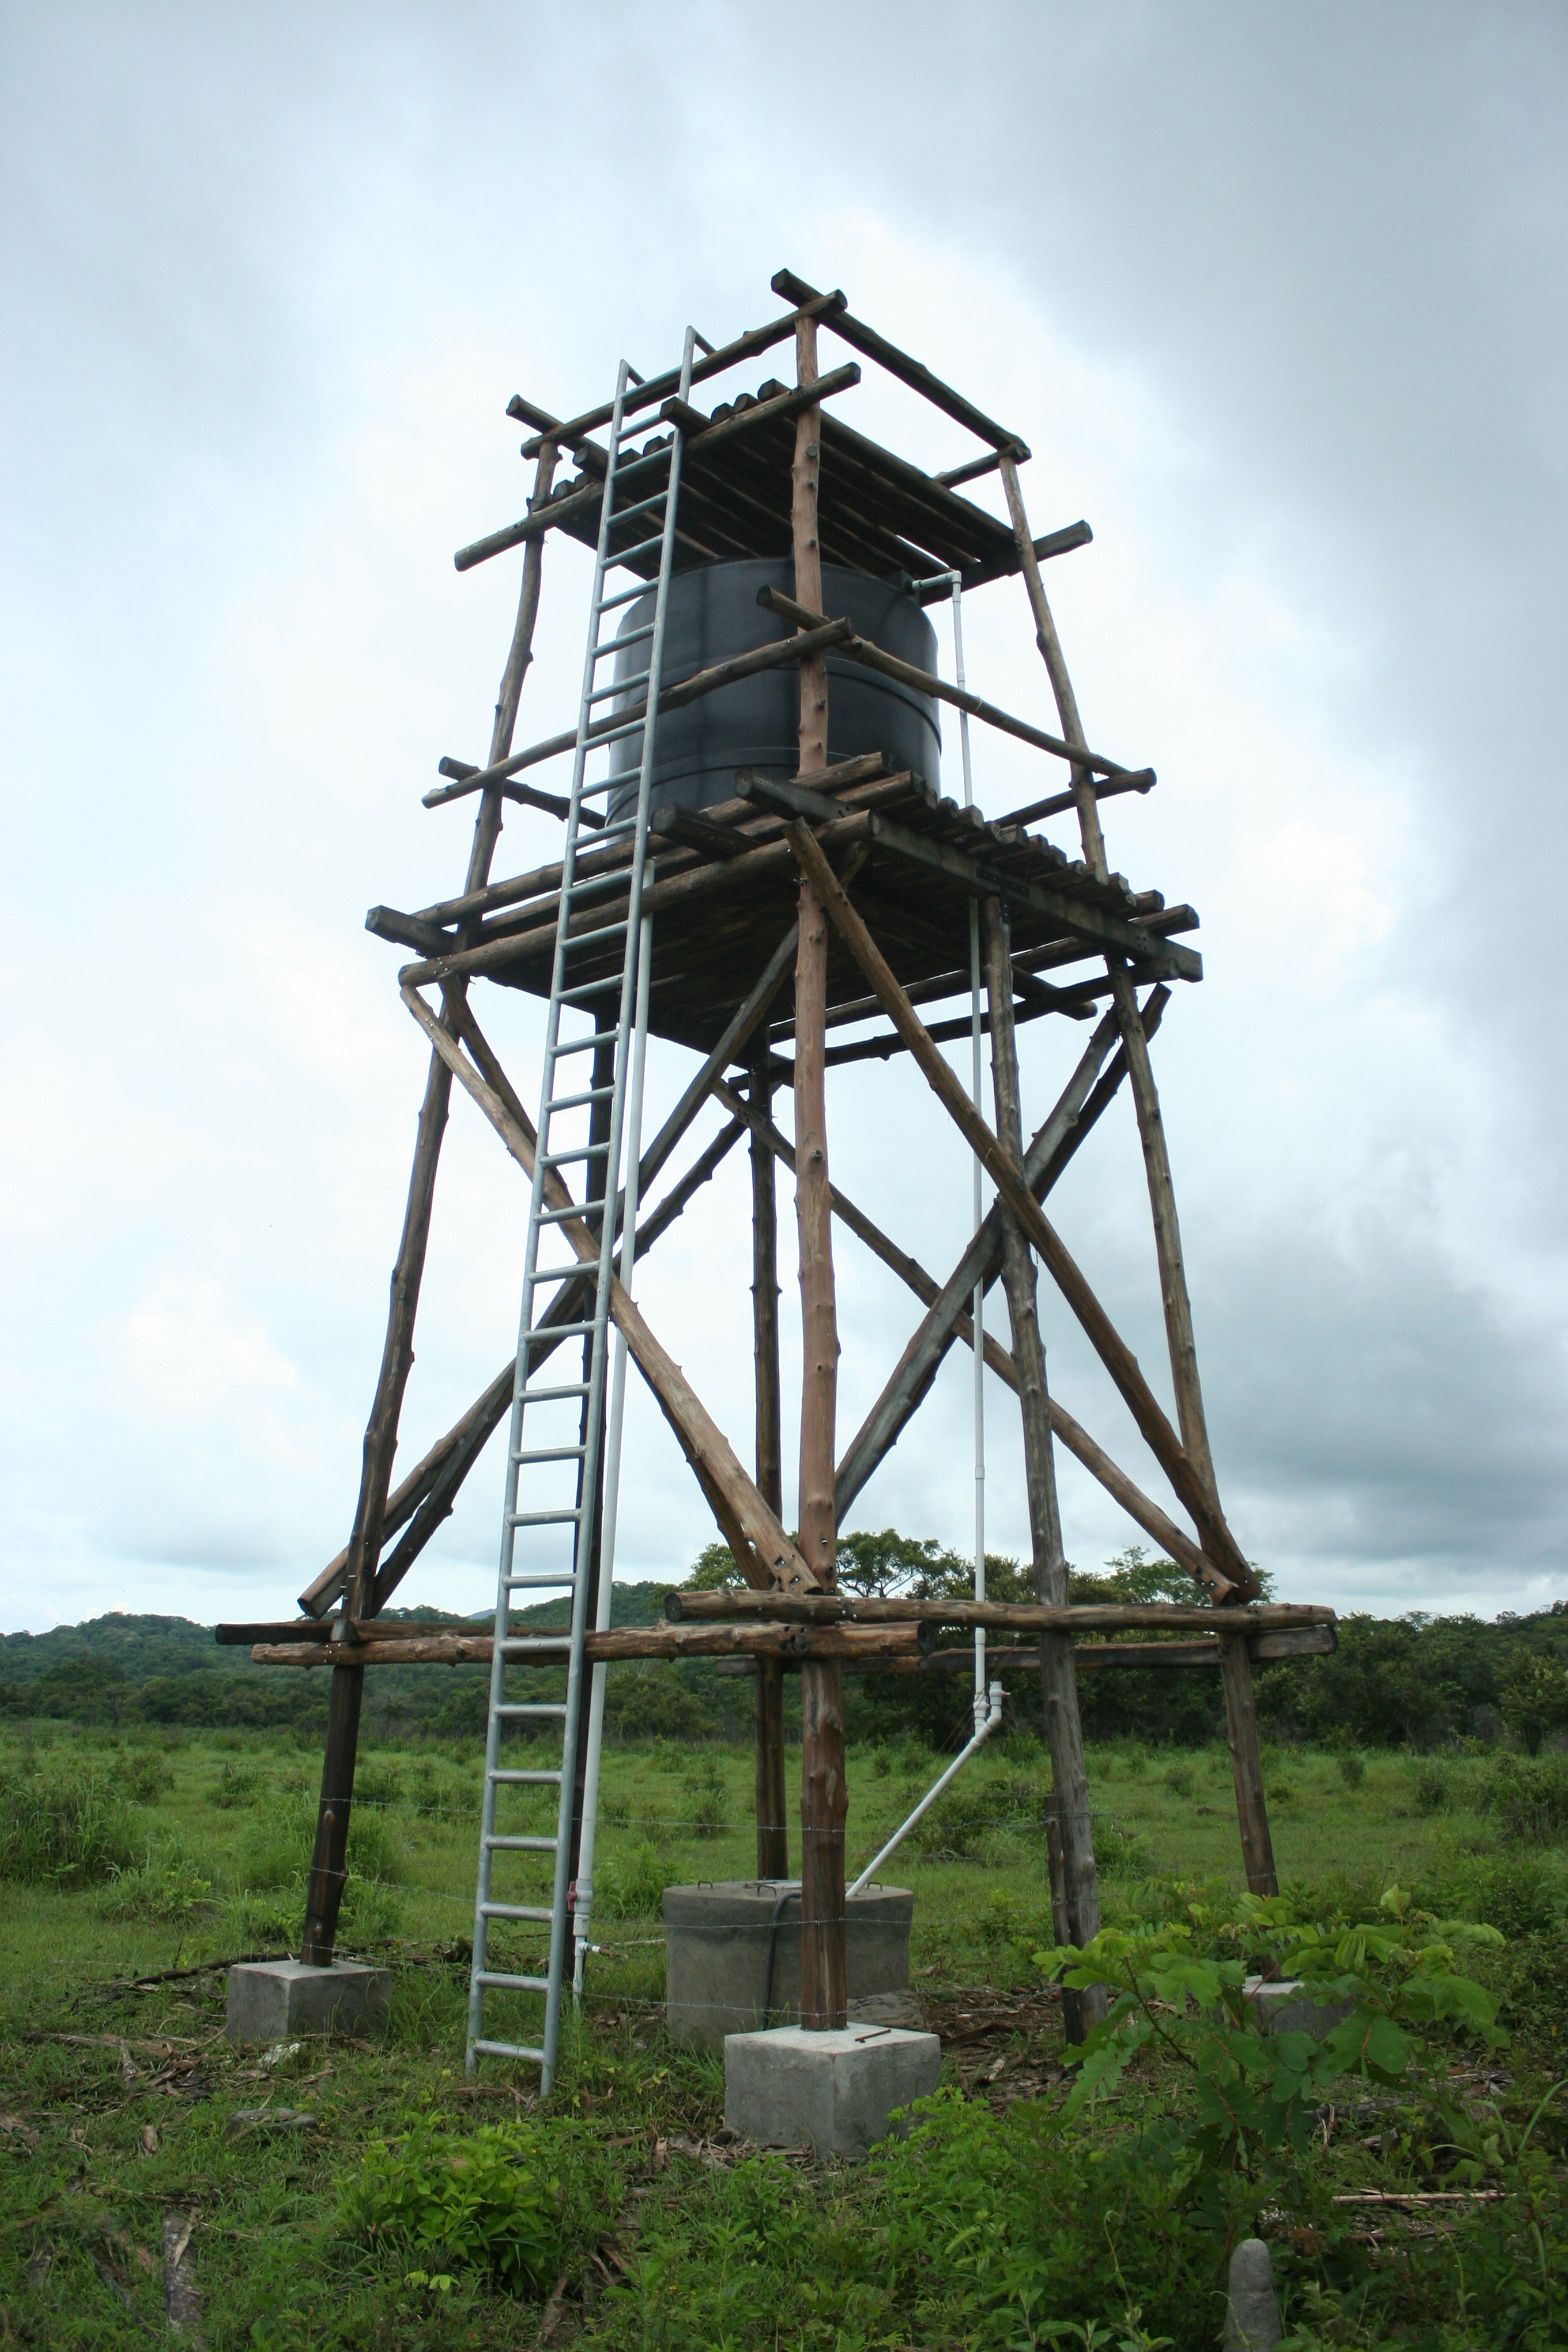
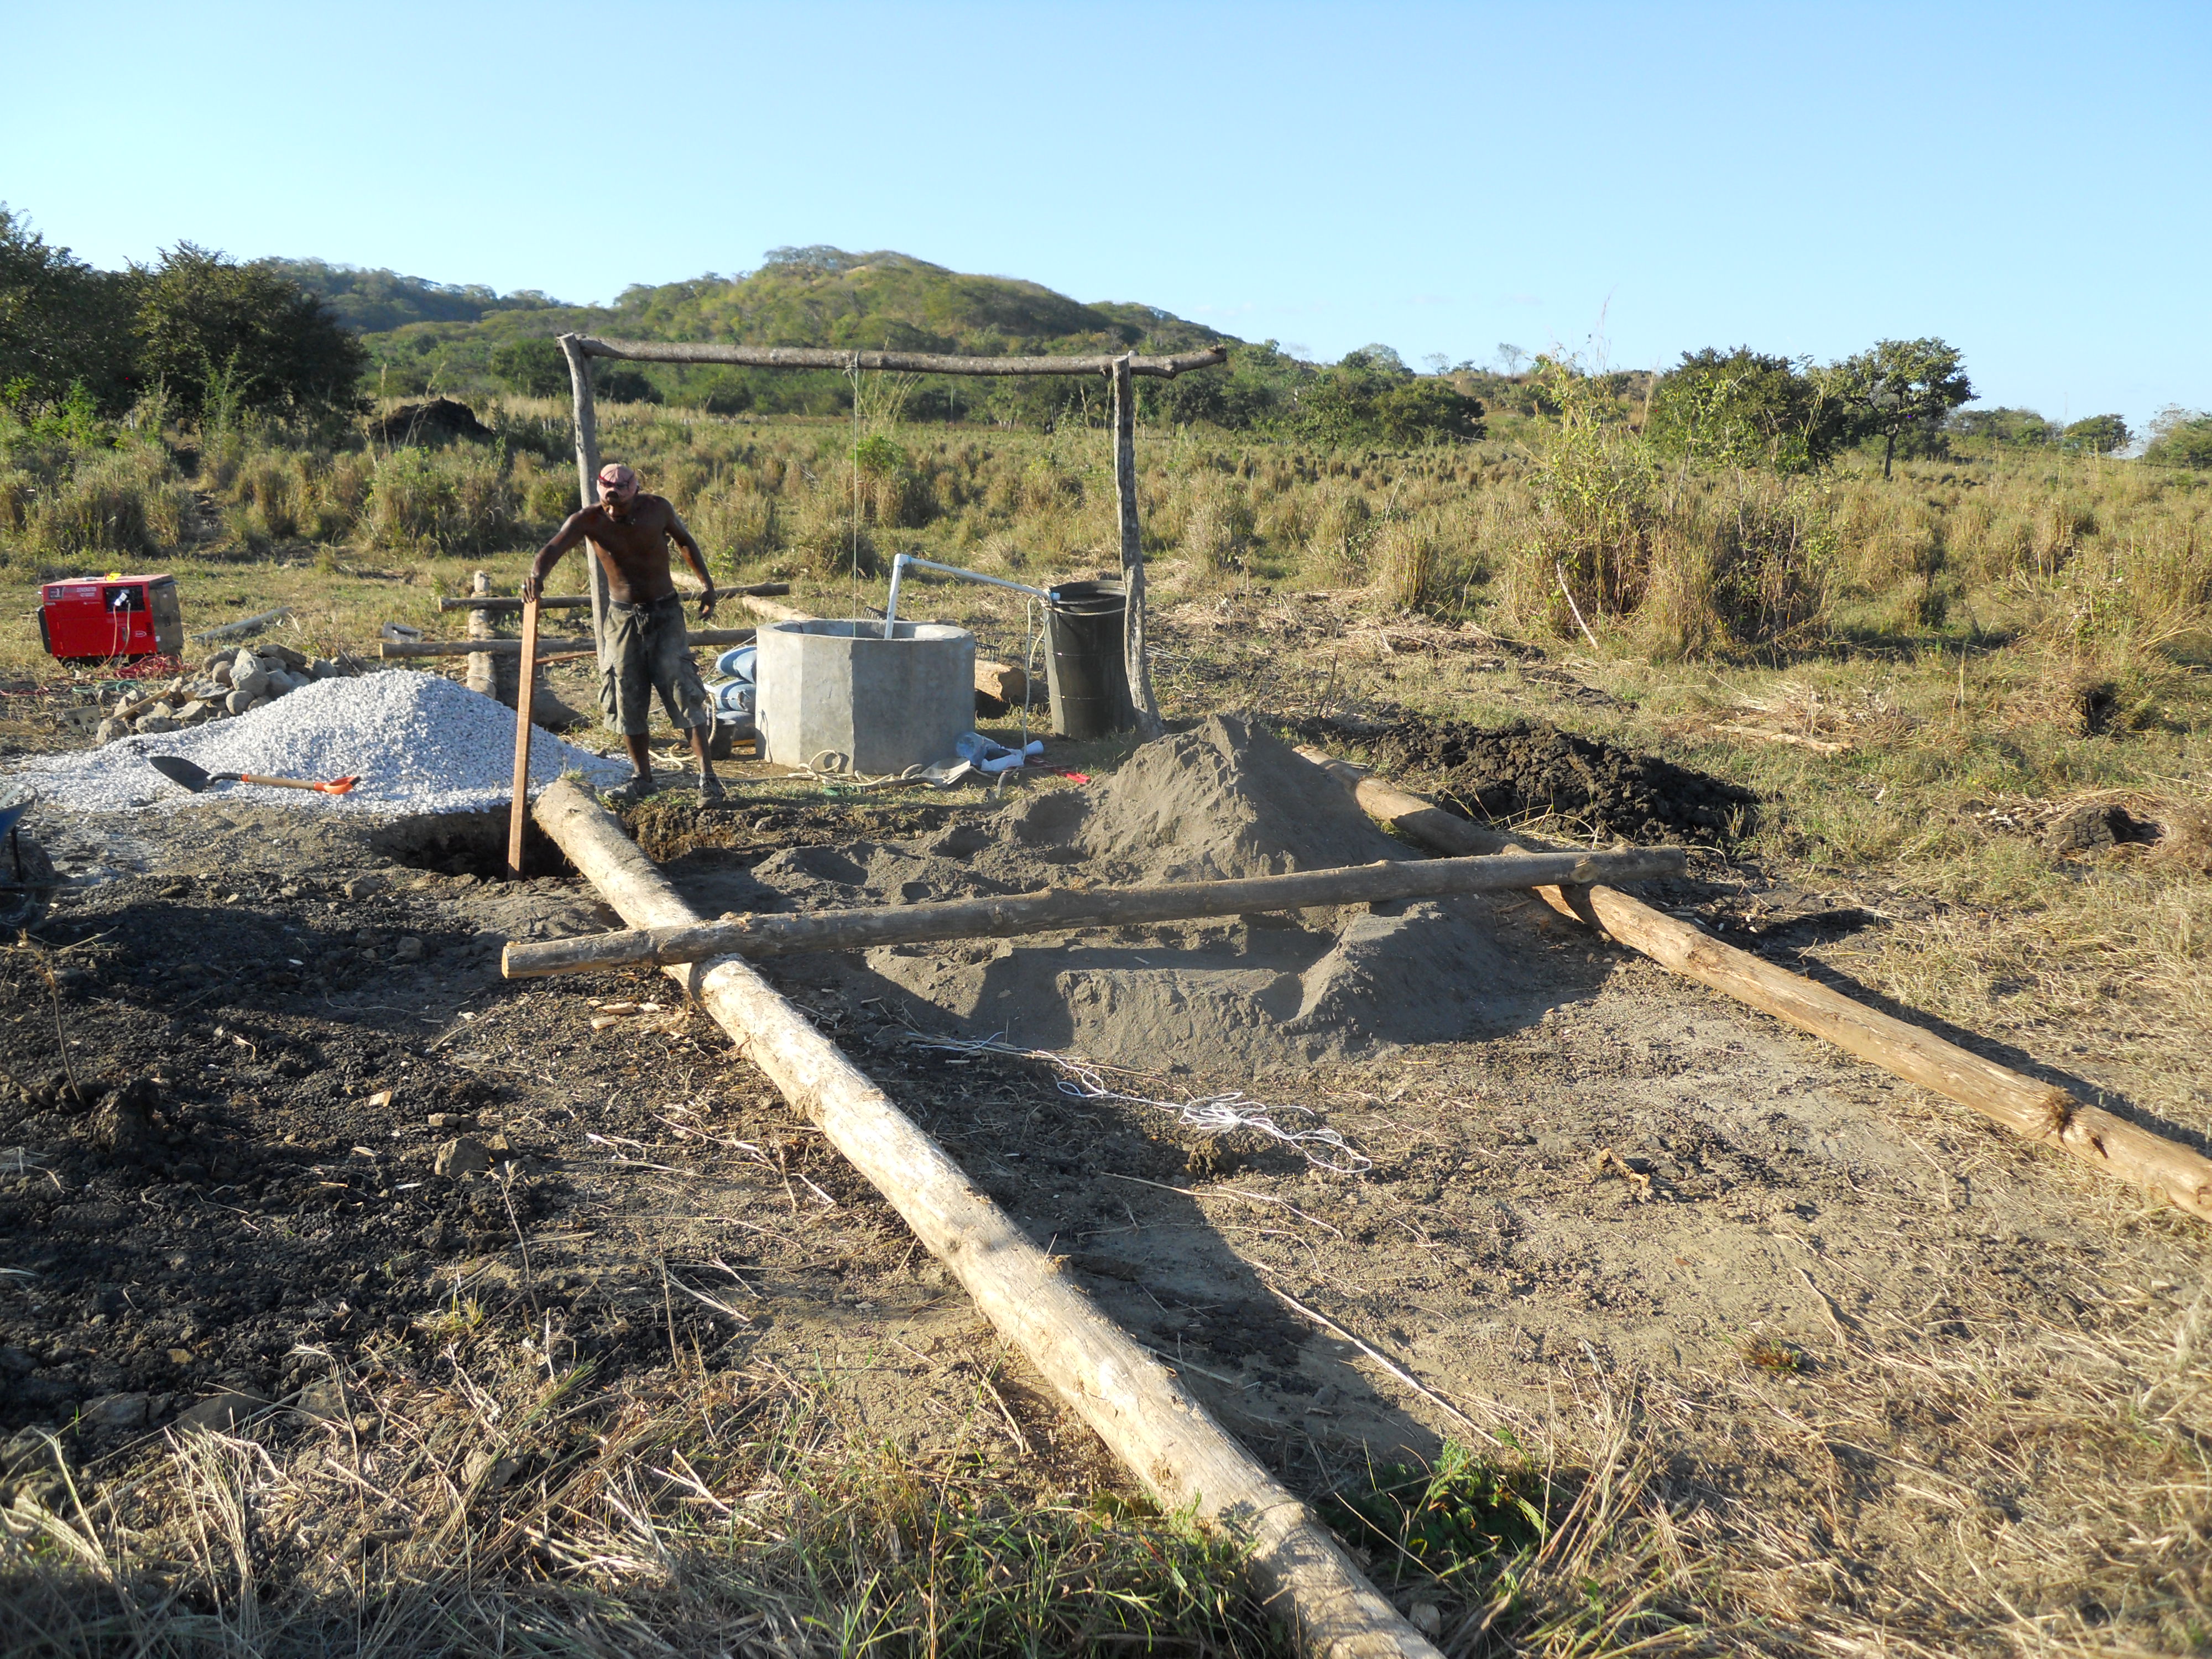
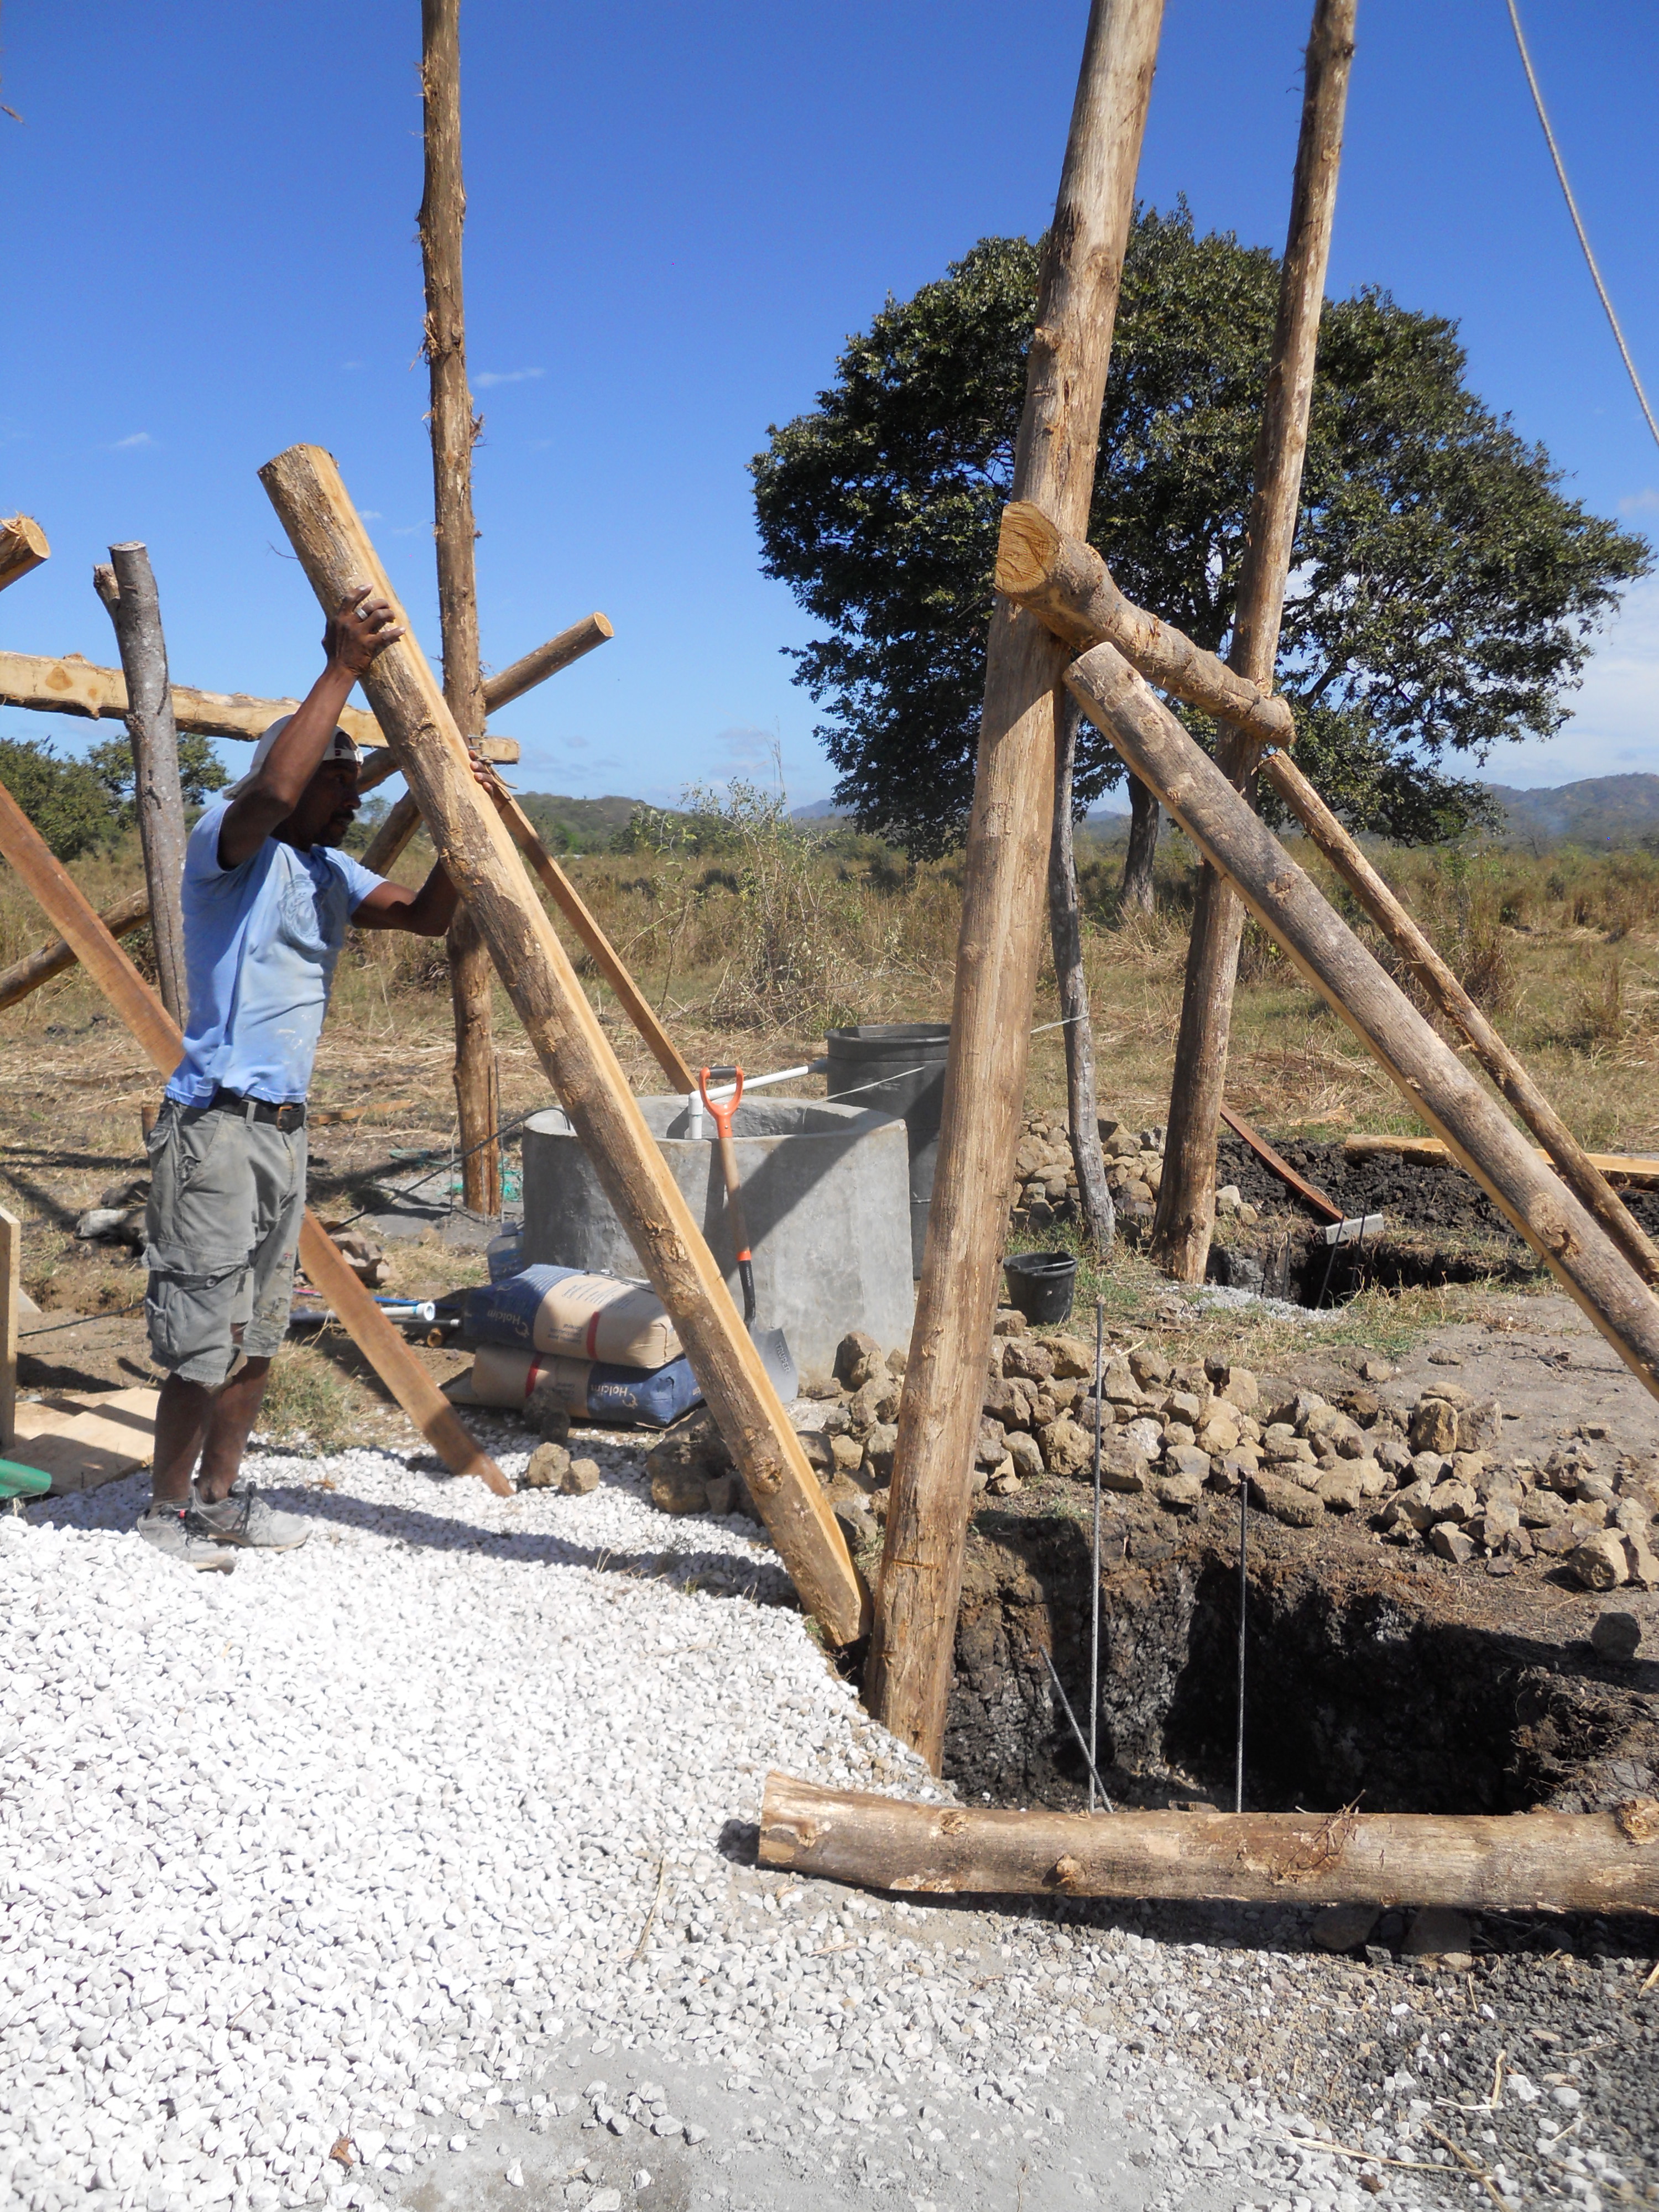
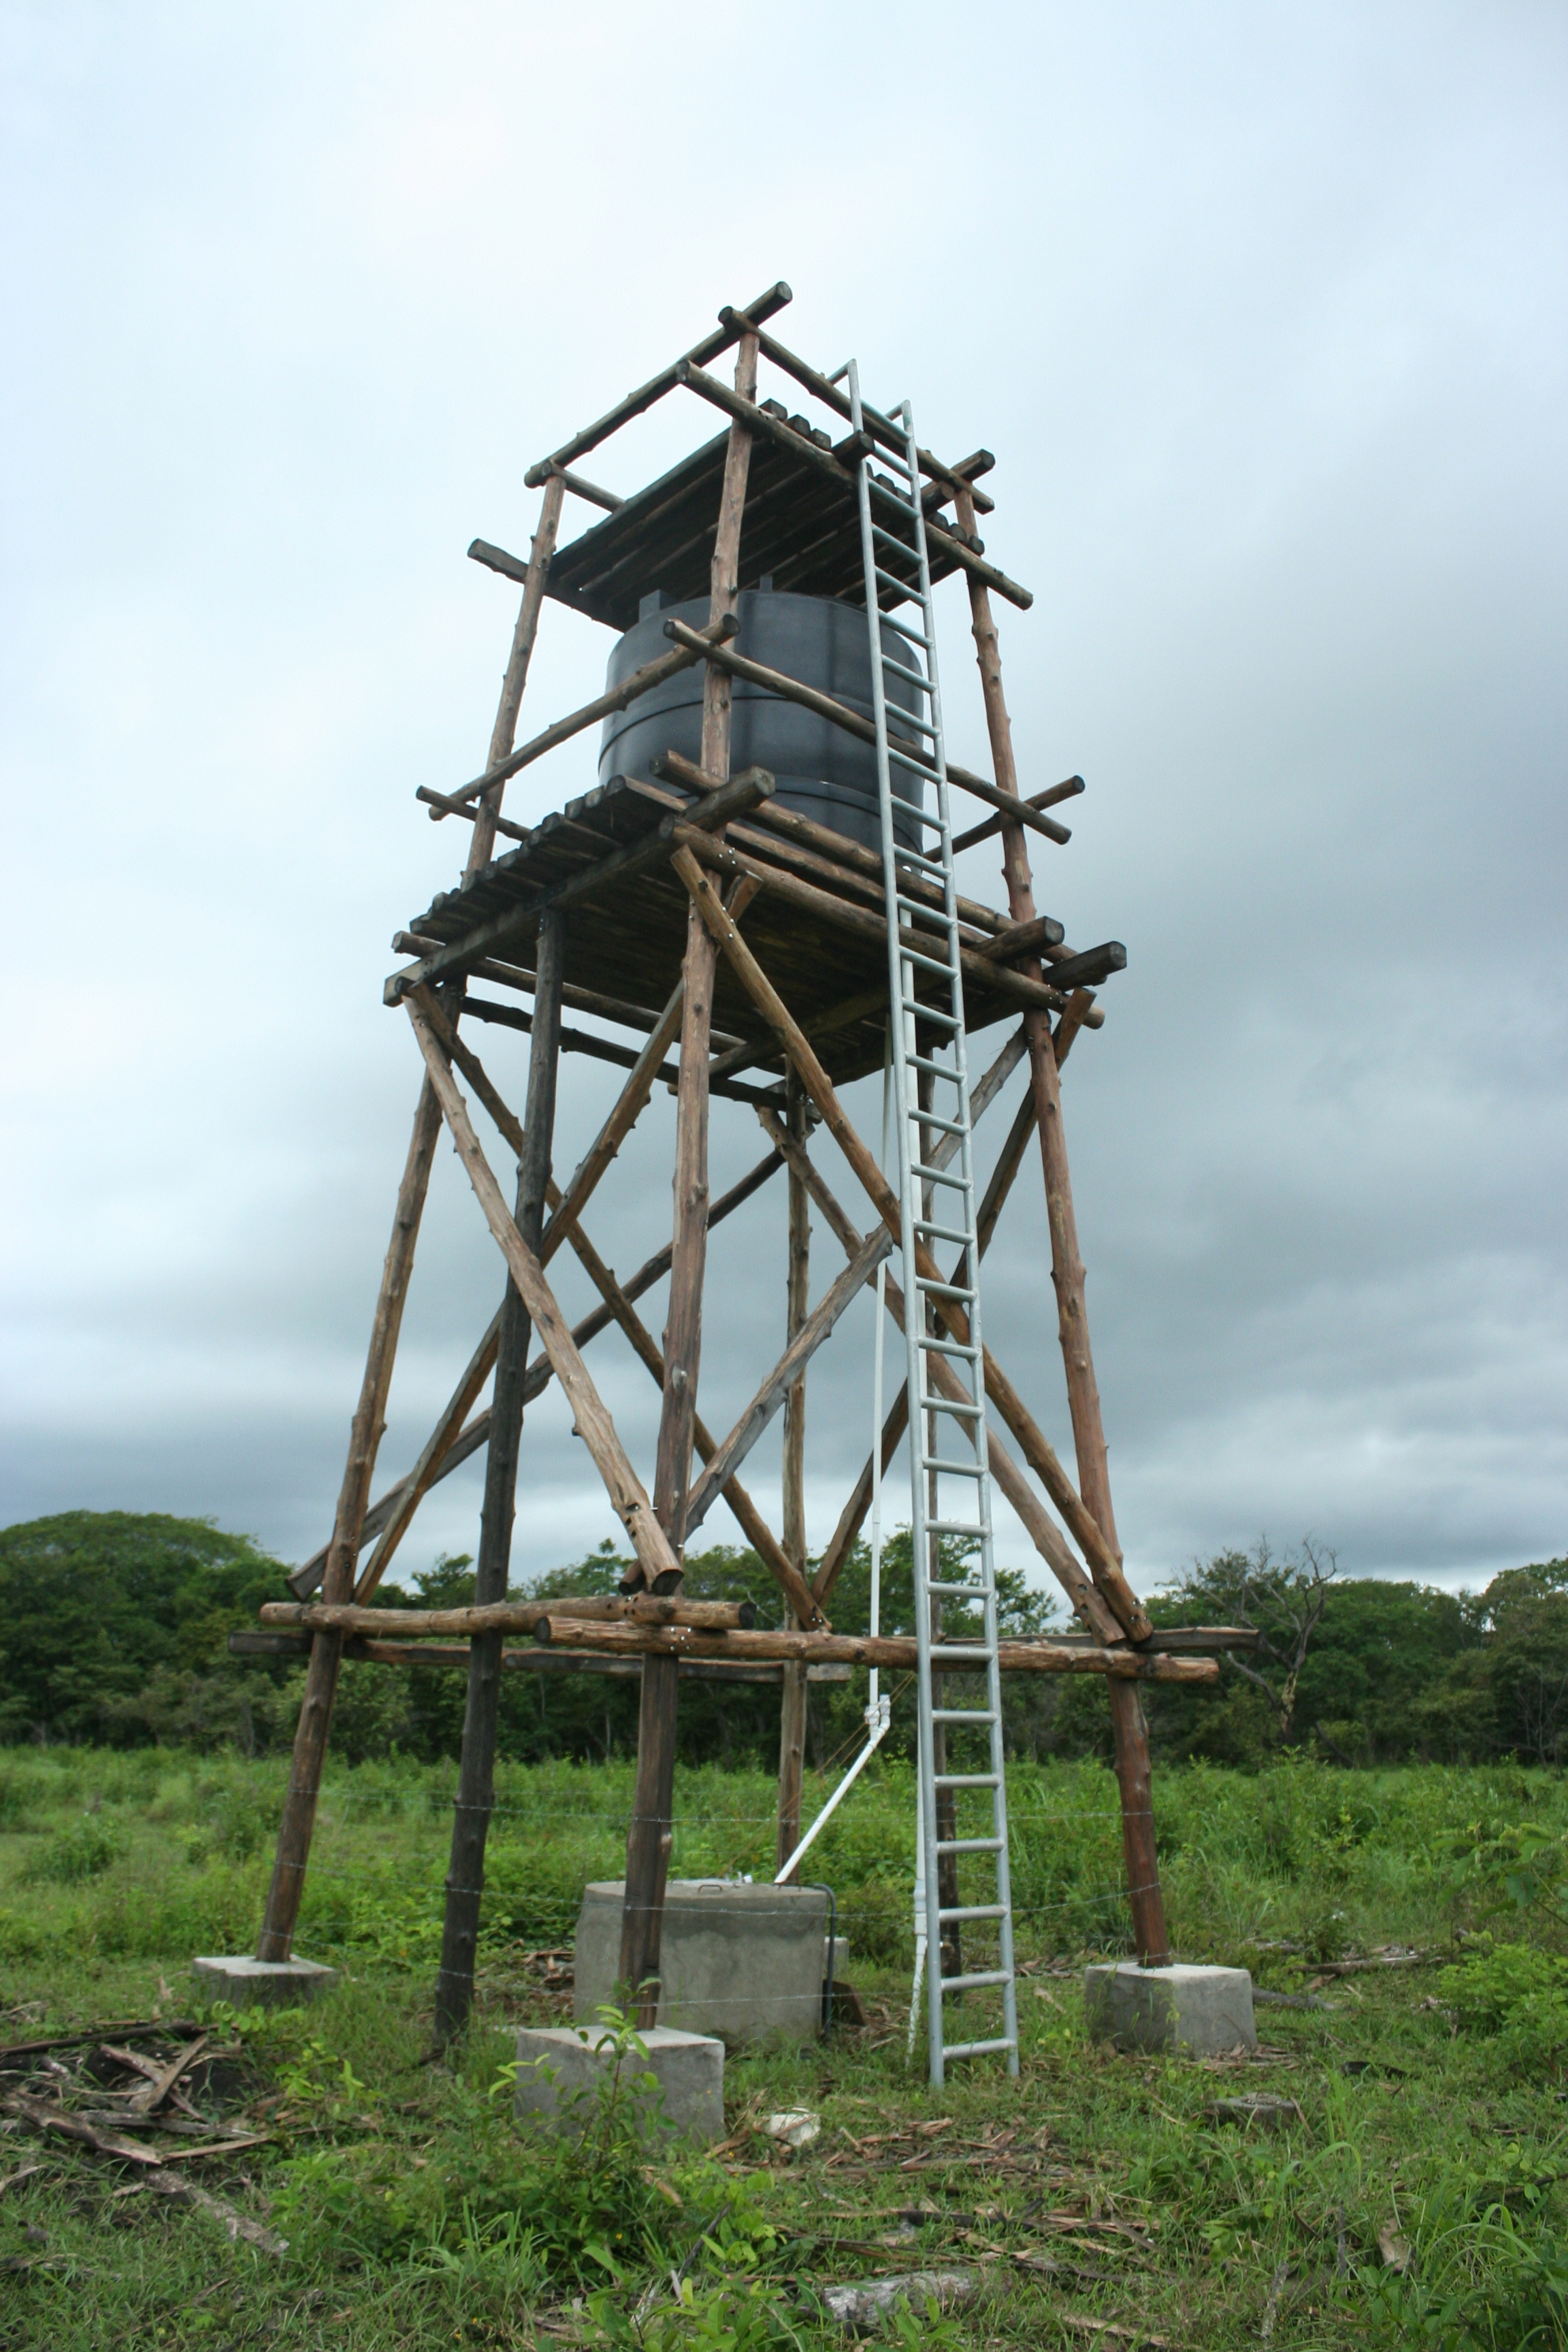
Once we had our well dug, we began constructing a 9-meter/30-foot high water tower using locally harvested teak poles to get some gravity-fed water. This turned out to be fairly challenging because each of those four upright 10-meter teak poles weigh a ton and the only cranes we had access to were birds and they didn’t help at all.
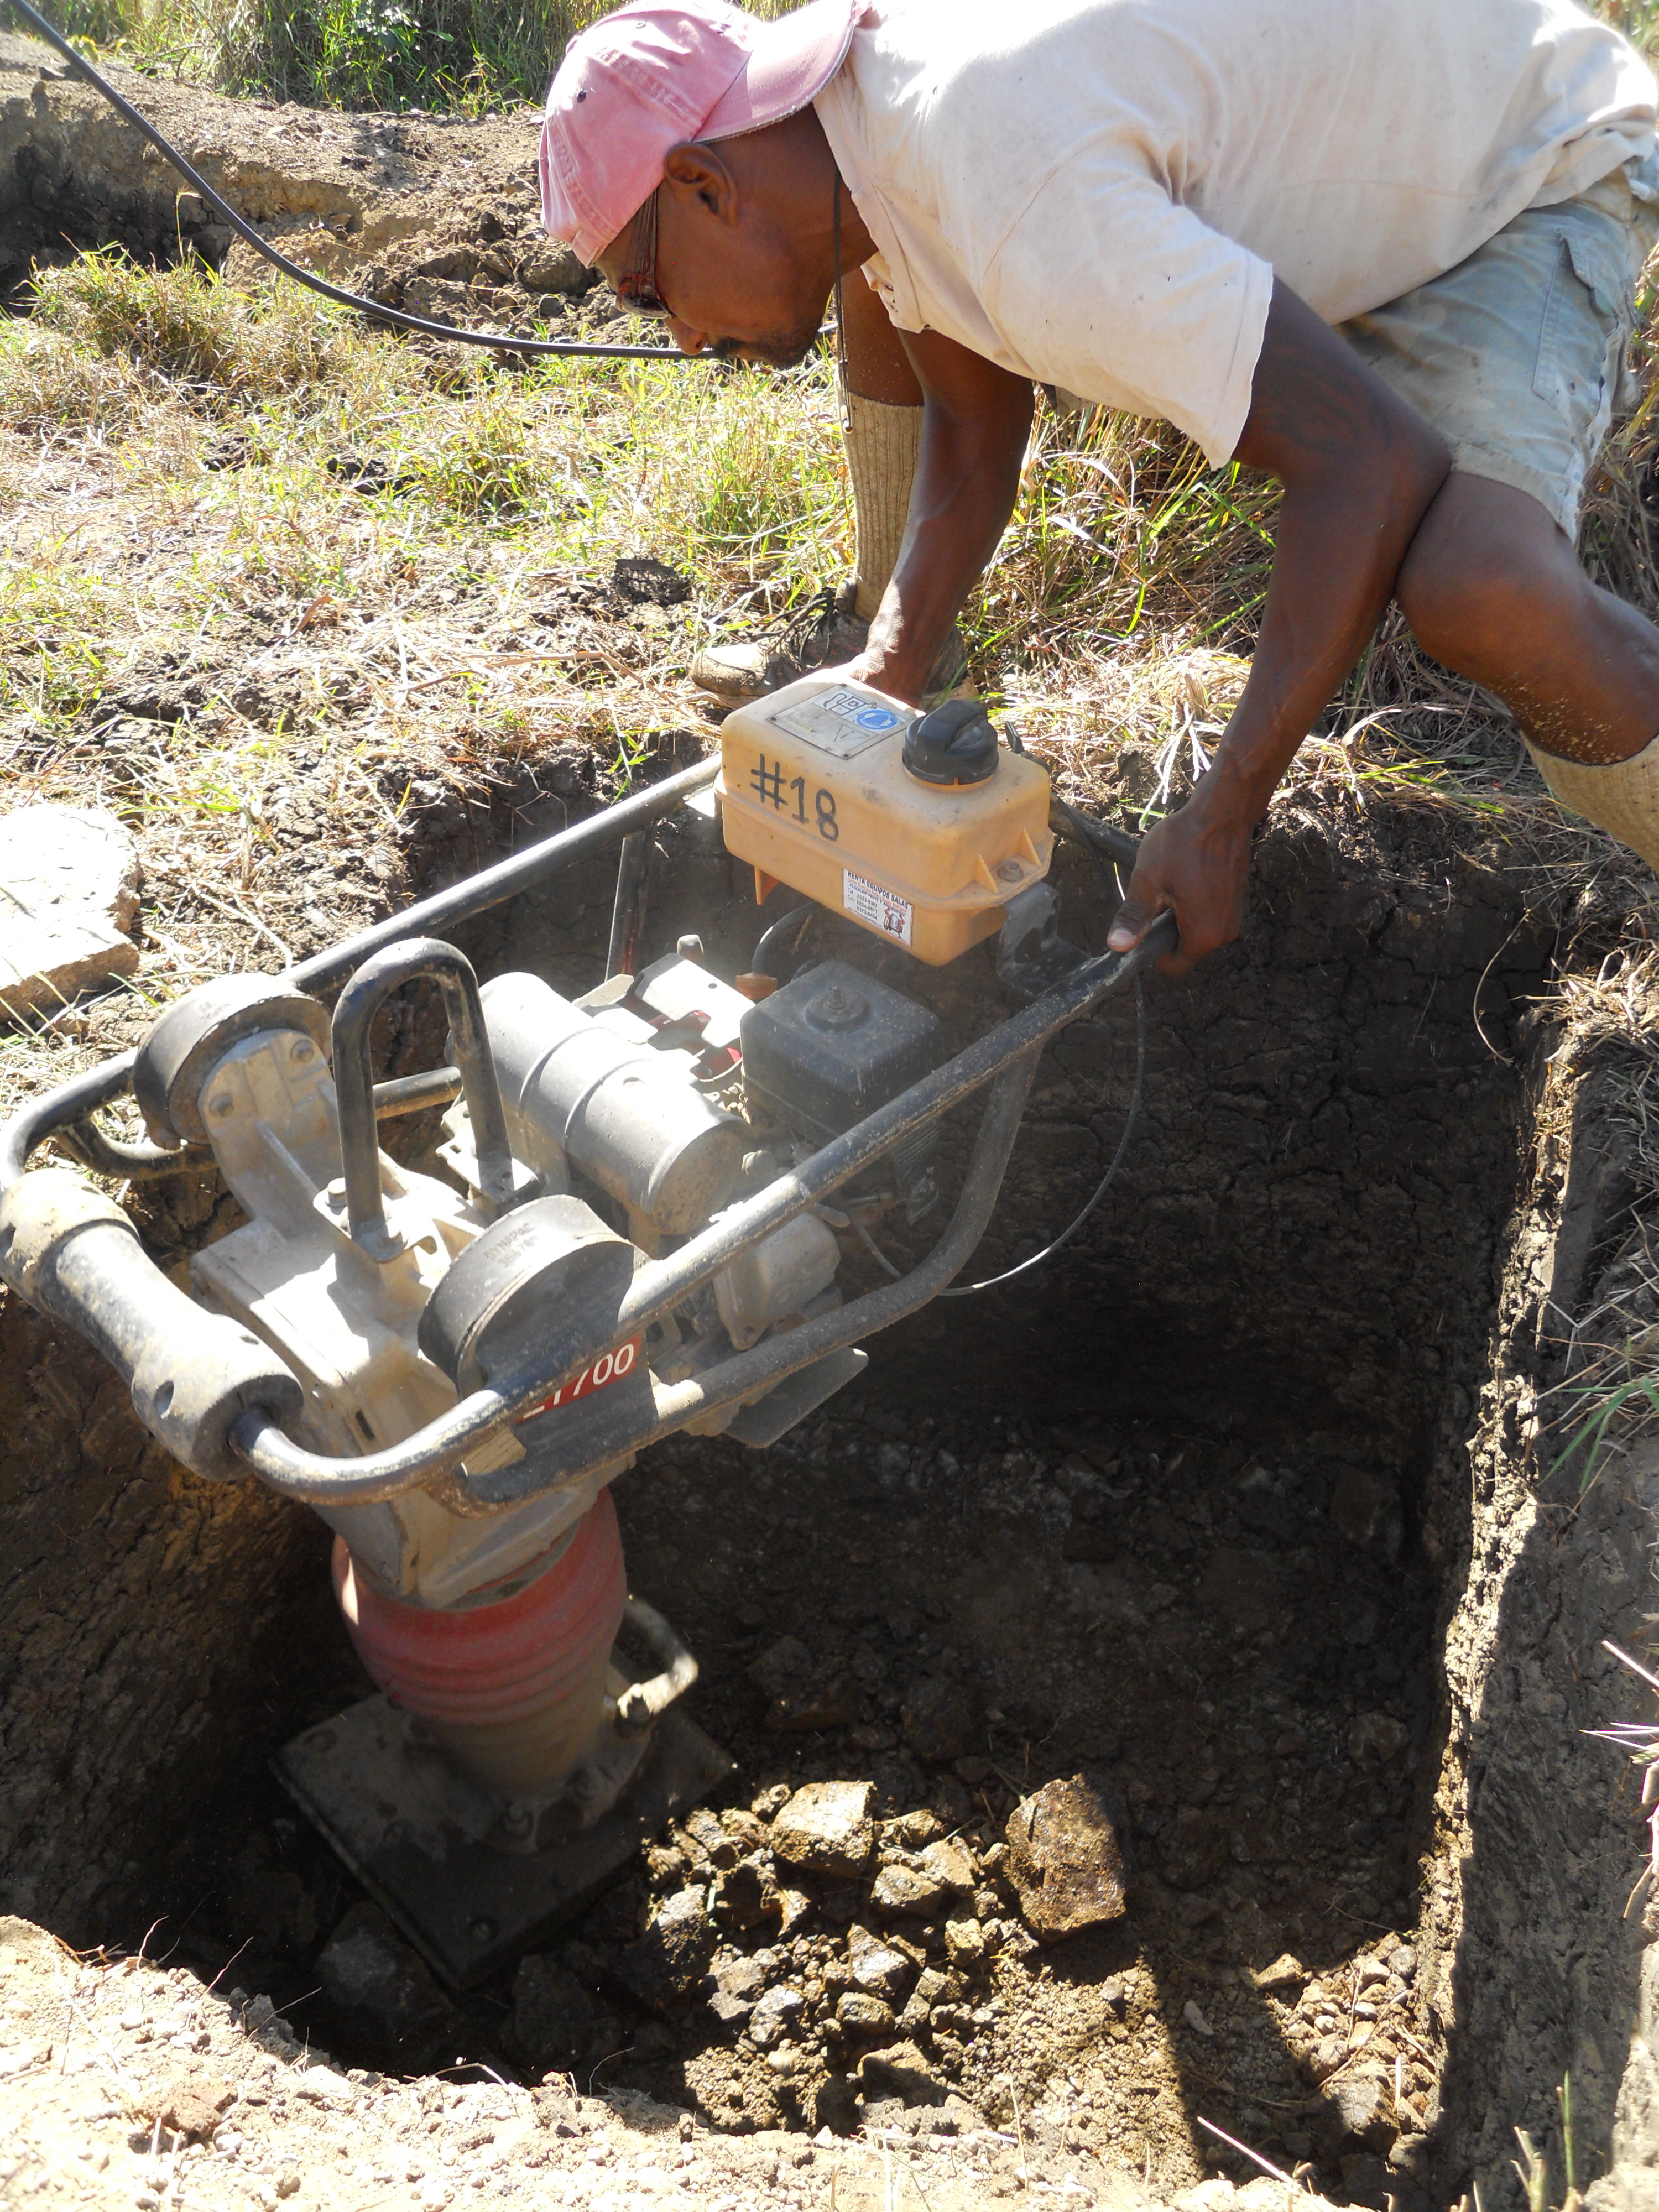
First, Jesus and I dug the foundations for four 1-meter square holes to support the 4 pillars. Next, we filled them partially with gravel and Jesus compacted them thoroughly.
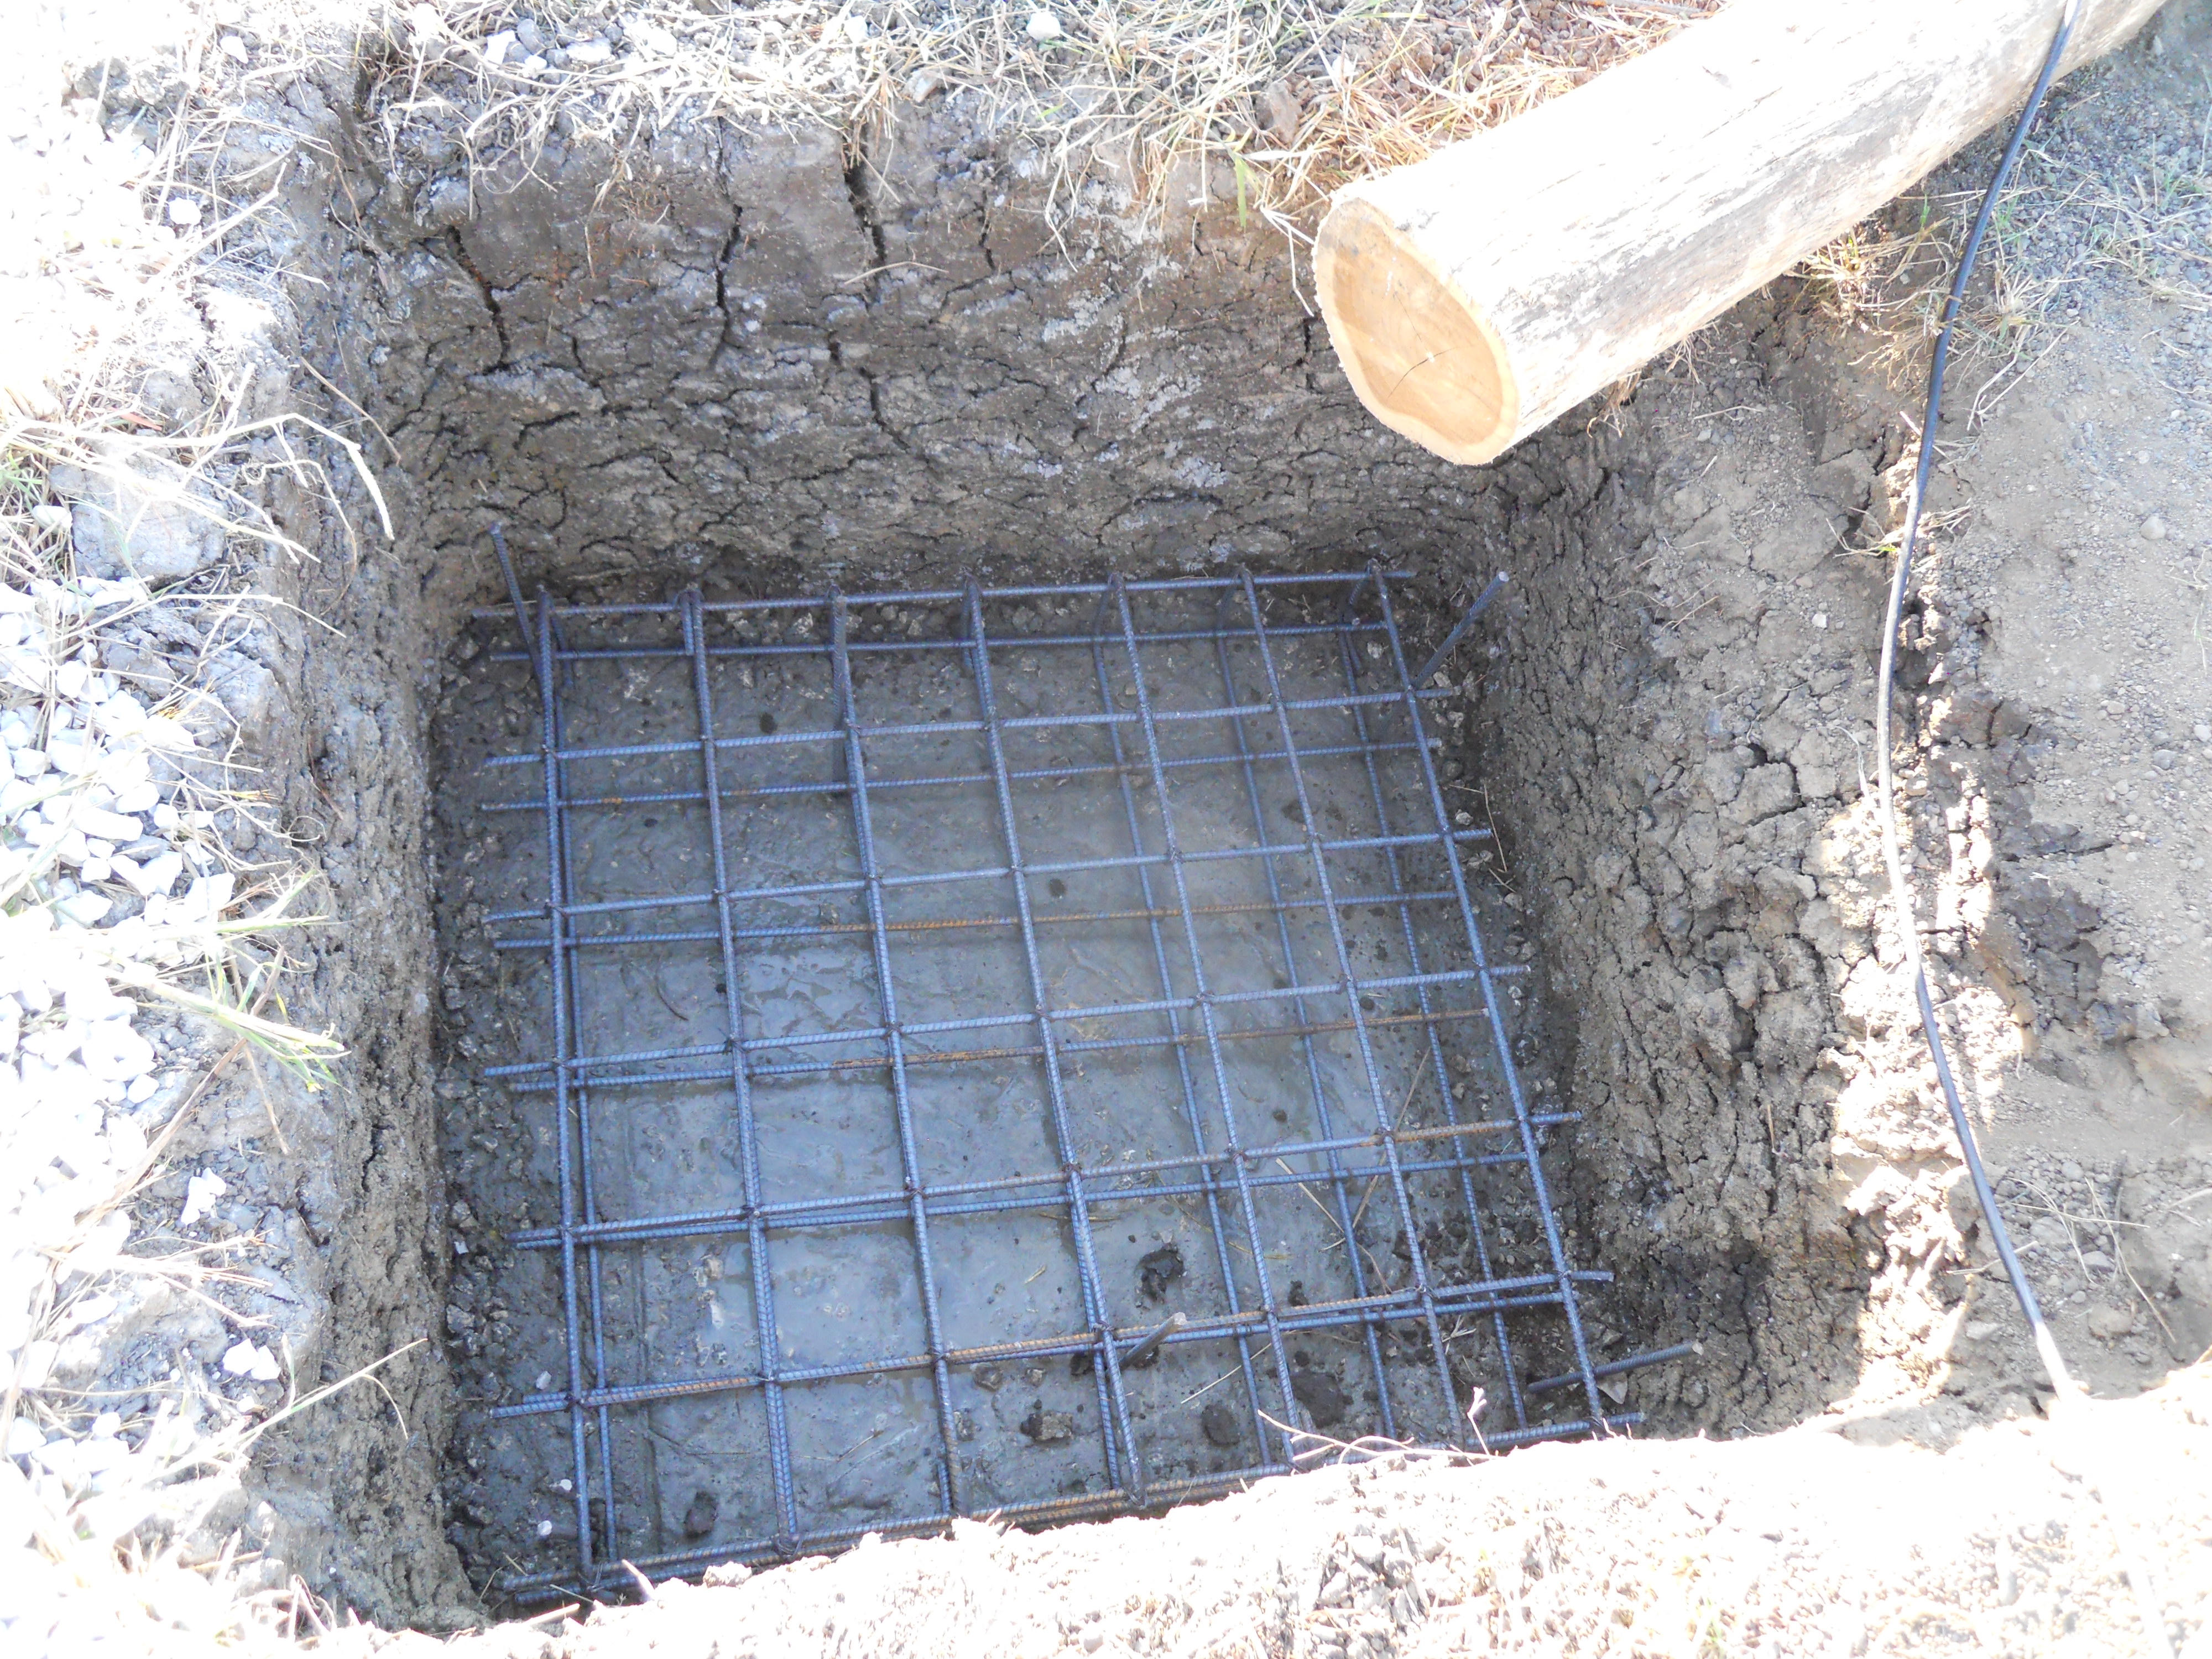
After that, we poured a bit of concrete and then inserted the metal cages for reinforcement. This is what the rebar frames looked like before we hid them with more concrete to distribute the load of the teak poles.
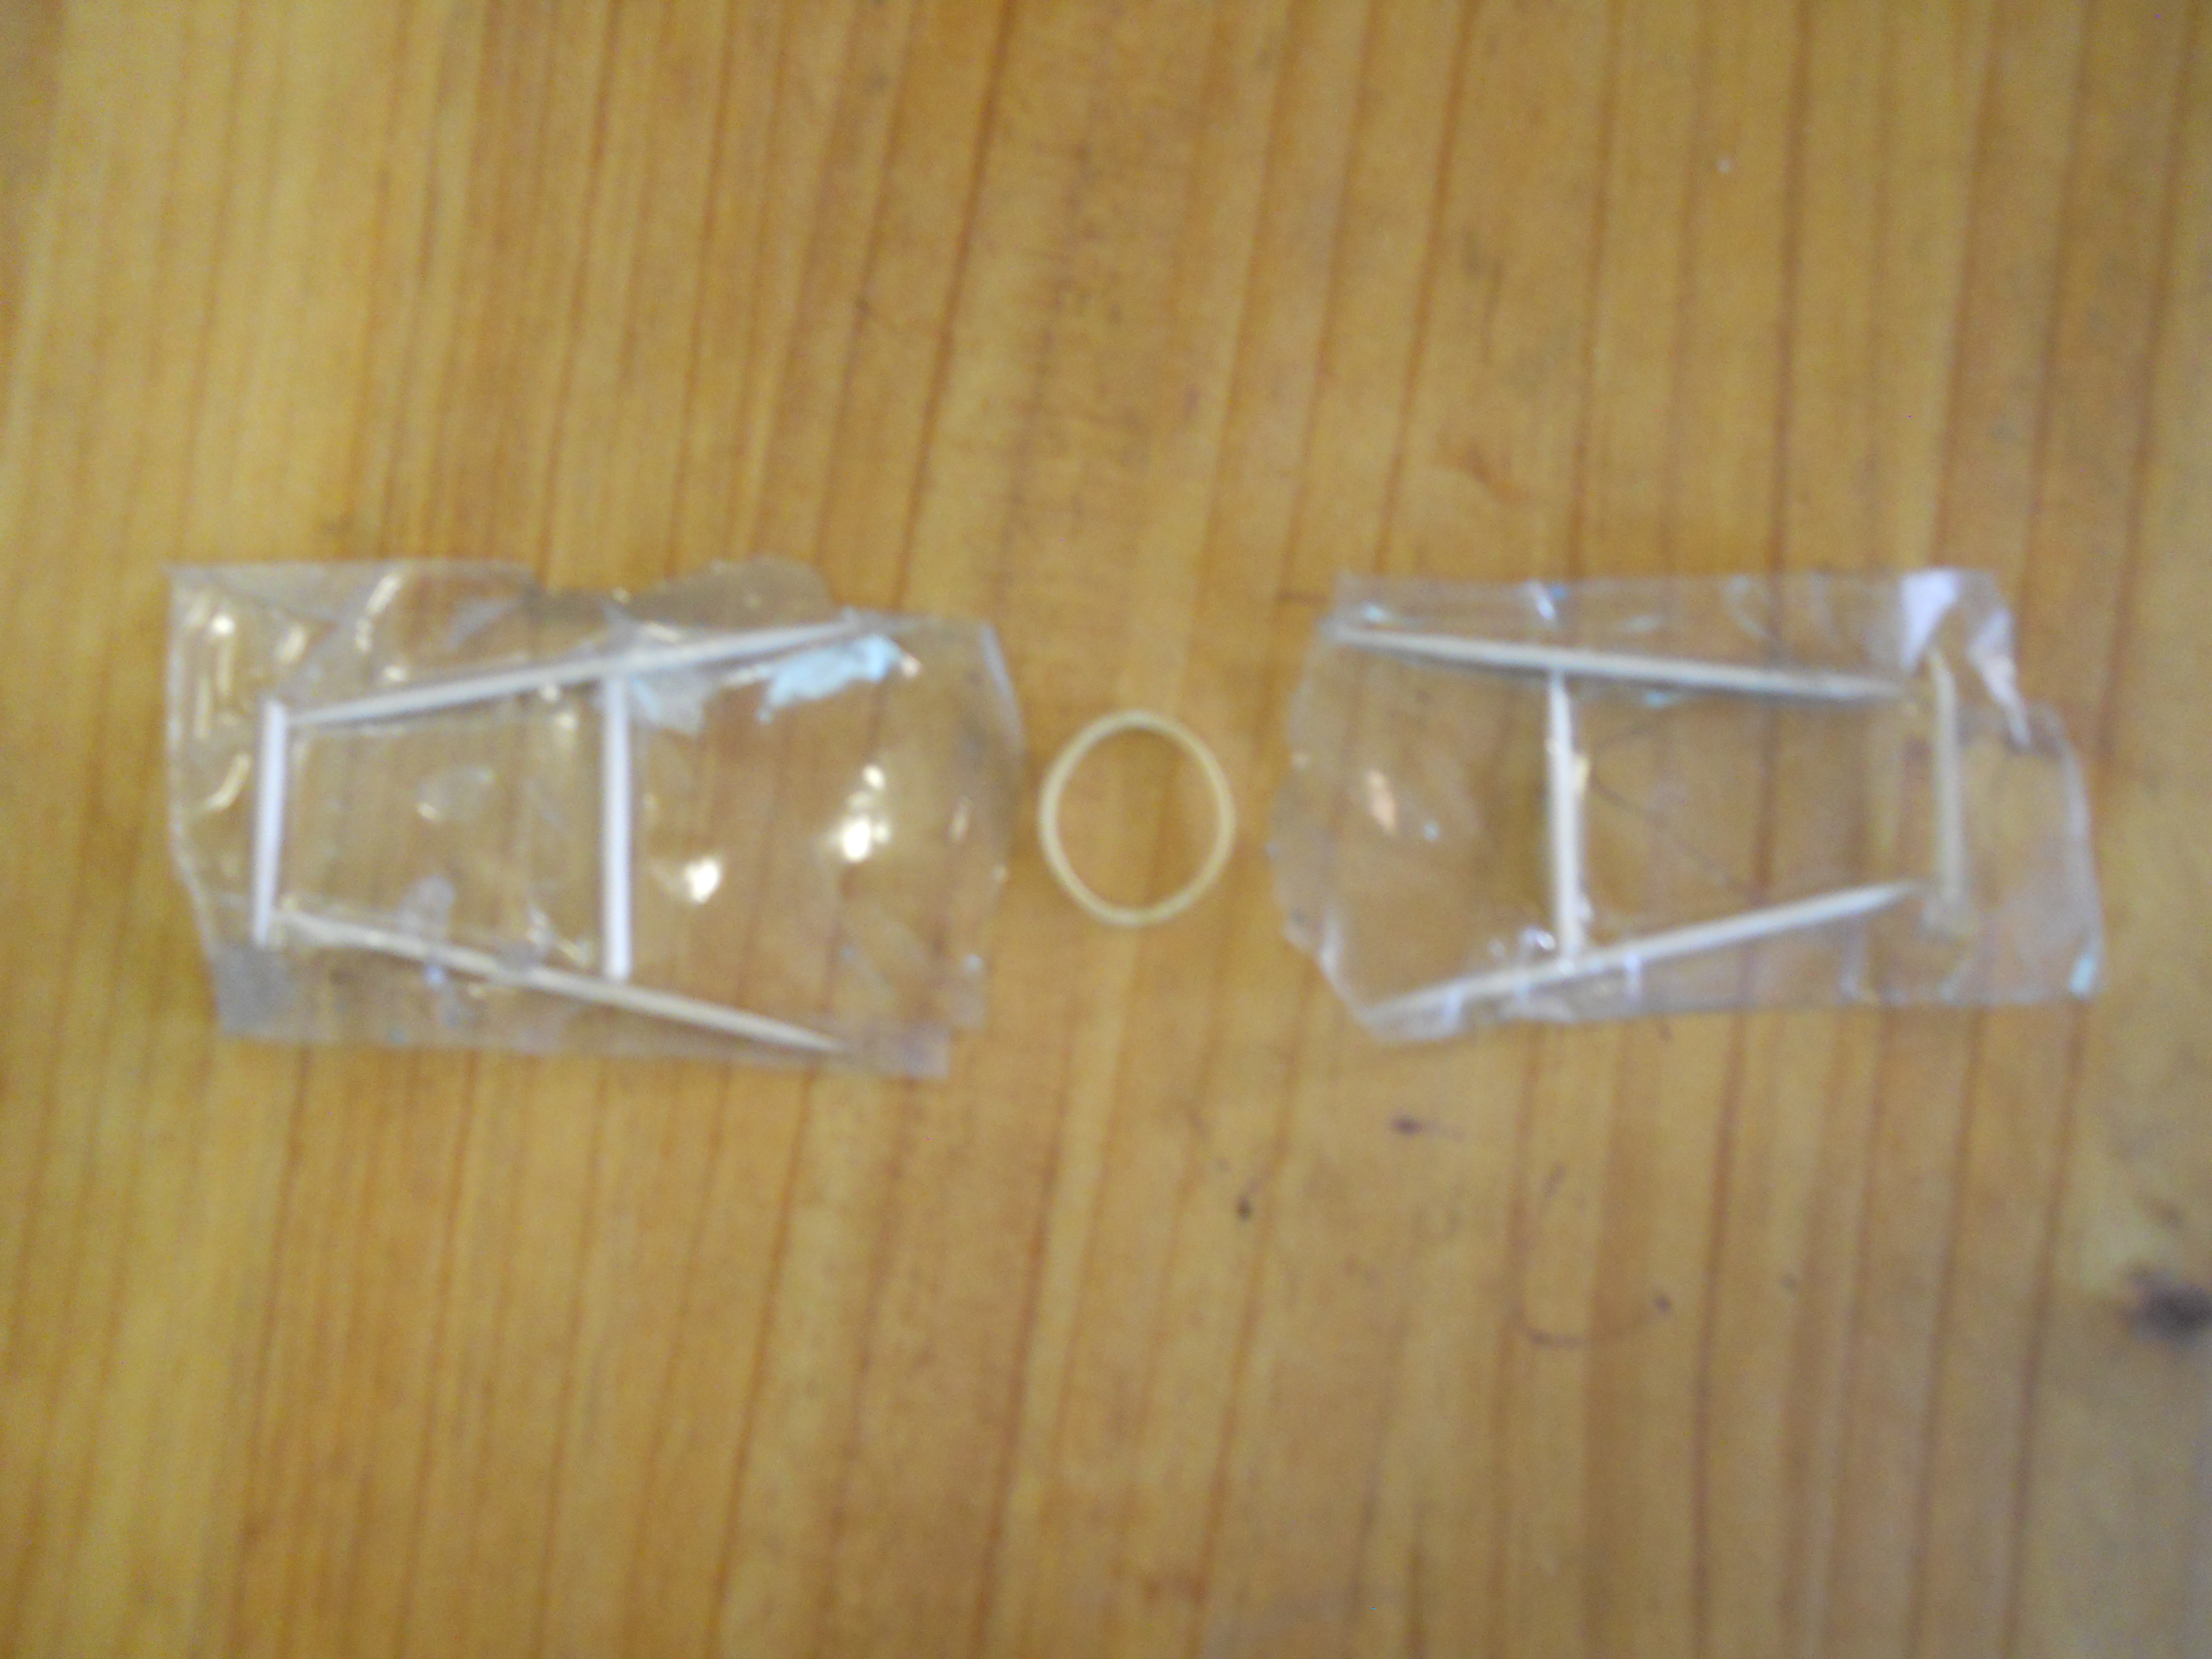
It’s one thing to design a tower but another thing completely to built it. It would have been less difficult if the posts were vertical because then we’d only need to lift one at a time, but I wanted more of an obelisk-like shape and was willing to take on the challenge. This super-crude model built of toothpicks encased in scotch tape (with a rubber band to represent the well) was made to illustrate the nuts and bolts of my scheme to raise the tower by lifting the poles in pairs. Thankfully it worked out okay but, if I had to do it again, I would probably do it differently.
Like my model, here are the two sets of giant teak toothpicks positioned on each side of the well, with their butts positioned over the foundation holes so they drop inside while being lifted. Unlike my model, I fastened them with nuts and bolts rather than scotch tape.
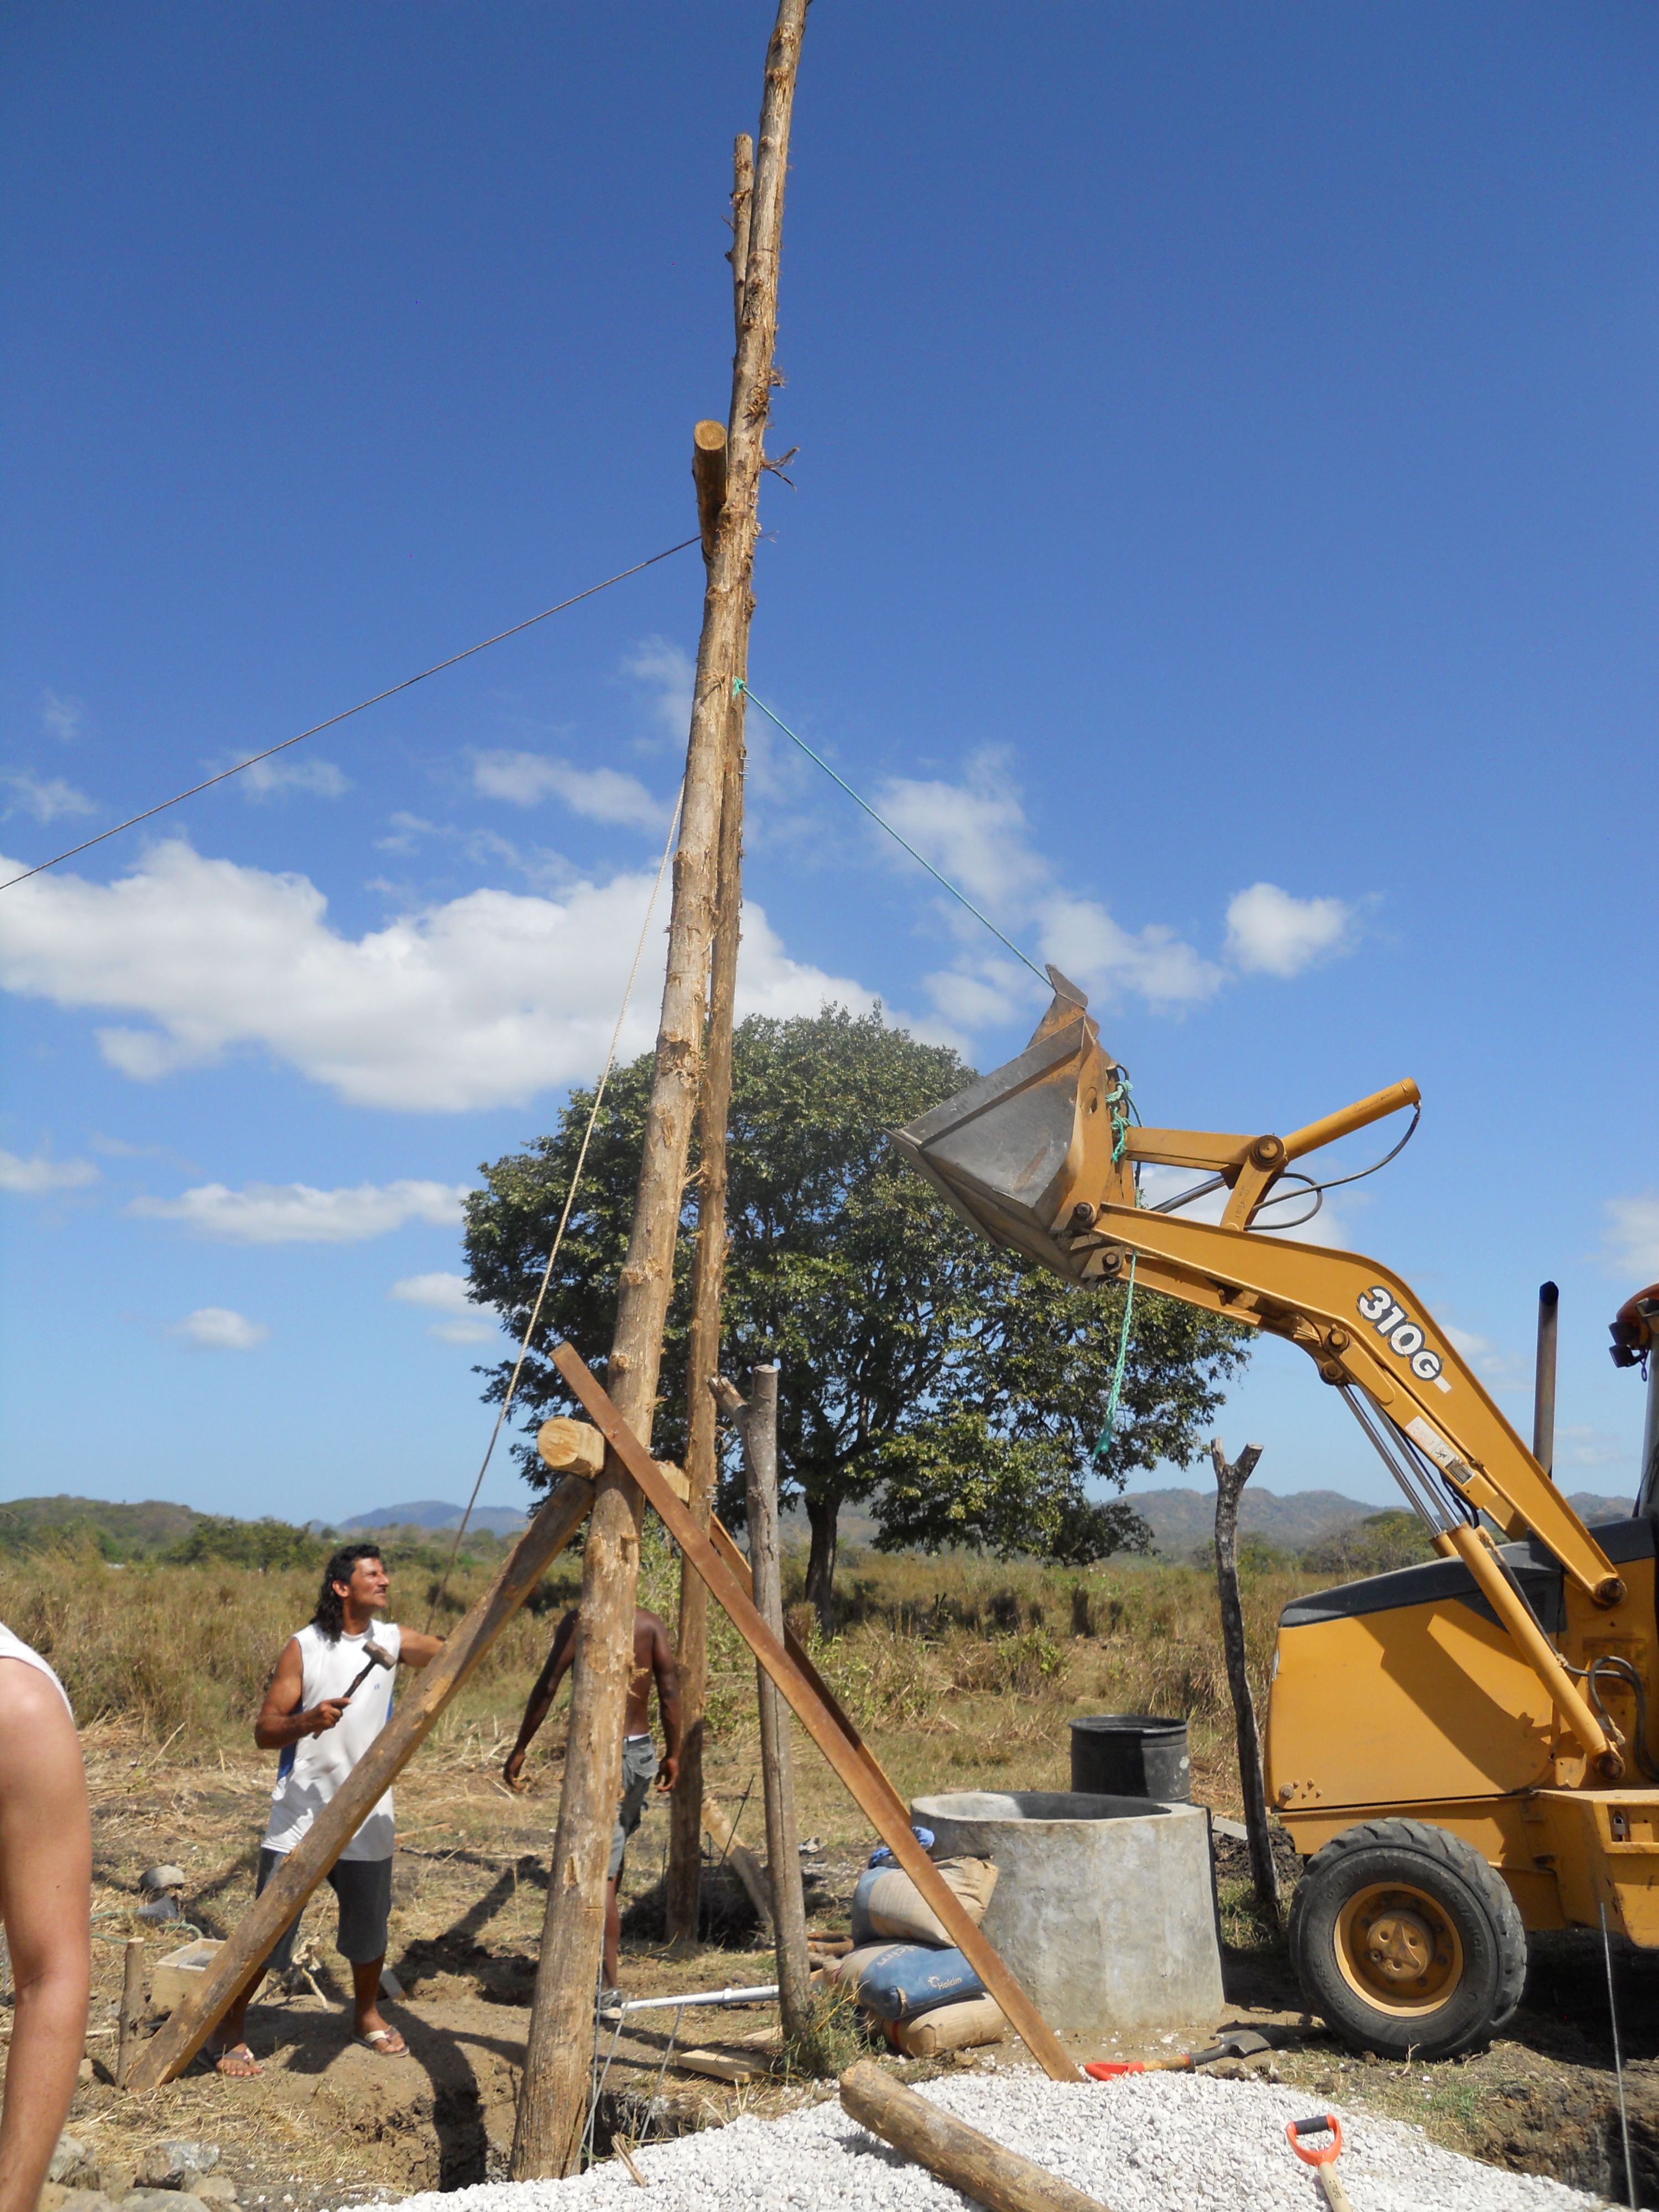
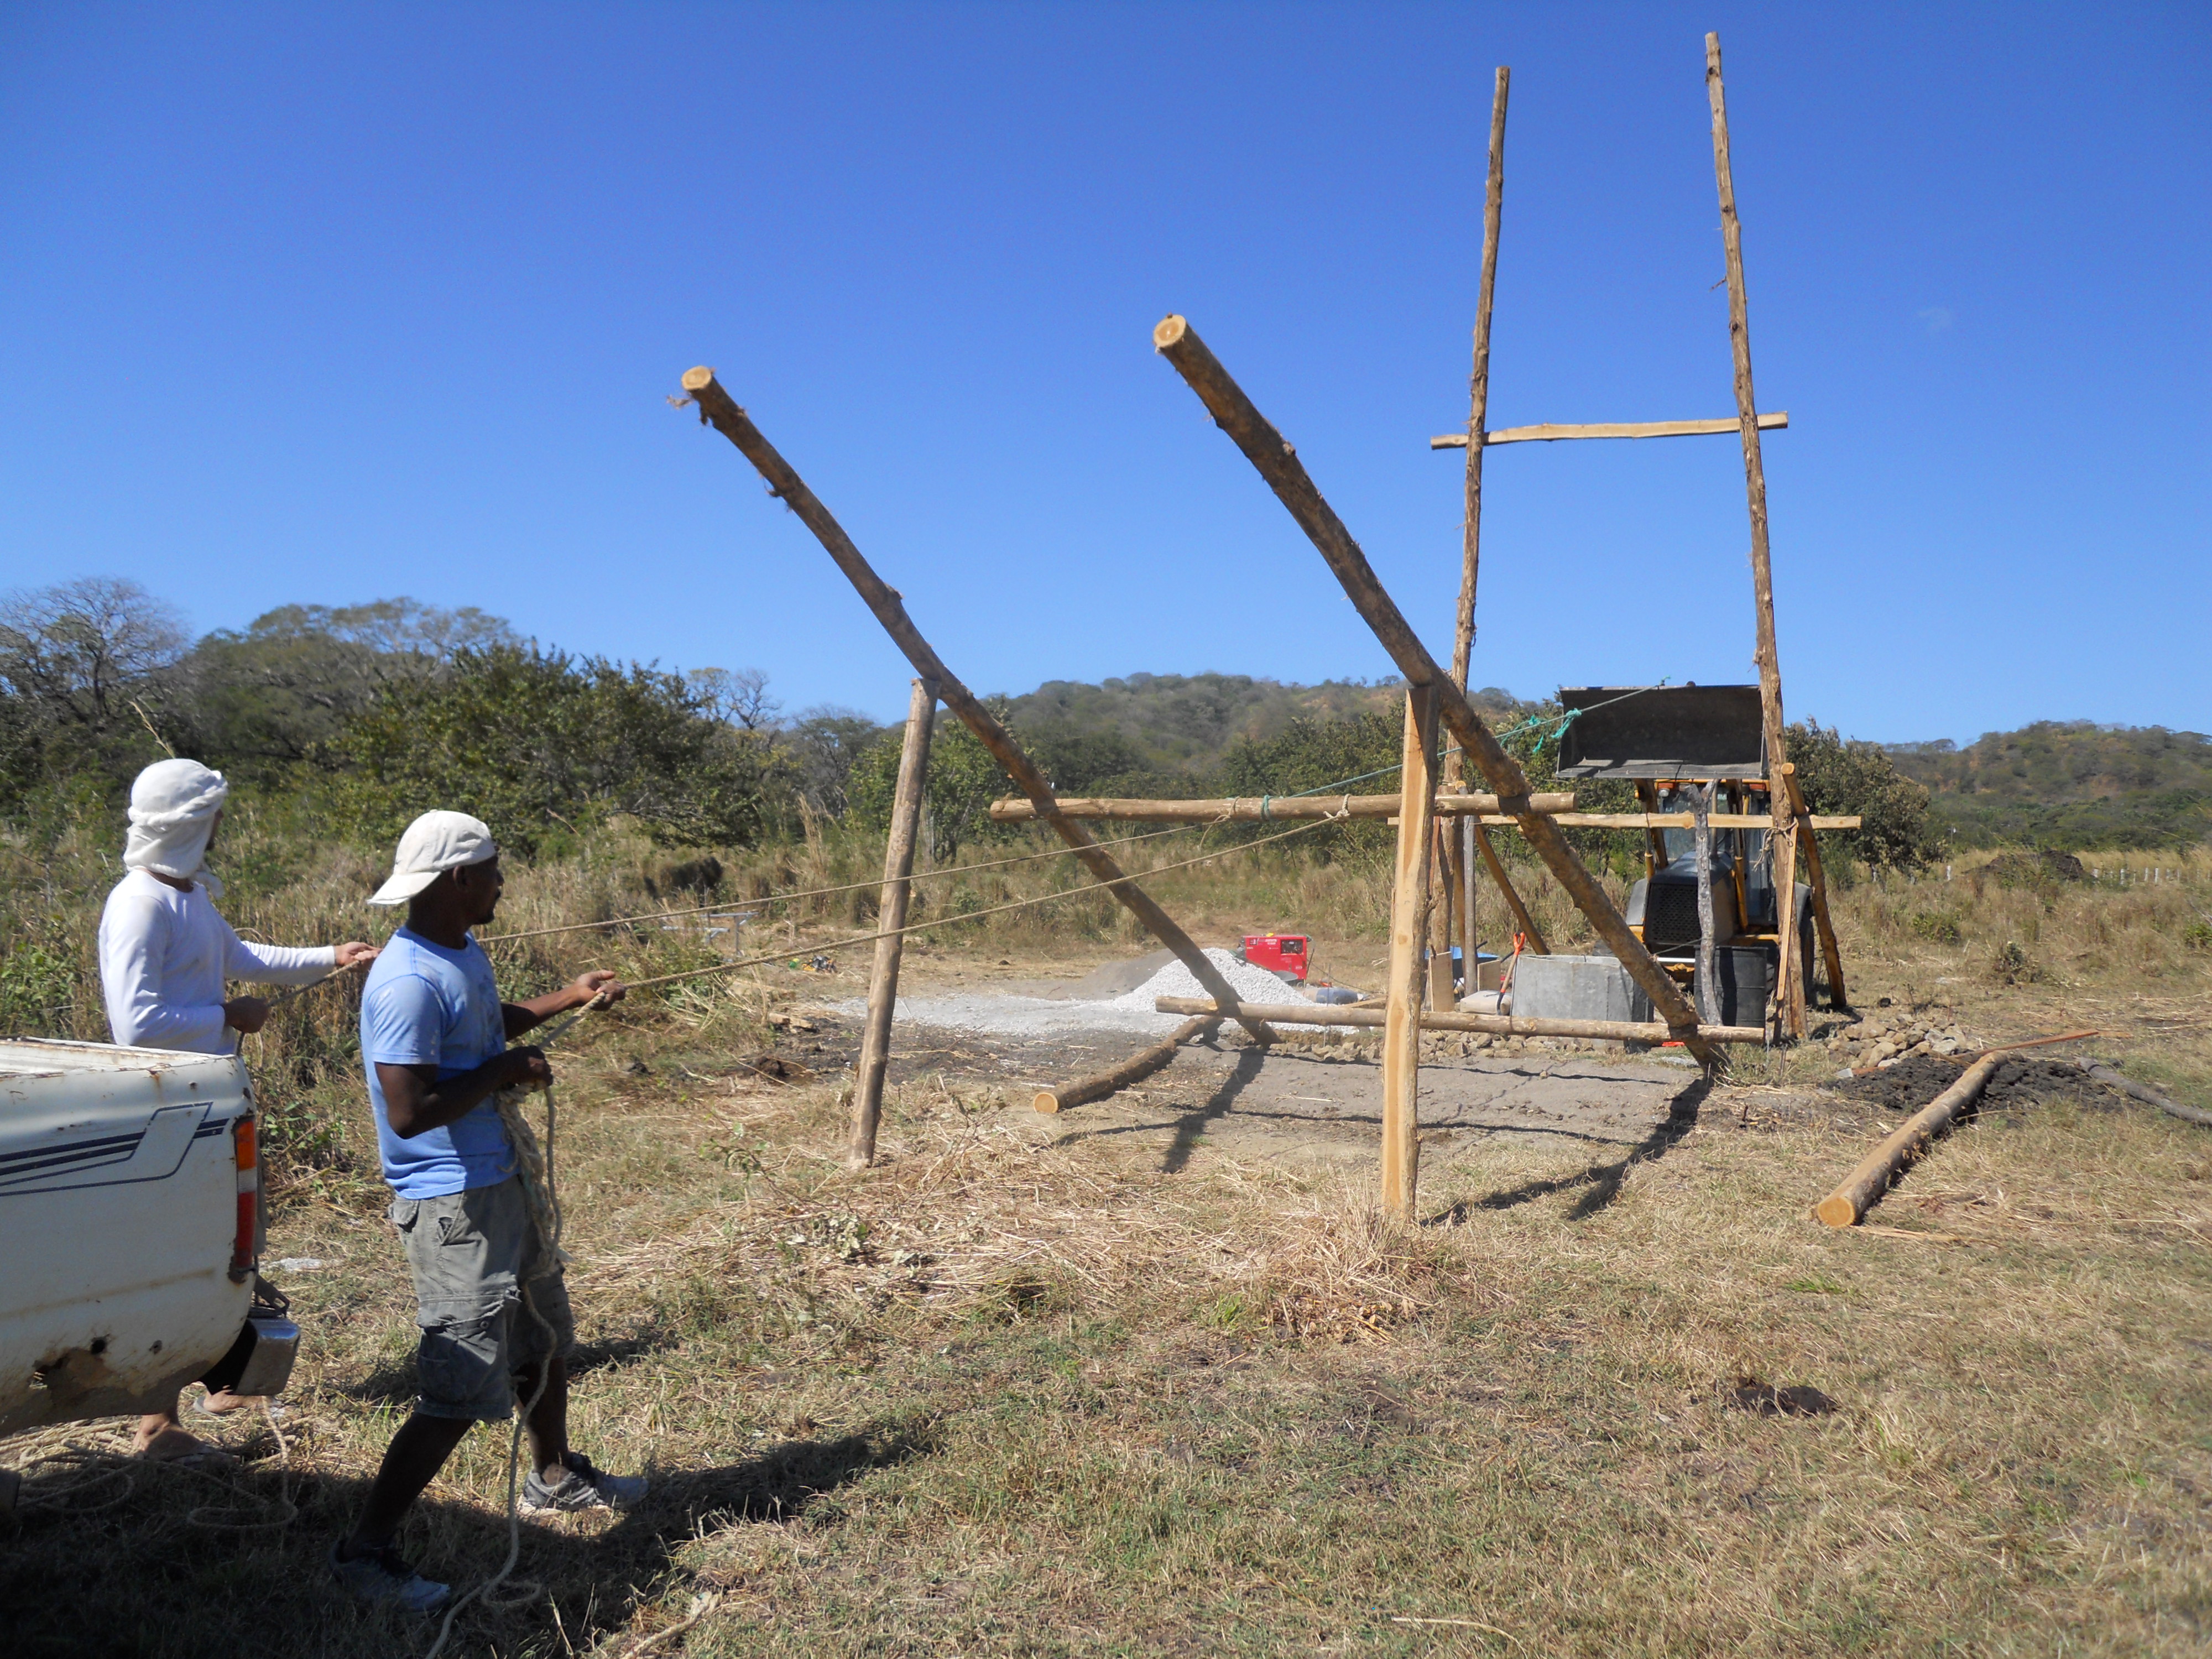
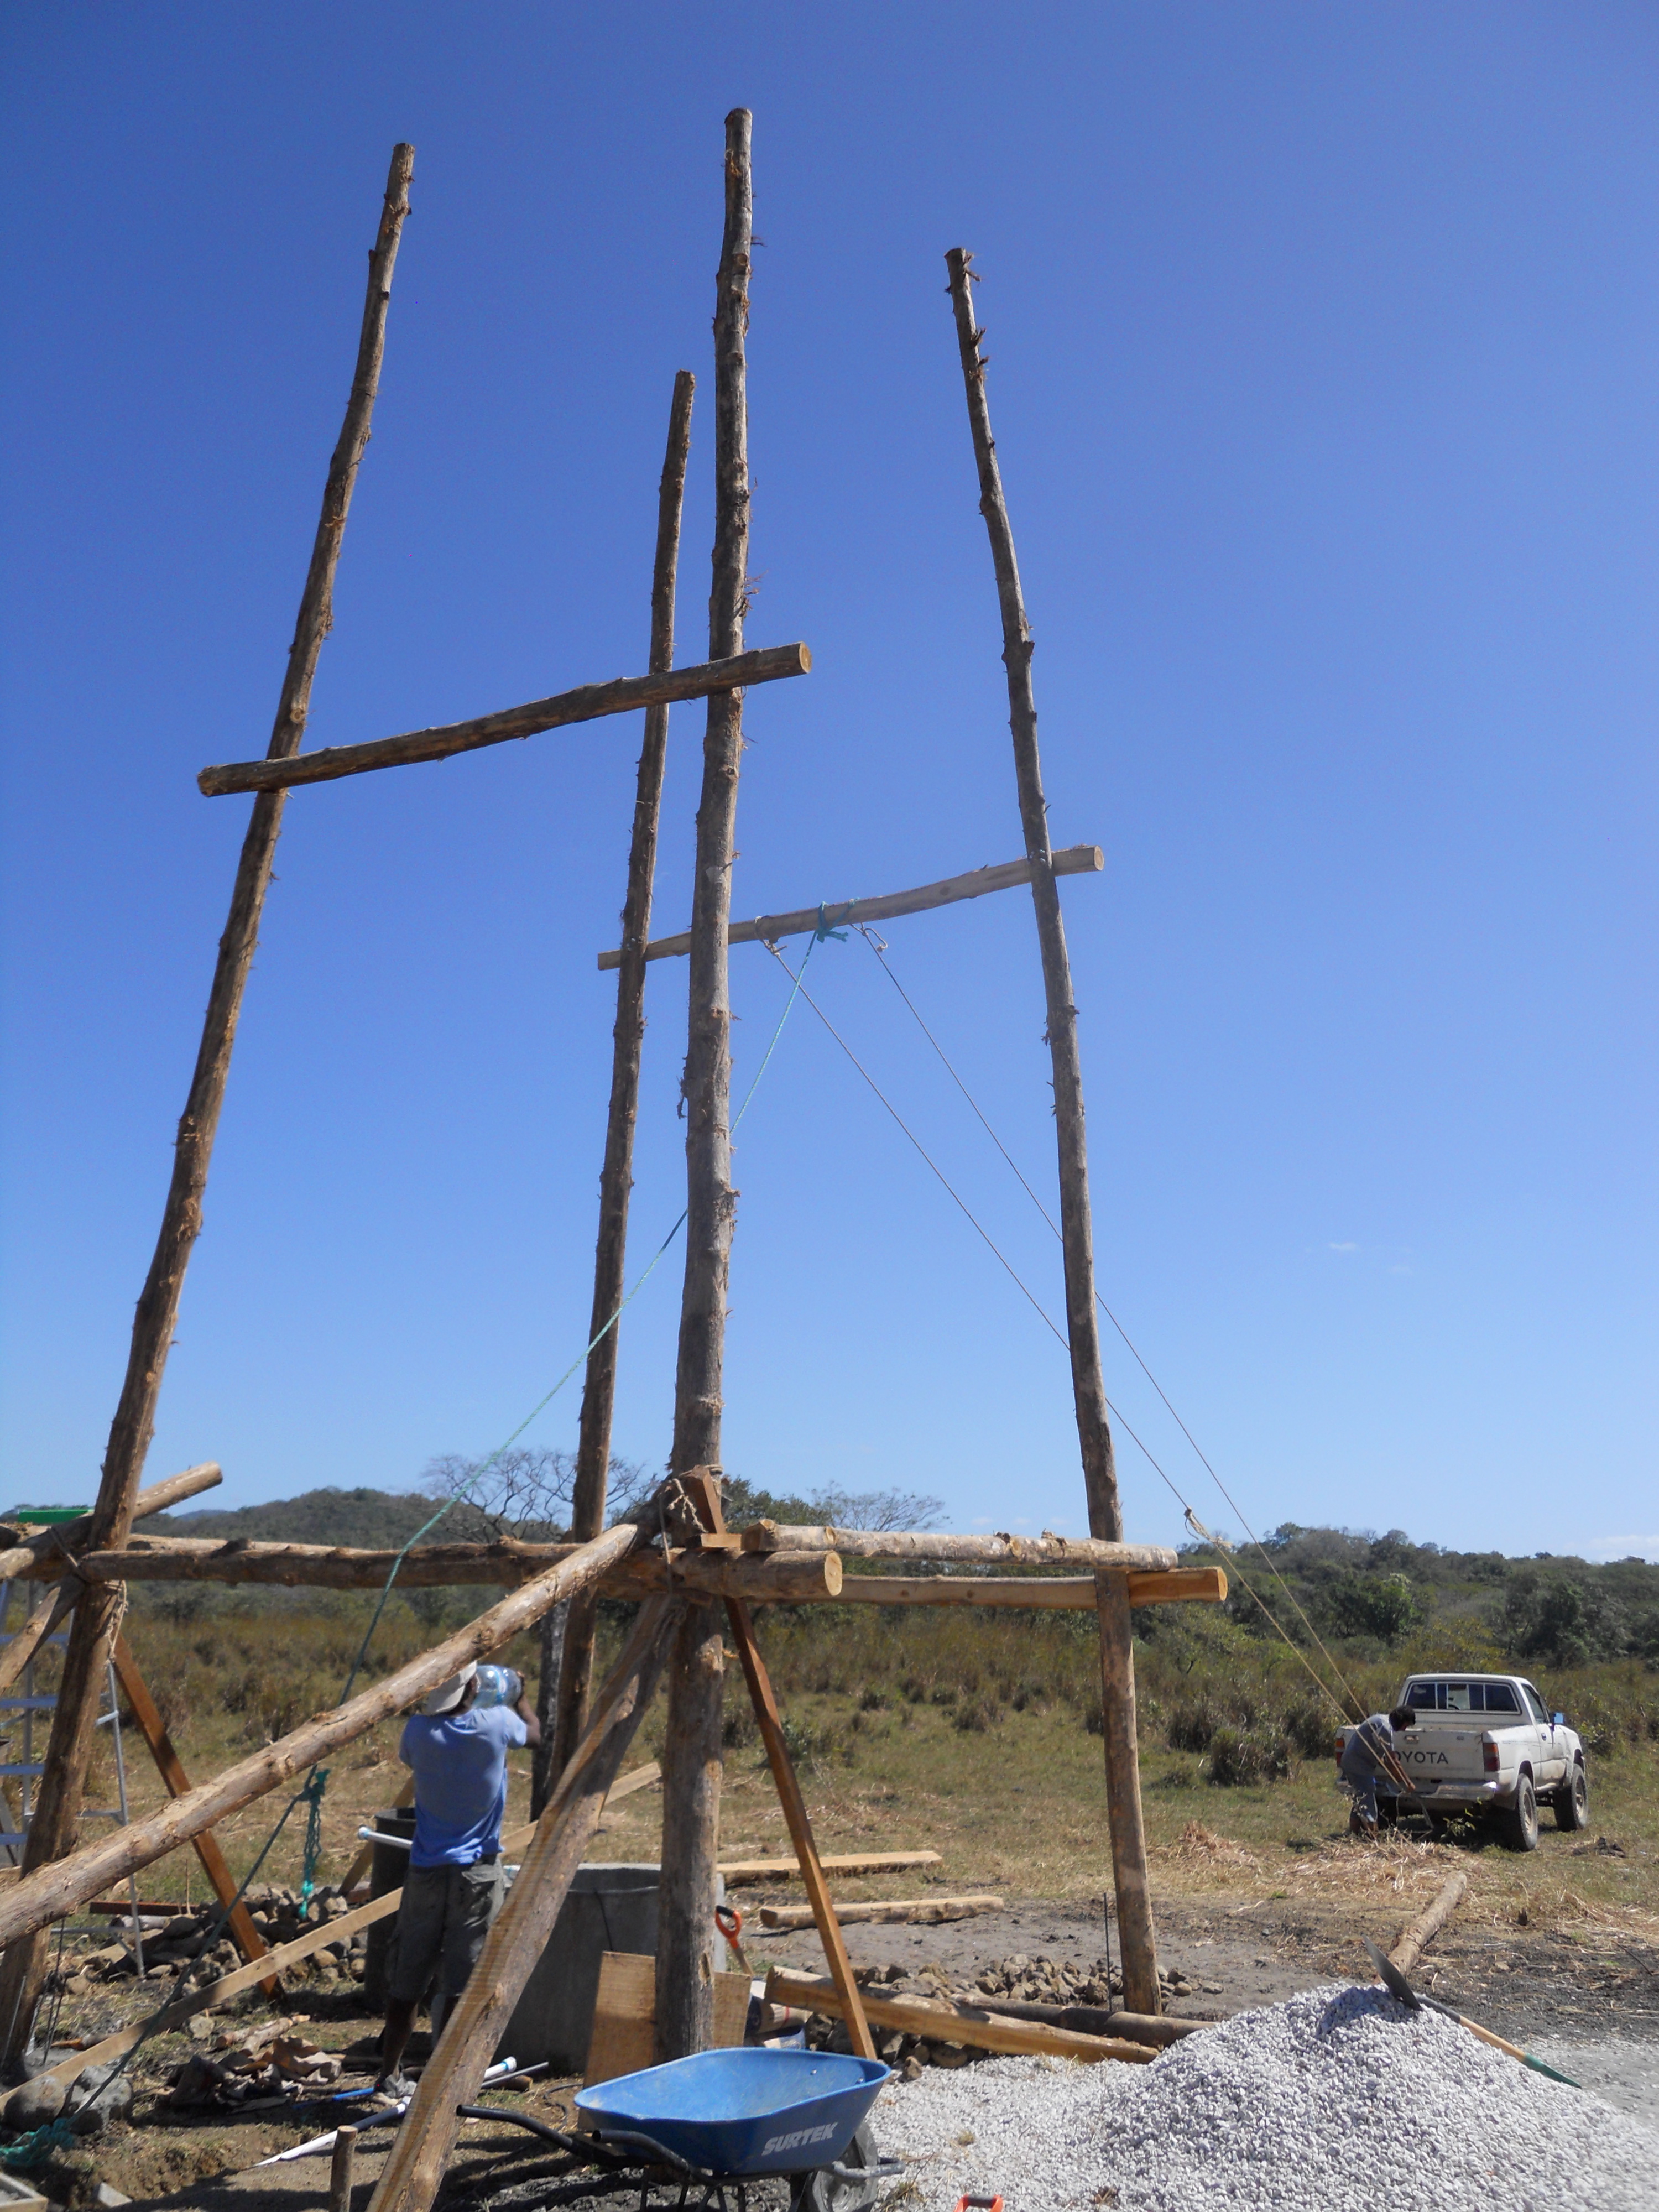
We had a backhoe lift each pair of poles, and used a pickup truck to help stabilize them in the desired position long enough to brace them, while we filled the two foundation holes with concrete.
The backhoe lifted each pair of bolted poles in two phases. First, with the bucket, which gave us a chance to temporarily brace them in the position shown above, with the base of the poles now inside the foundation holes. Once the poles were propped up, we repositioned the backhoe on the other side of the well so it could pull the teak poles the rest of the way up using rope.

Since the four posts lean inwards, one of the trickiest and riskiest parts was preventing the second pair of teak posts from falling against the first set once the backhoe lifted it into a vertical position. To do this, Yannai and Jesus (on the opposite side of the well as the backhoe) acted as a temporary counterweight until I was able to use the pickup truck (stationed behind them) to slowly tilt the poles into the right position. This photo reminds me of some depiction of ancient Egyptians raising obelisks.
Right?
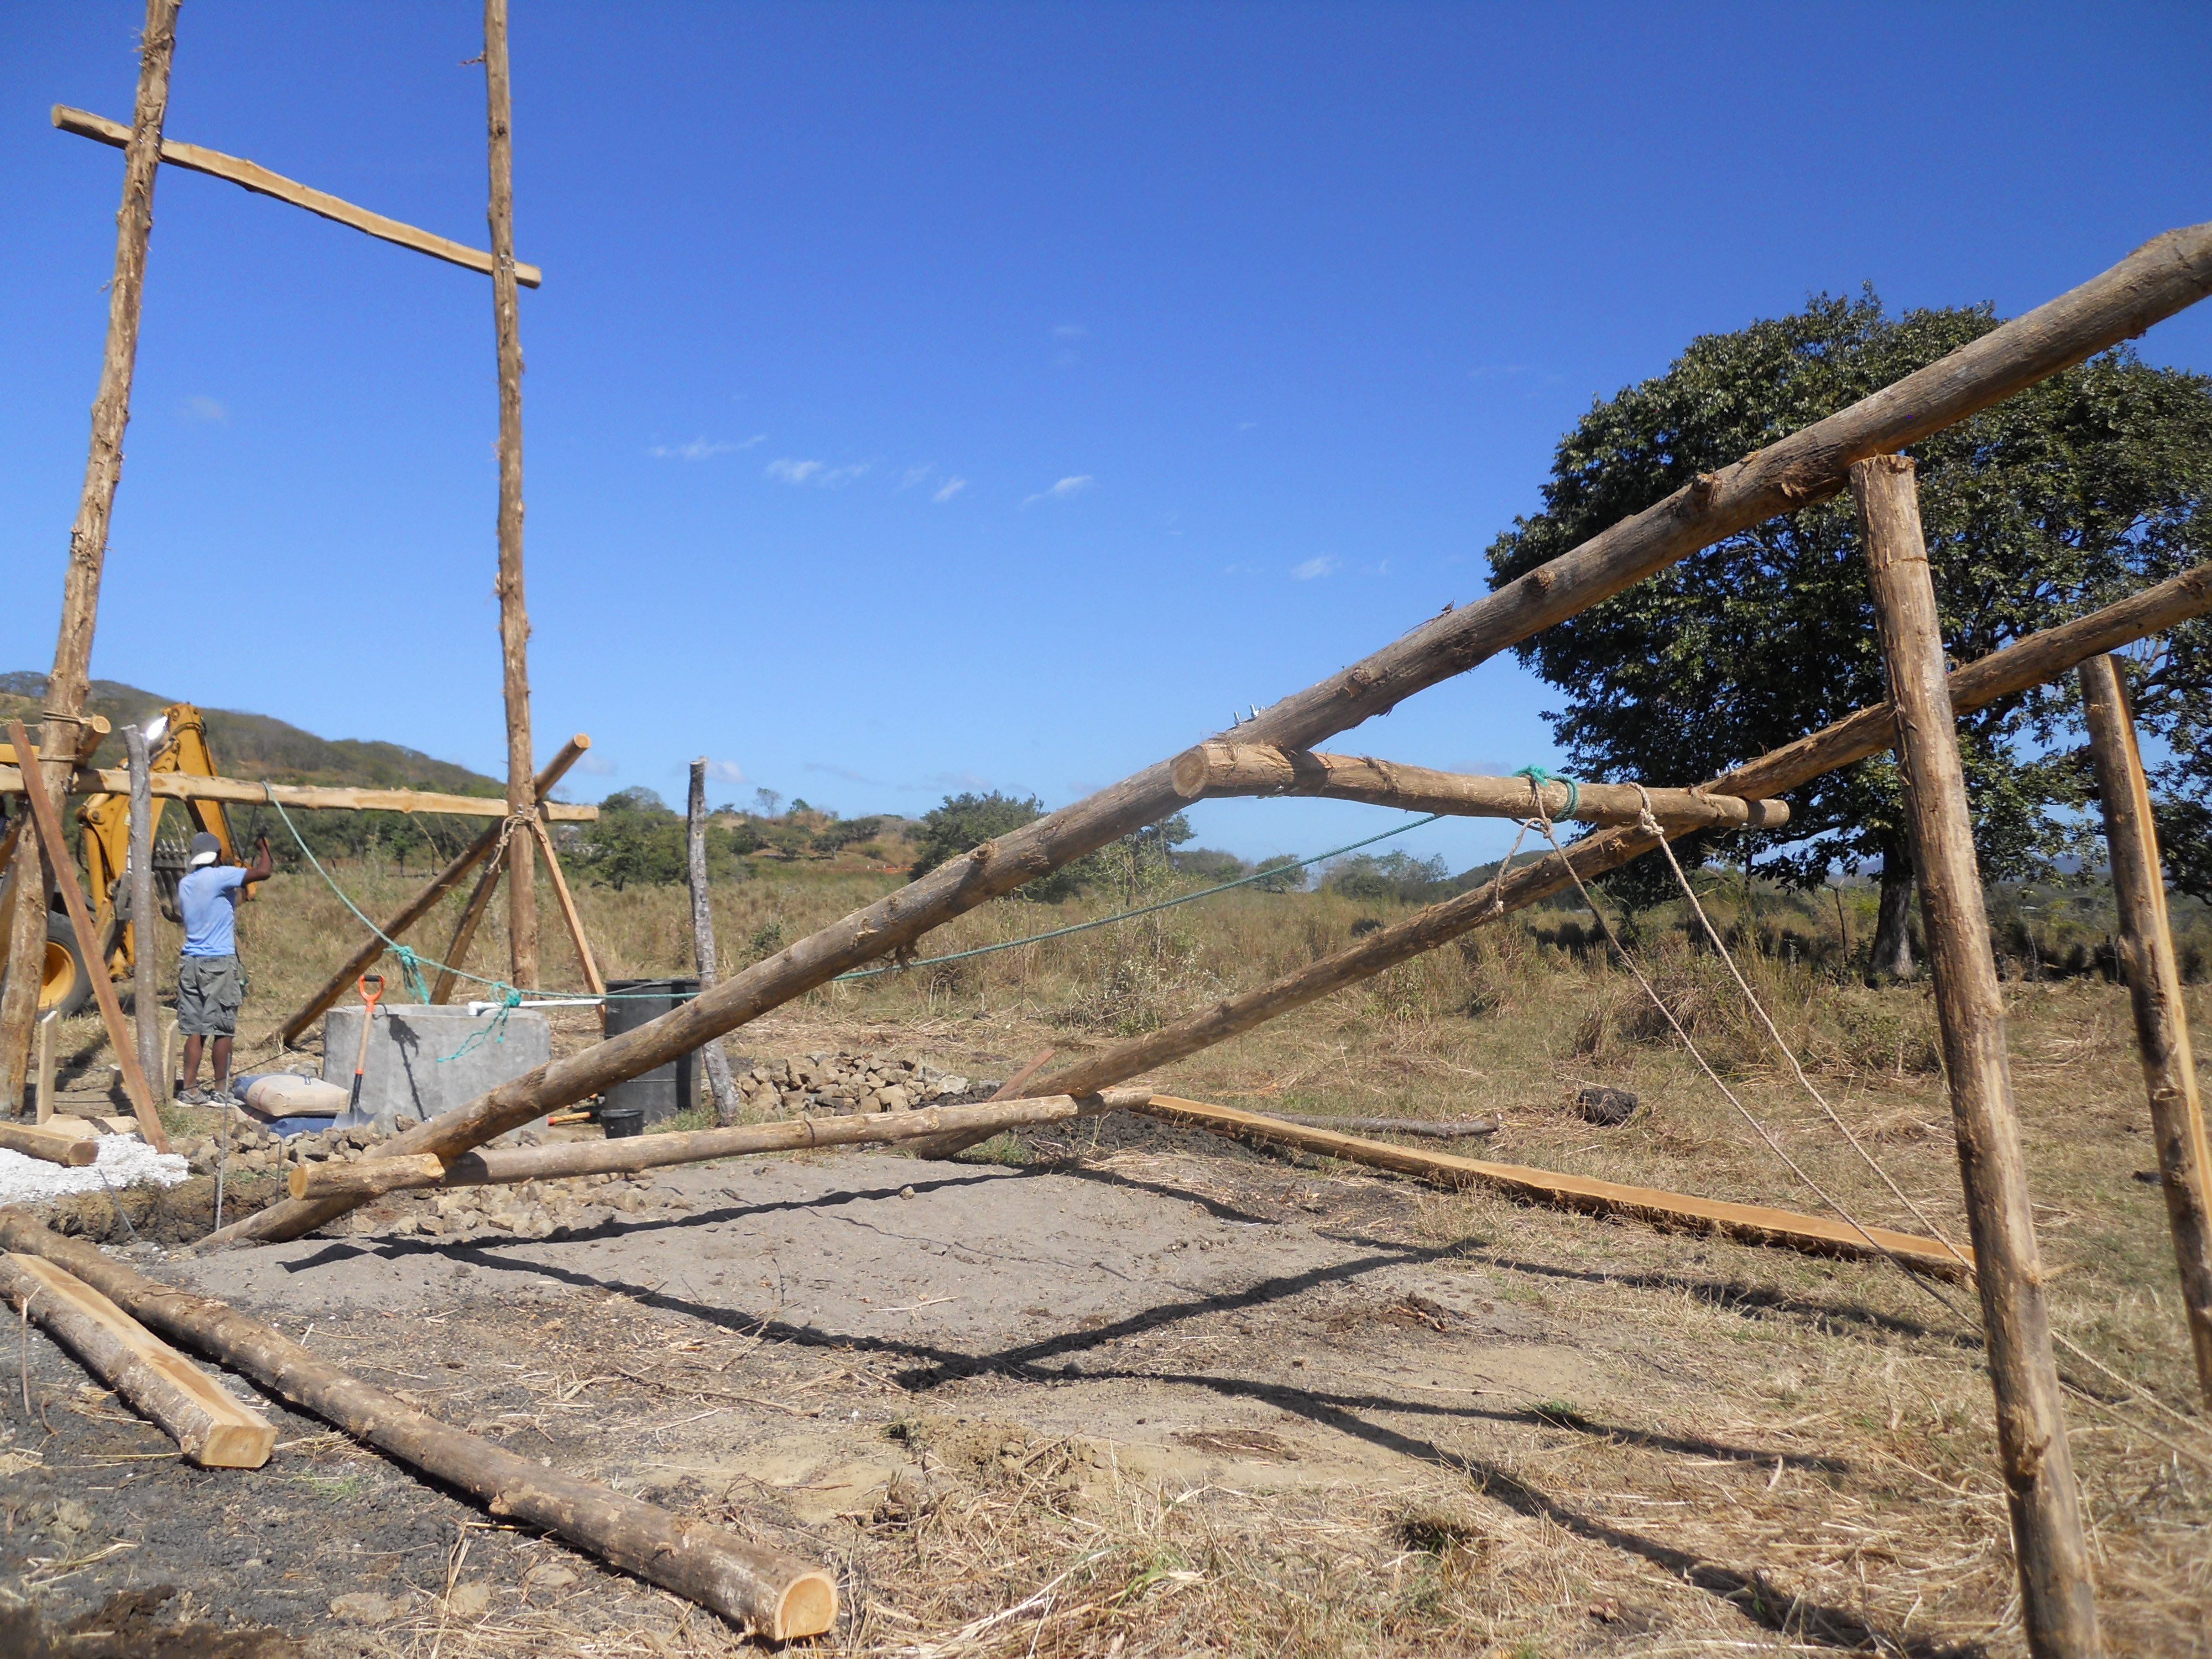
Here you can see the backhoe in a new position to continue raising the poles that were lifted and propped up.
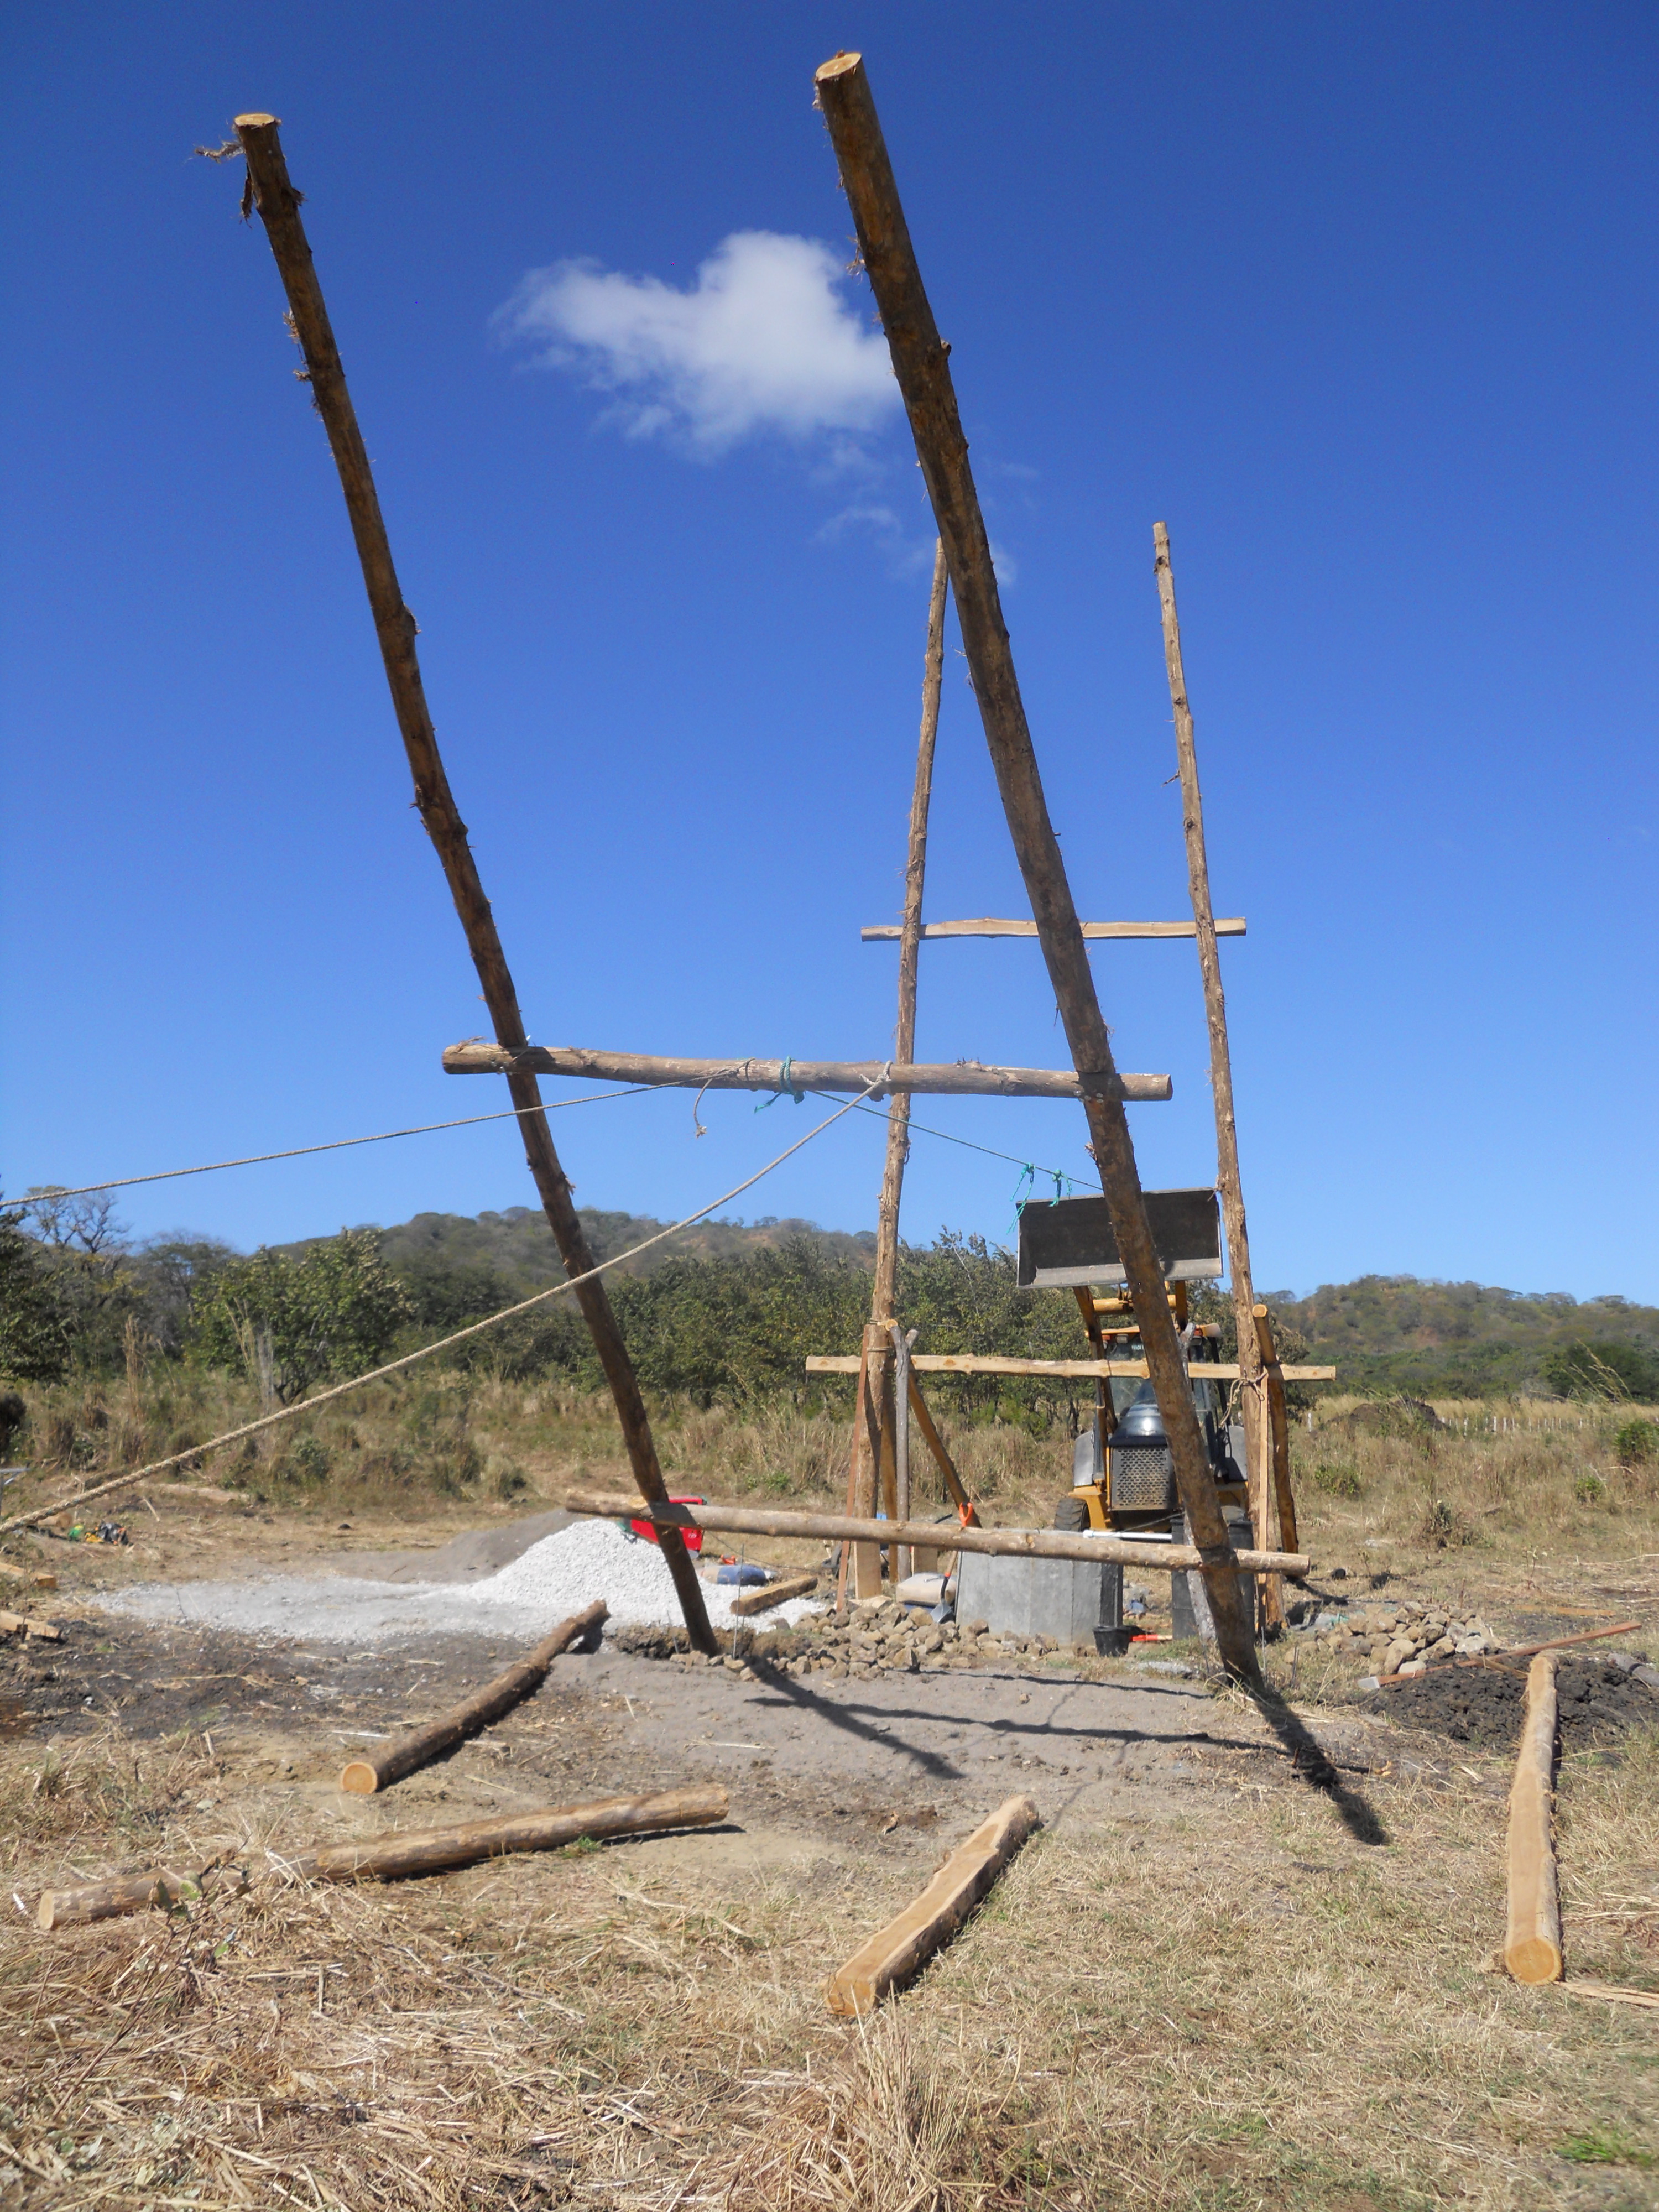
Here you can see the backhoe gradually pulling/raising the poles…
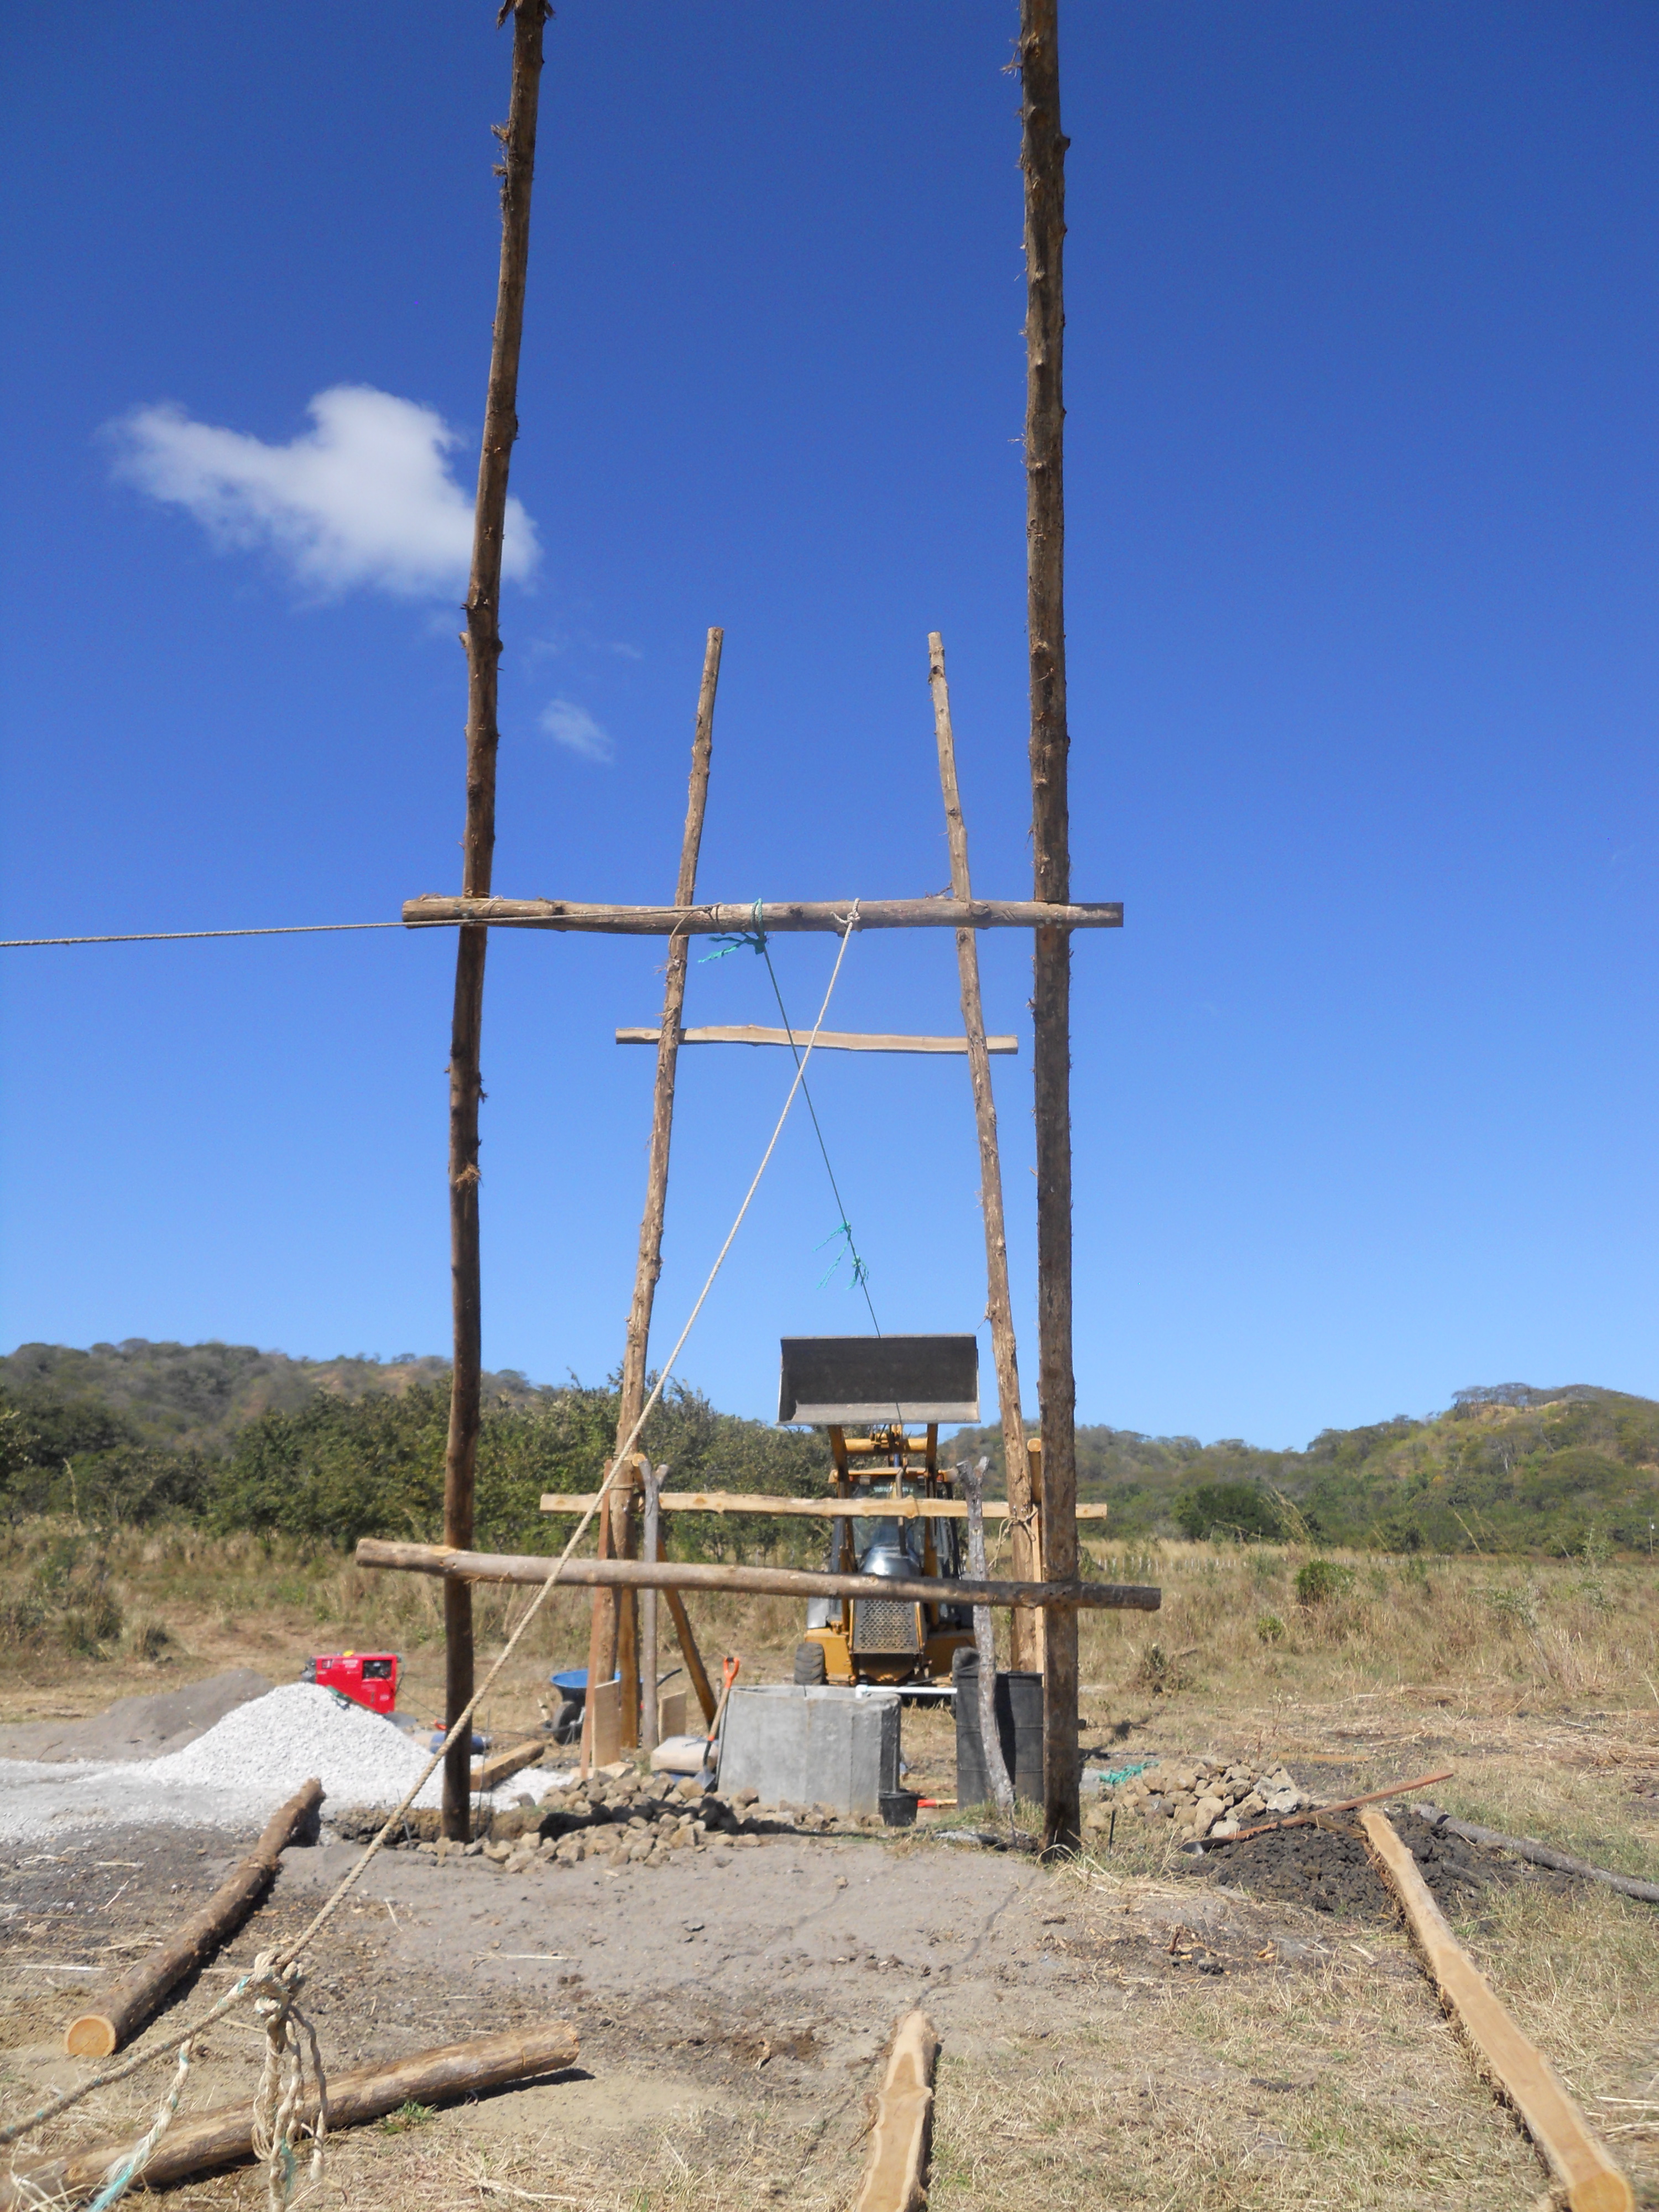
Once the poles were almost vertical, we temporarily braced them to facilitate centering the base of the poles in their respective concrete foundations.
Jesus centering the posts using a large teak lever.
The pickup truck supported the poles at just the right angle, until they were fastened into place with two more horizontal teak poles and the two remaining foundation holes filled with concrete. At this point, the hardest part was now done so the rope is being removed from the pickup.
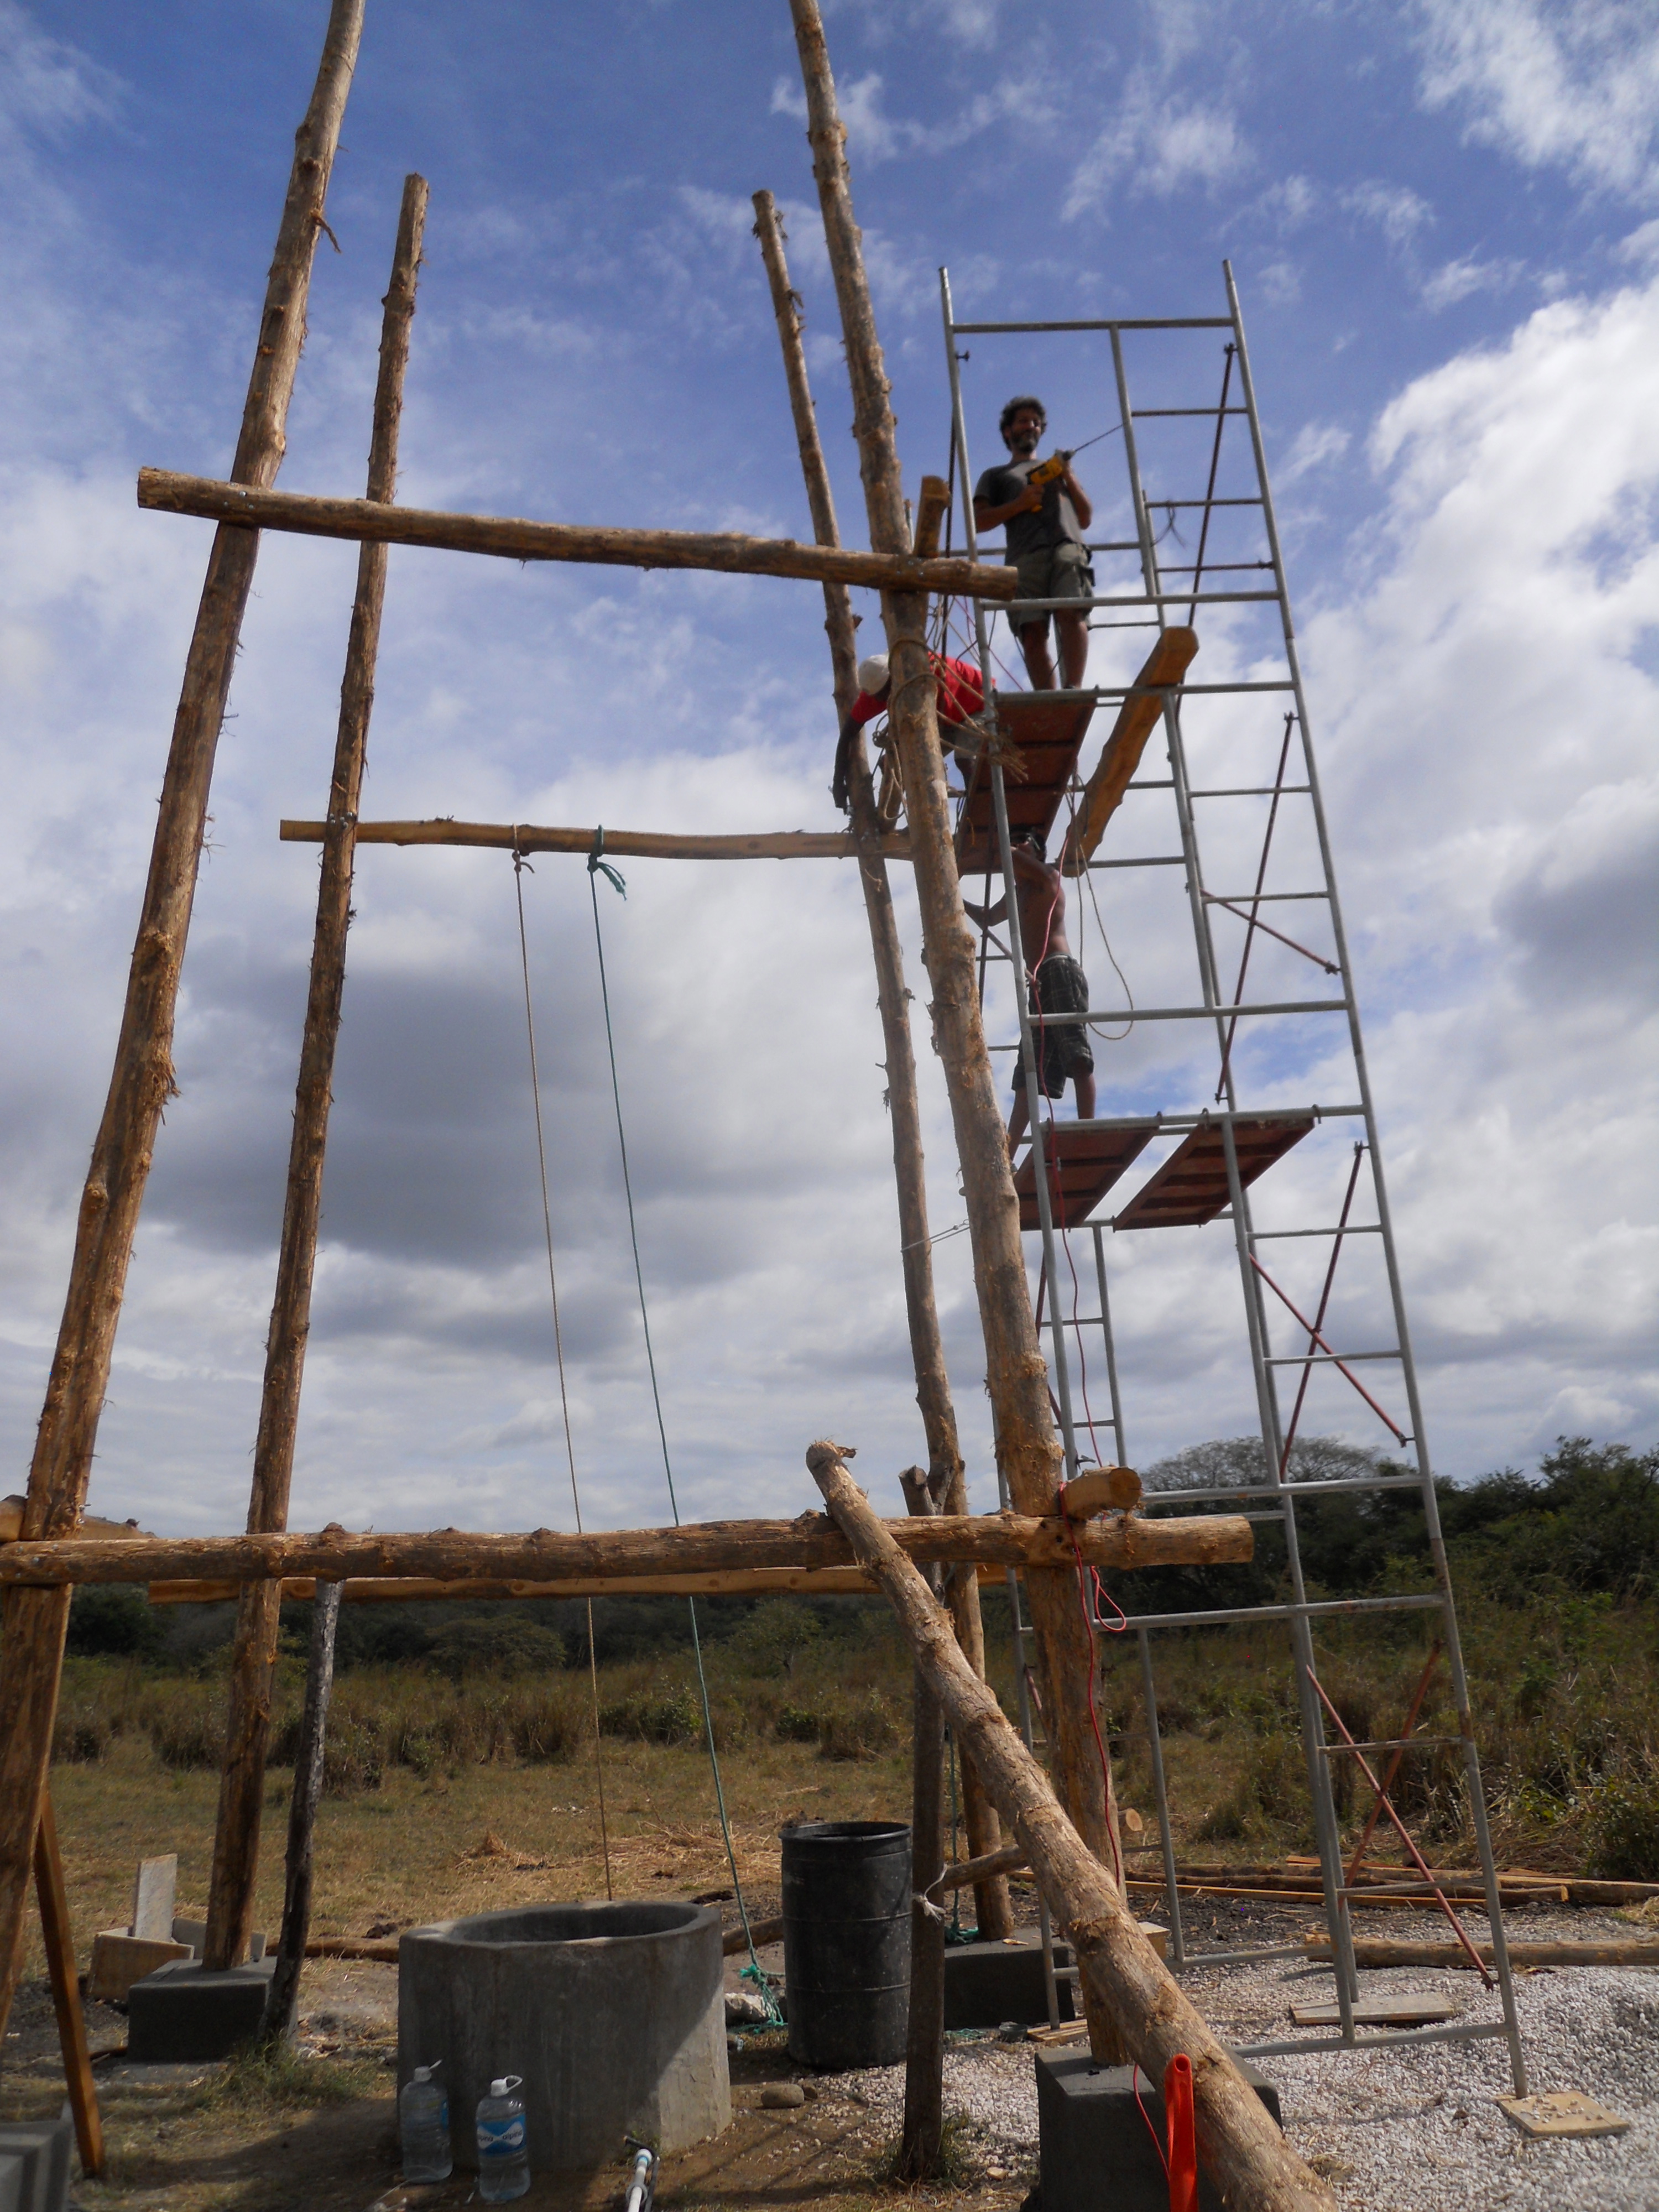
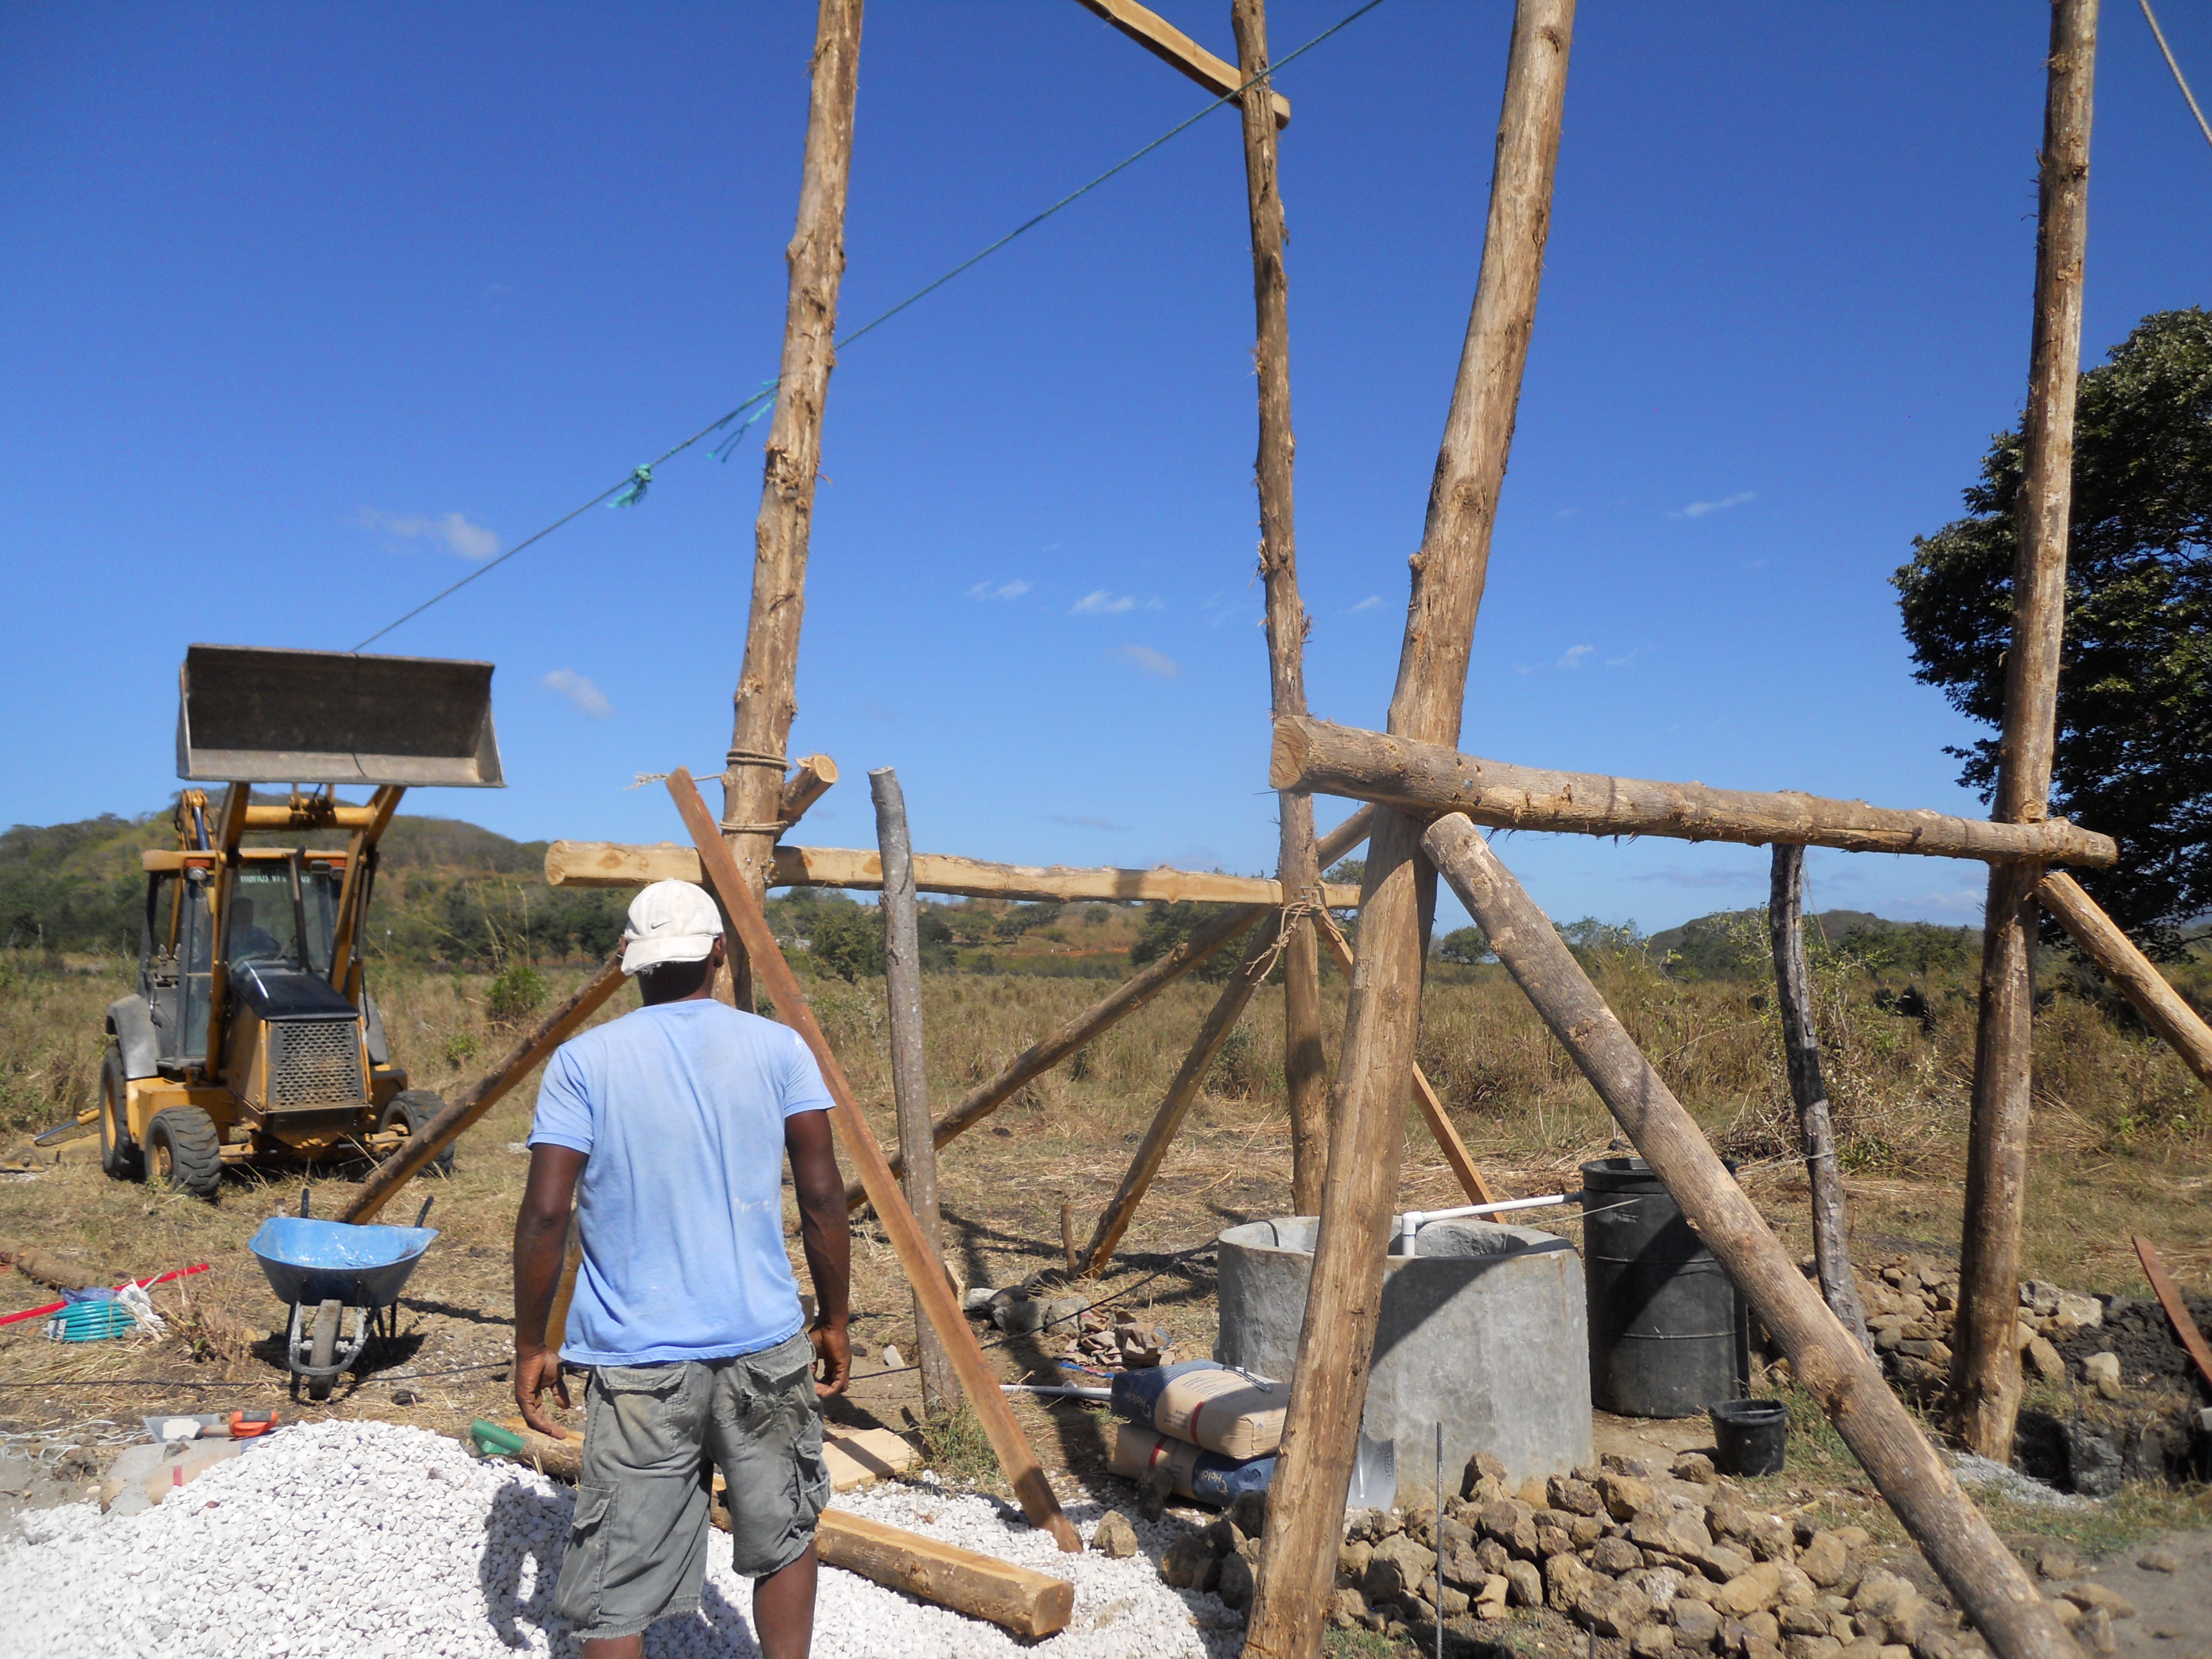
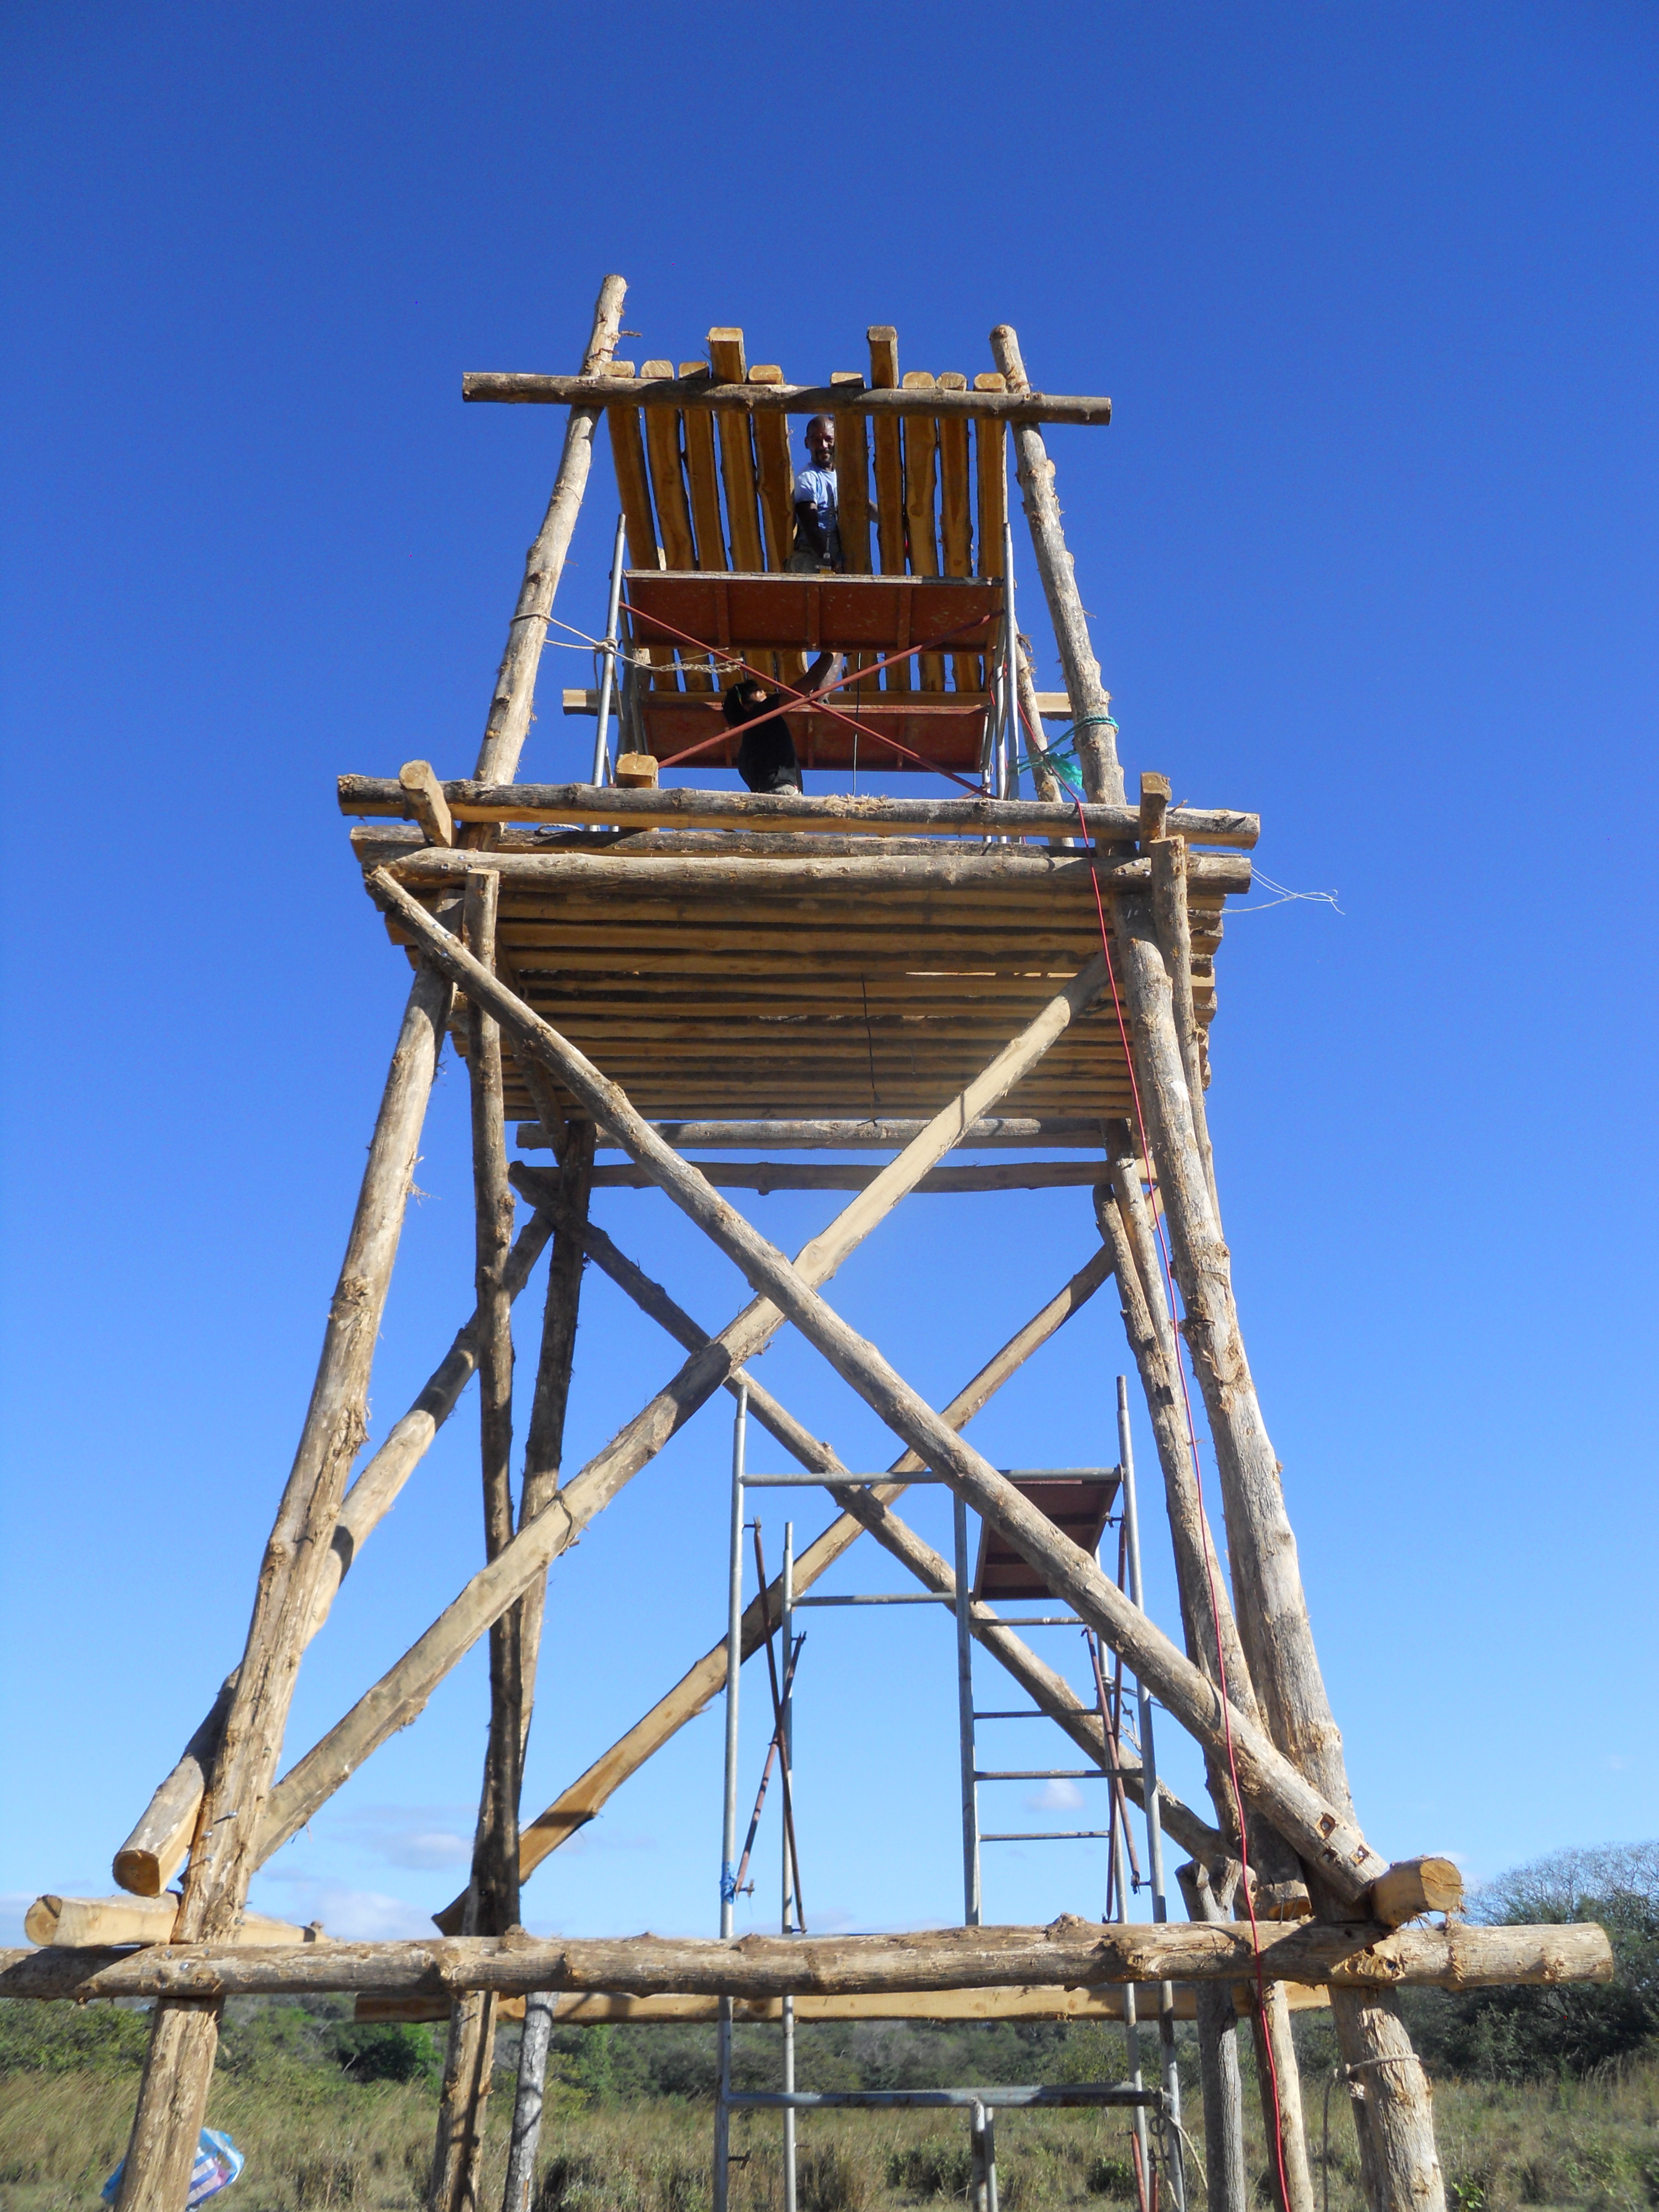
Next, I rented some scaffolding so we could attach the rest of the teak poles. You can also see that the foundation for the 4 pillars has been extended above ground level. In hindsight, I would have been better off fabricating some metal brackets to avoid having to cast the poles directly into the concrete, where moisture and alkalinity will decompose the wood prematurely. I also later discovered how hard it is to prevent termites and carpenter bees from burrowing their own cities into the wood–made me realize that metal would have been a more durable, though more expensive and not nearly as charming a material to use…and the futility of building with wood here in general.
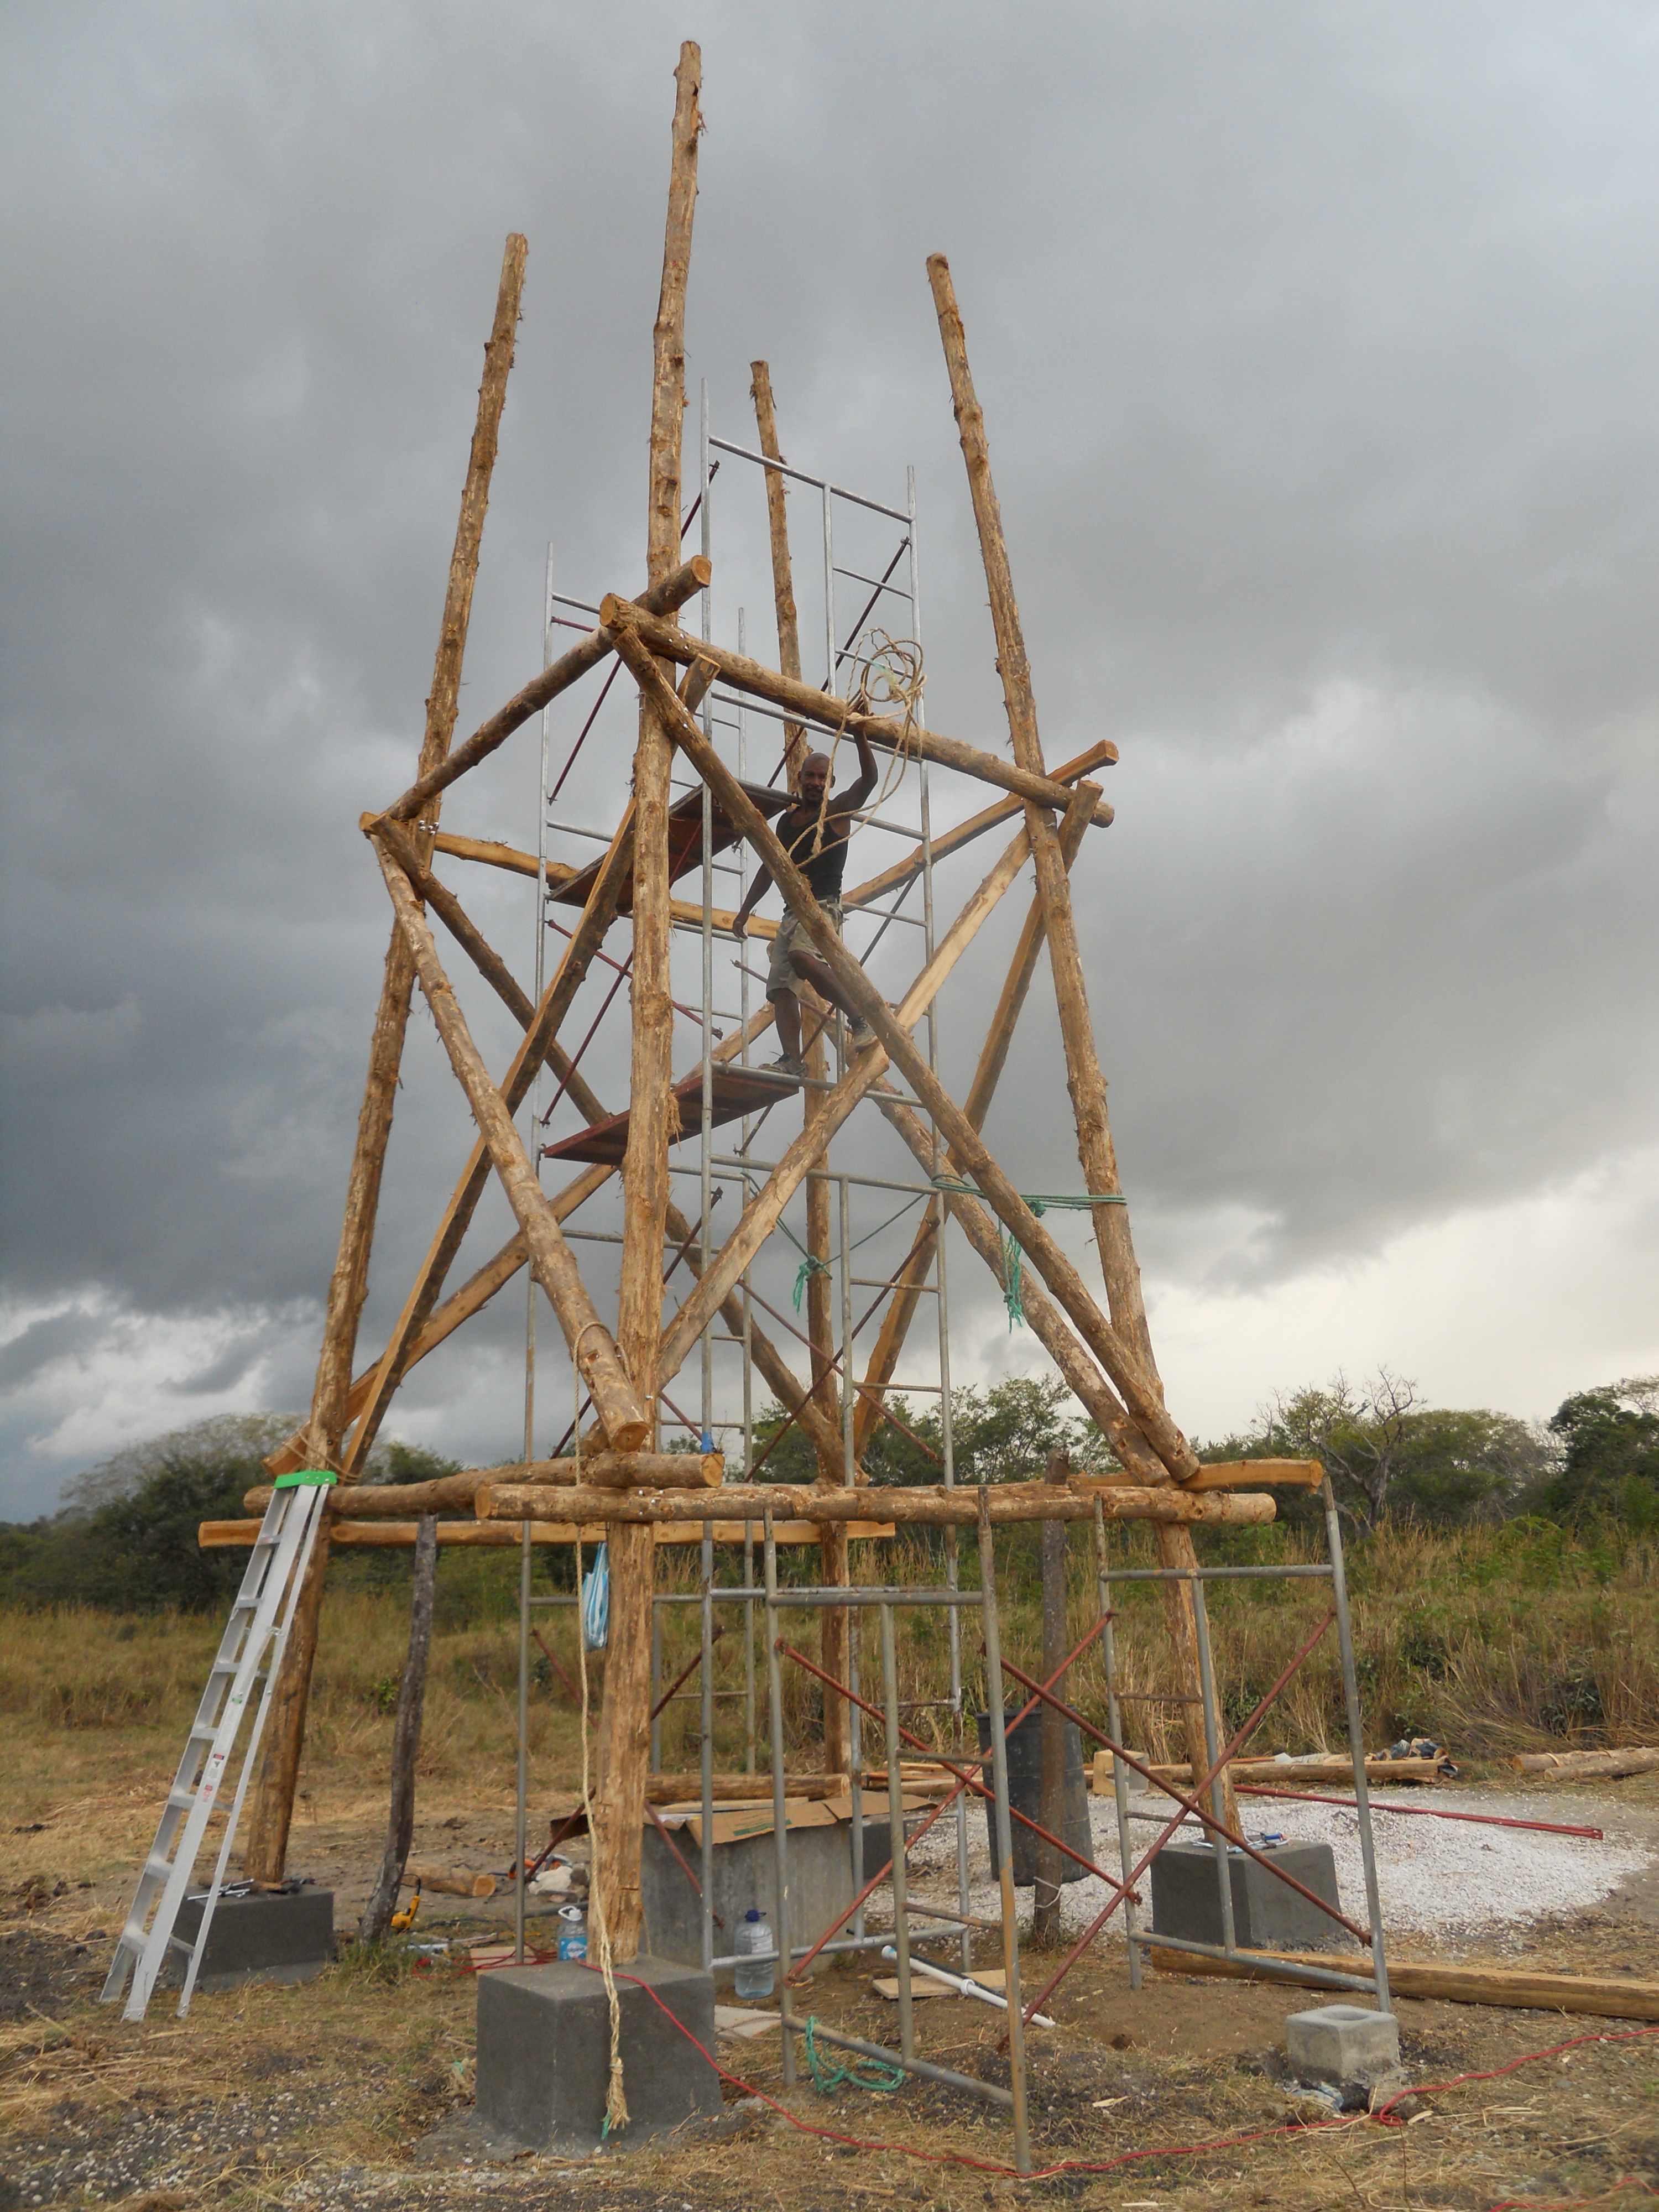
Upon completing the four crosses to strengthen the tower since it will be carrying a lot of weight…
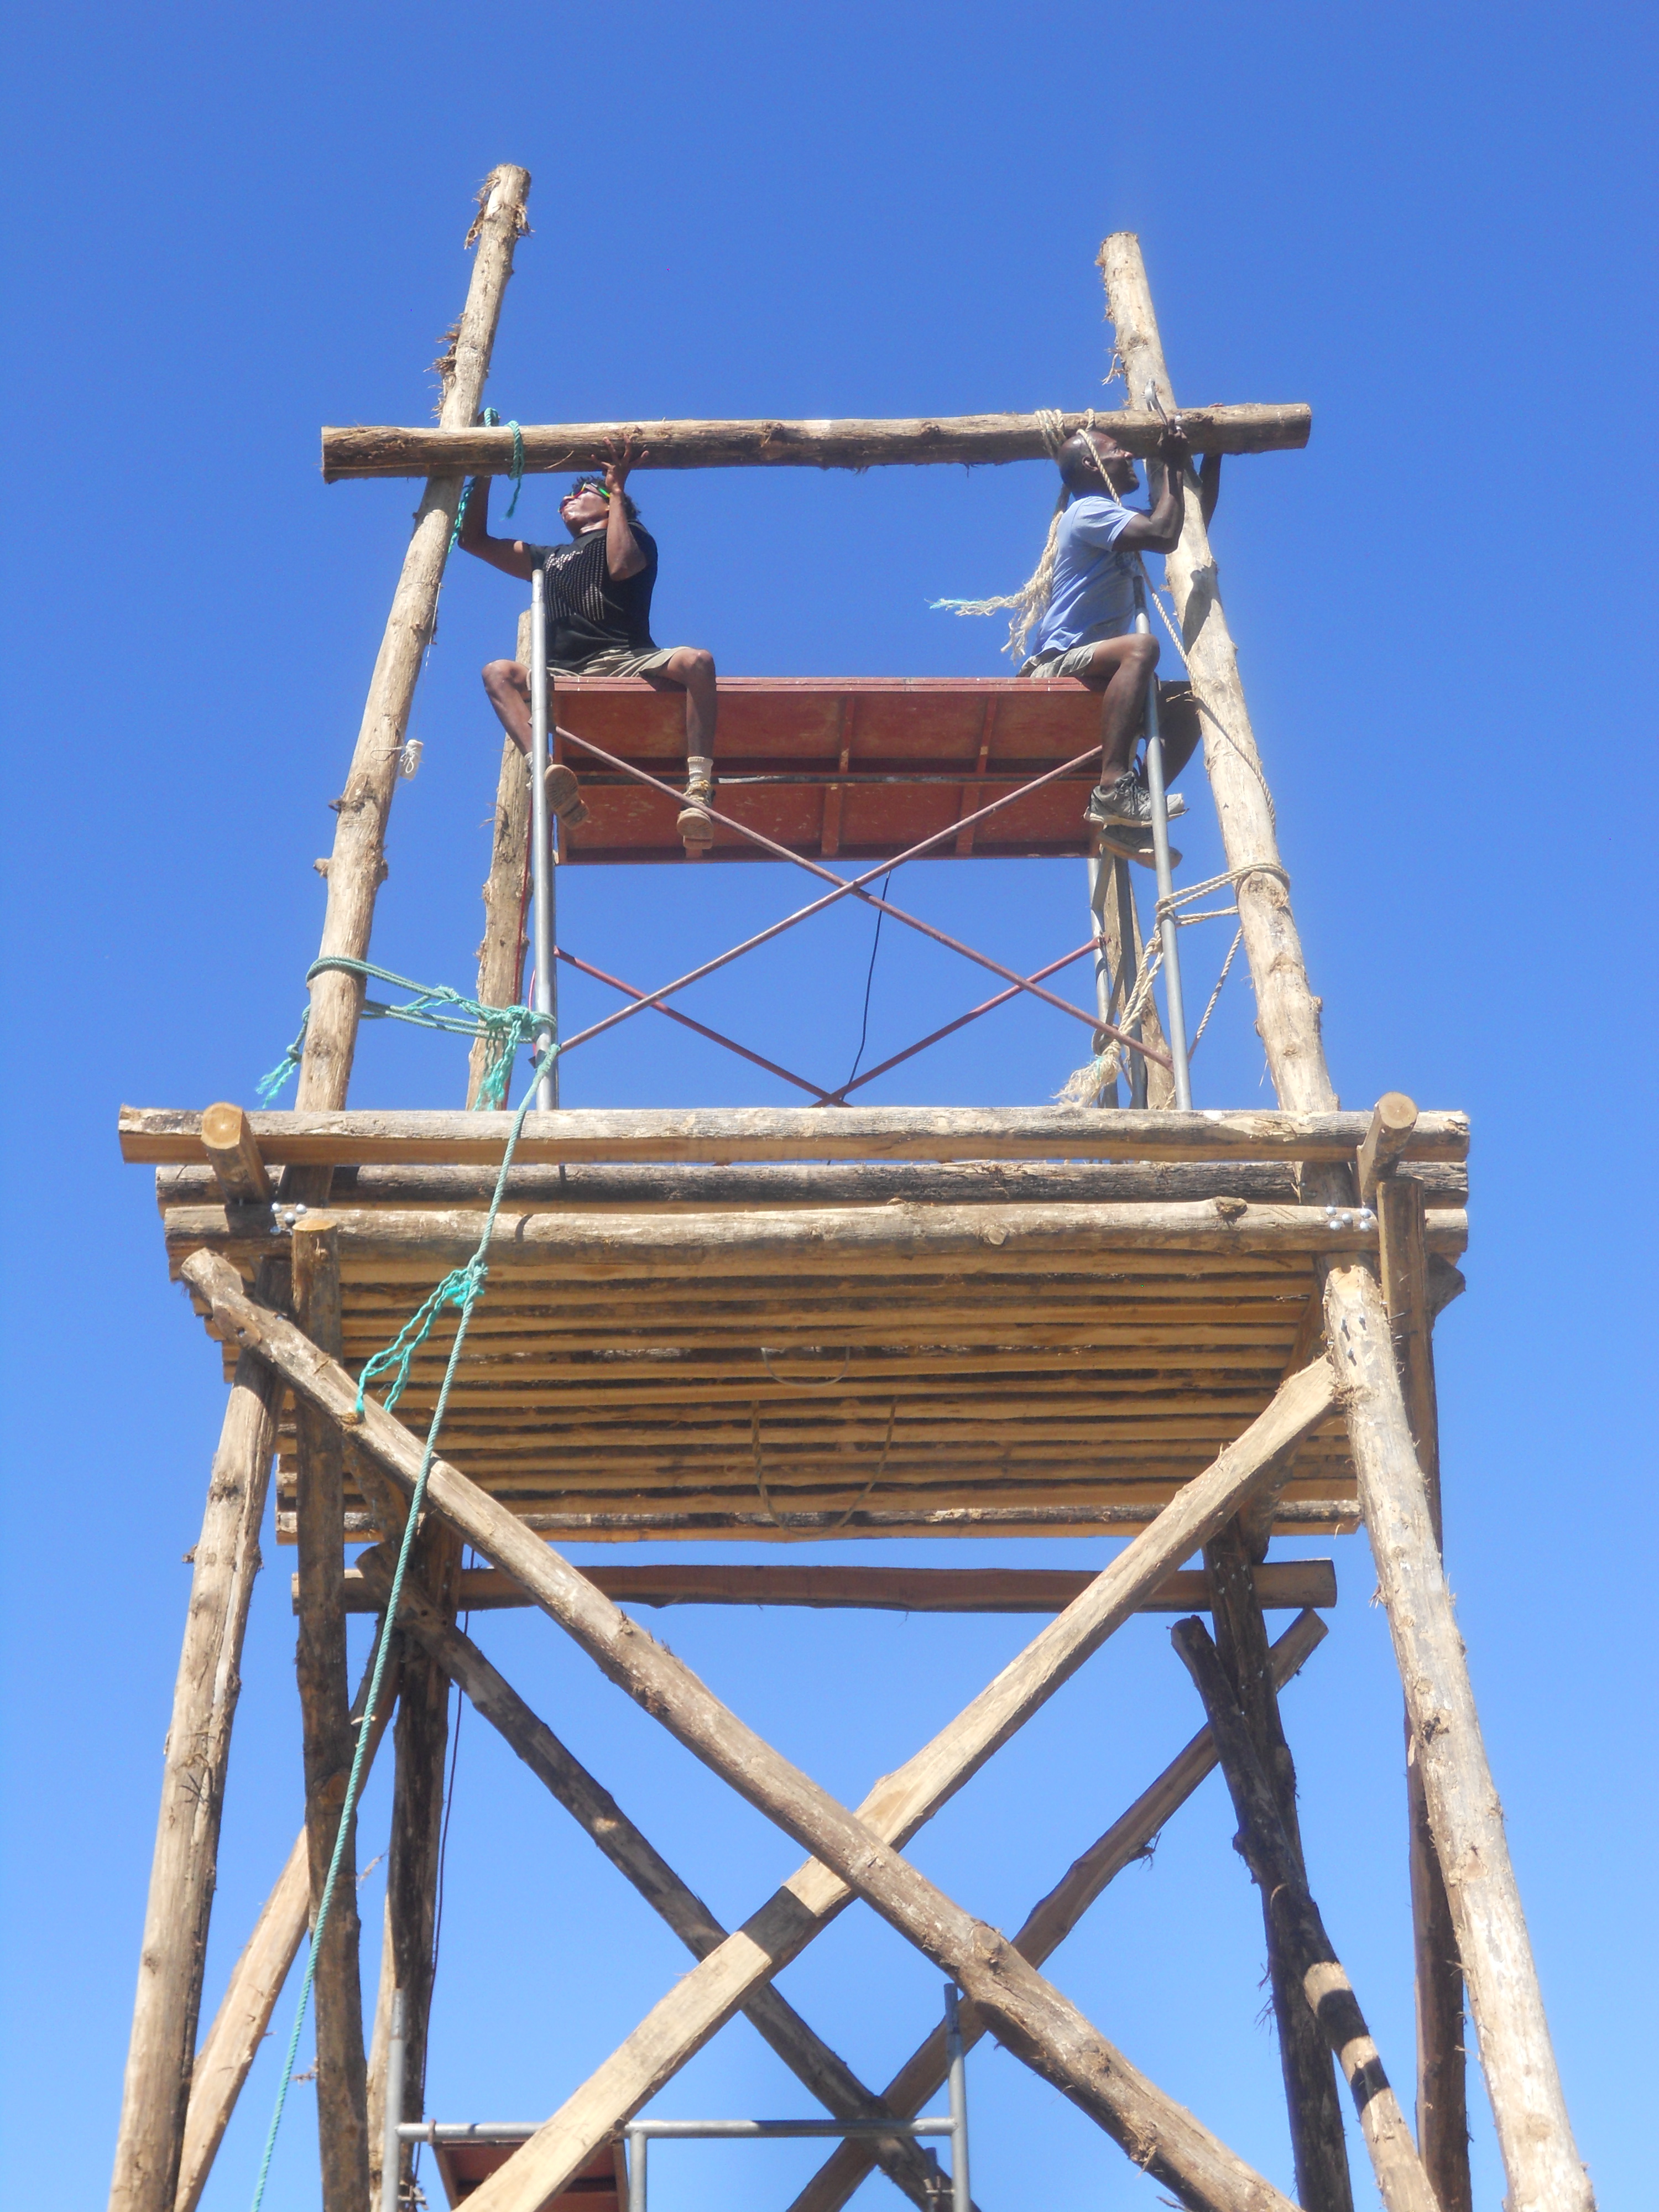
With the scaffolding well secured to the tower, Seco & Jesus began installing the top level.
The upper floor almost completed…

We used the pickup truck and some rope to raise the 5000-liter water tank onto the platform.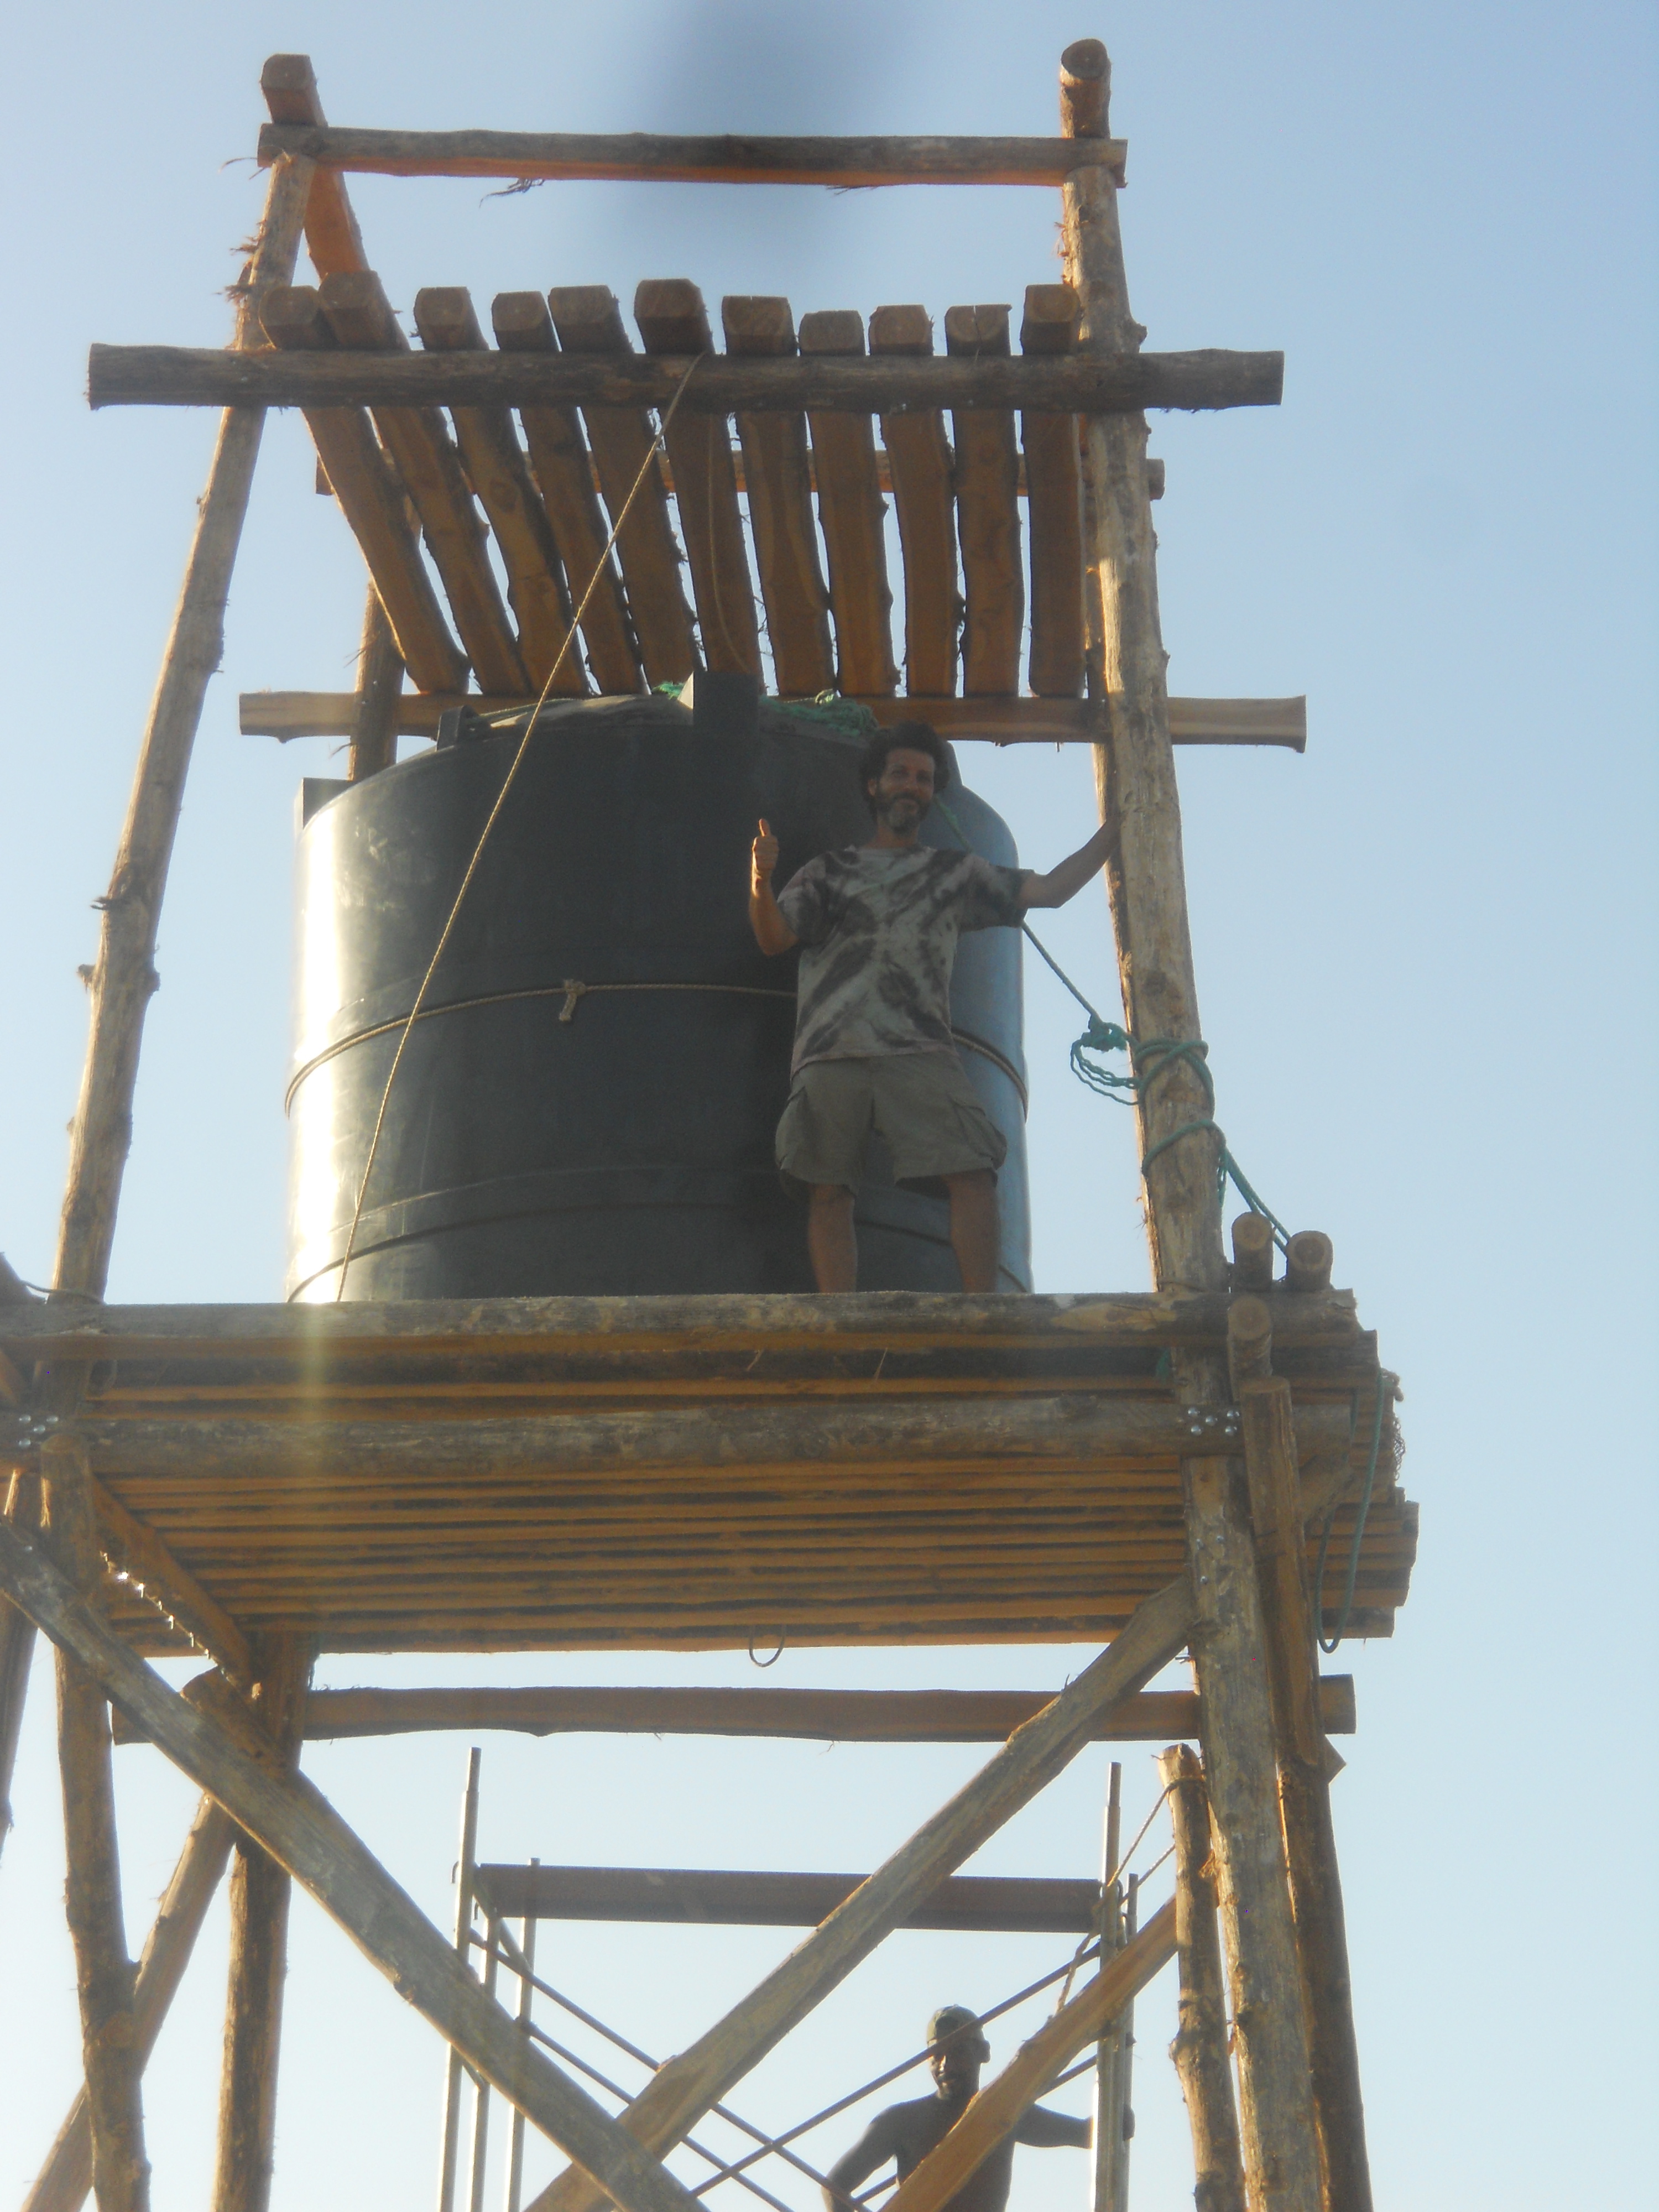
Big sigh of relief!
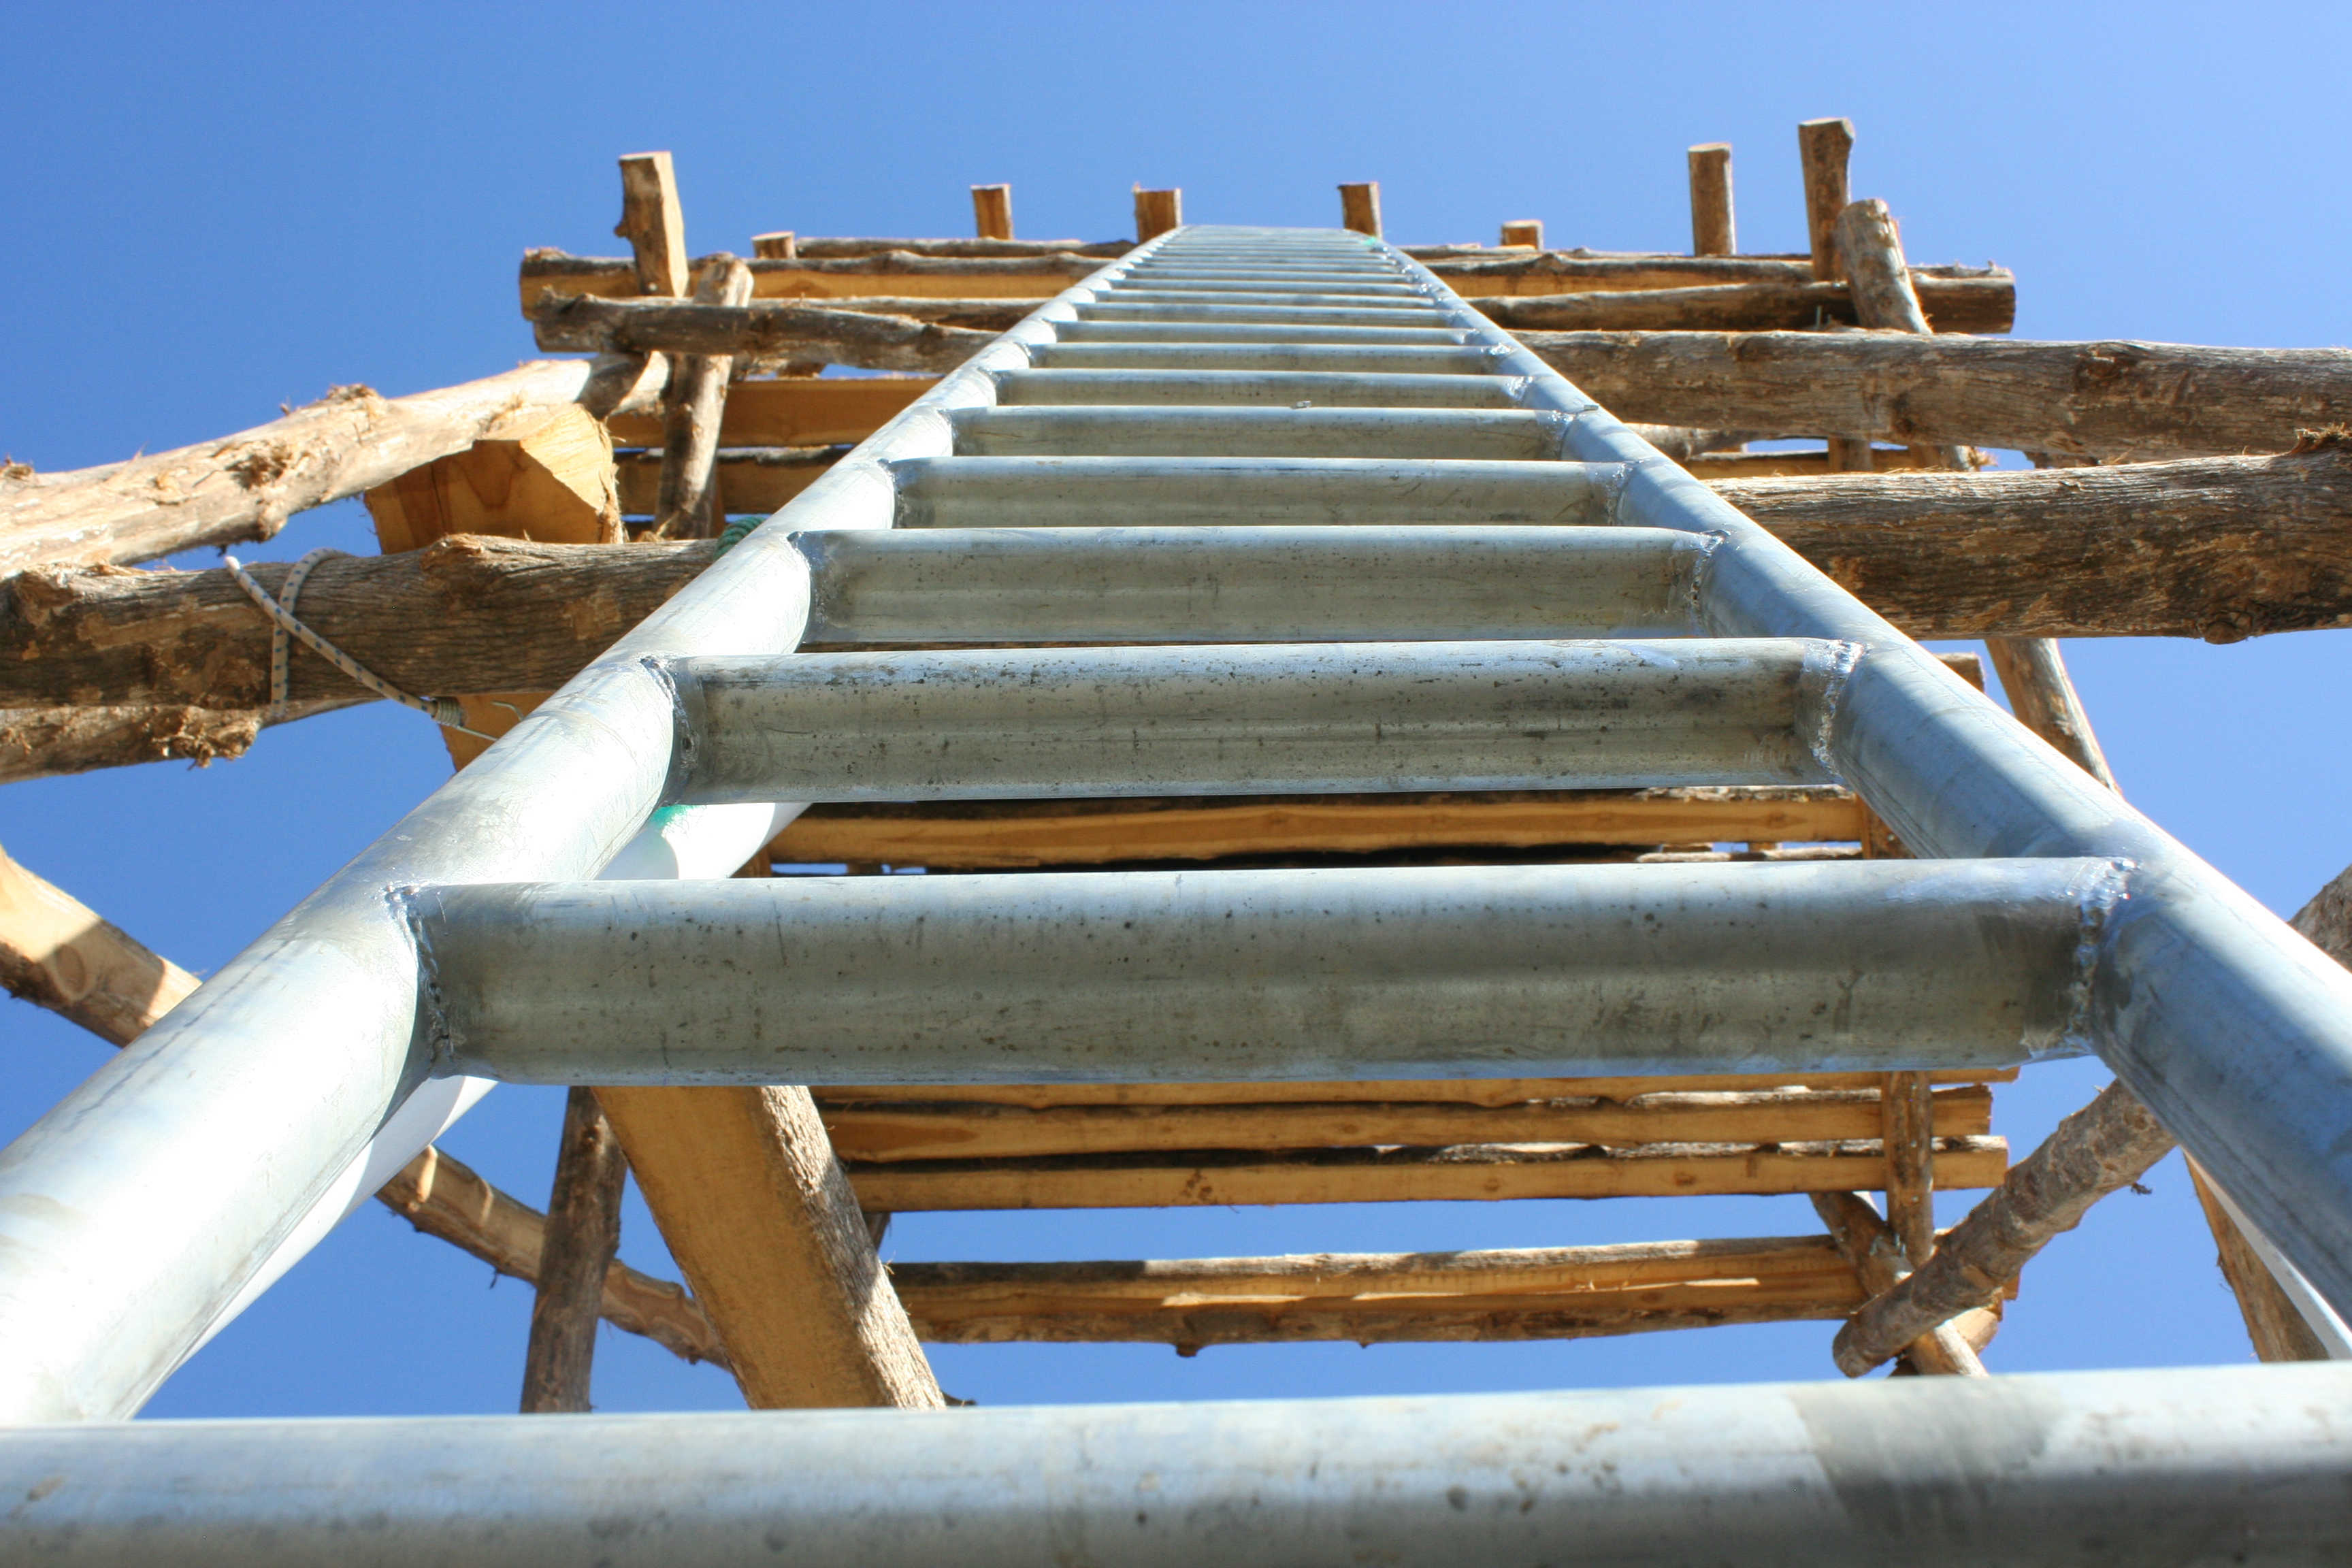
Welded steel steps added to tower.
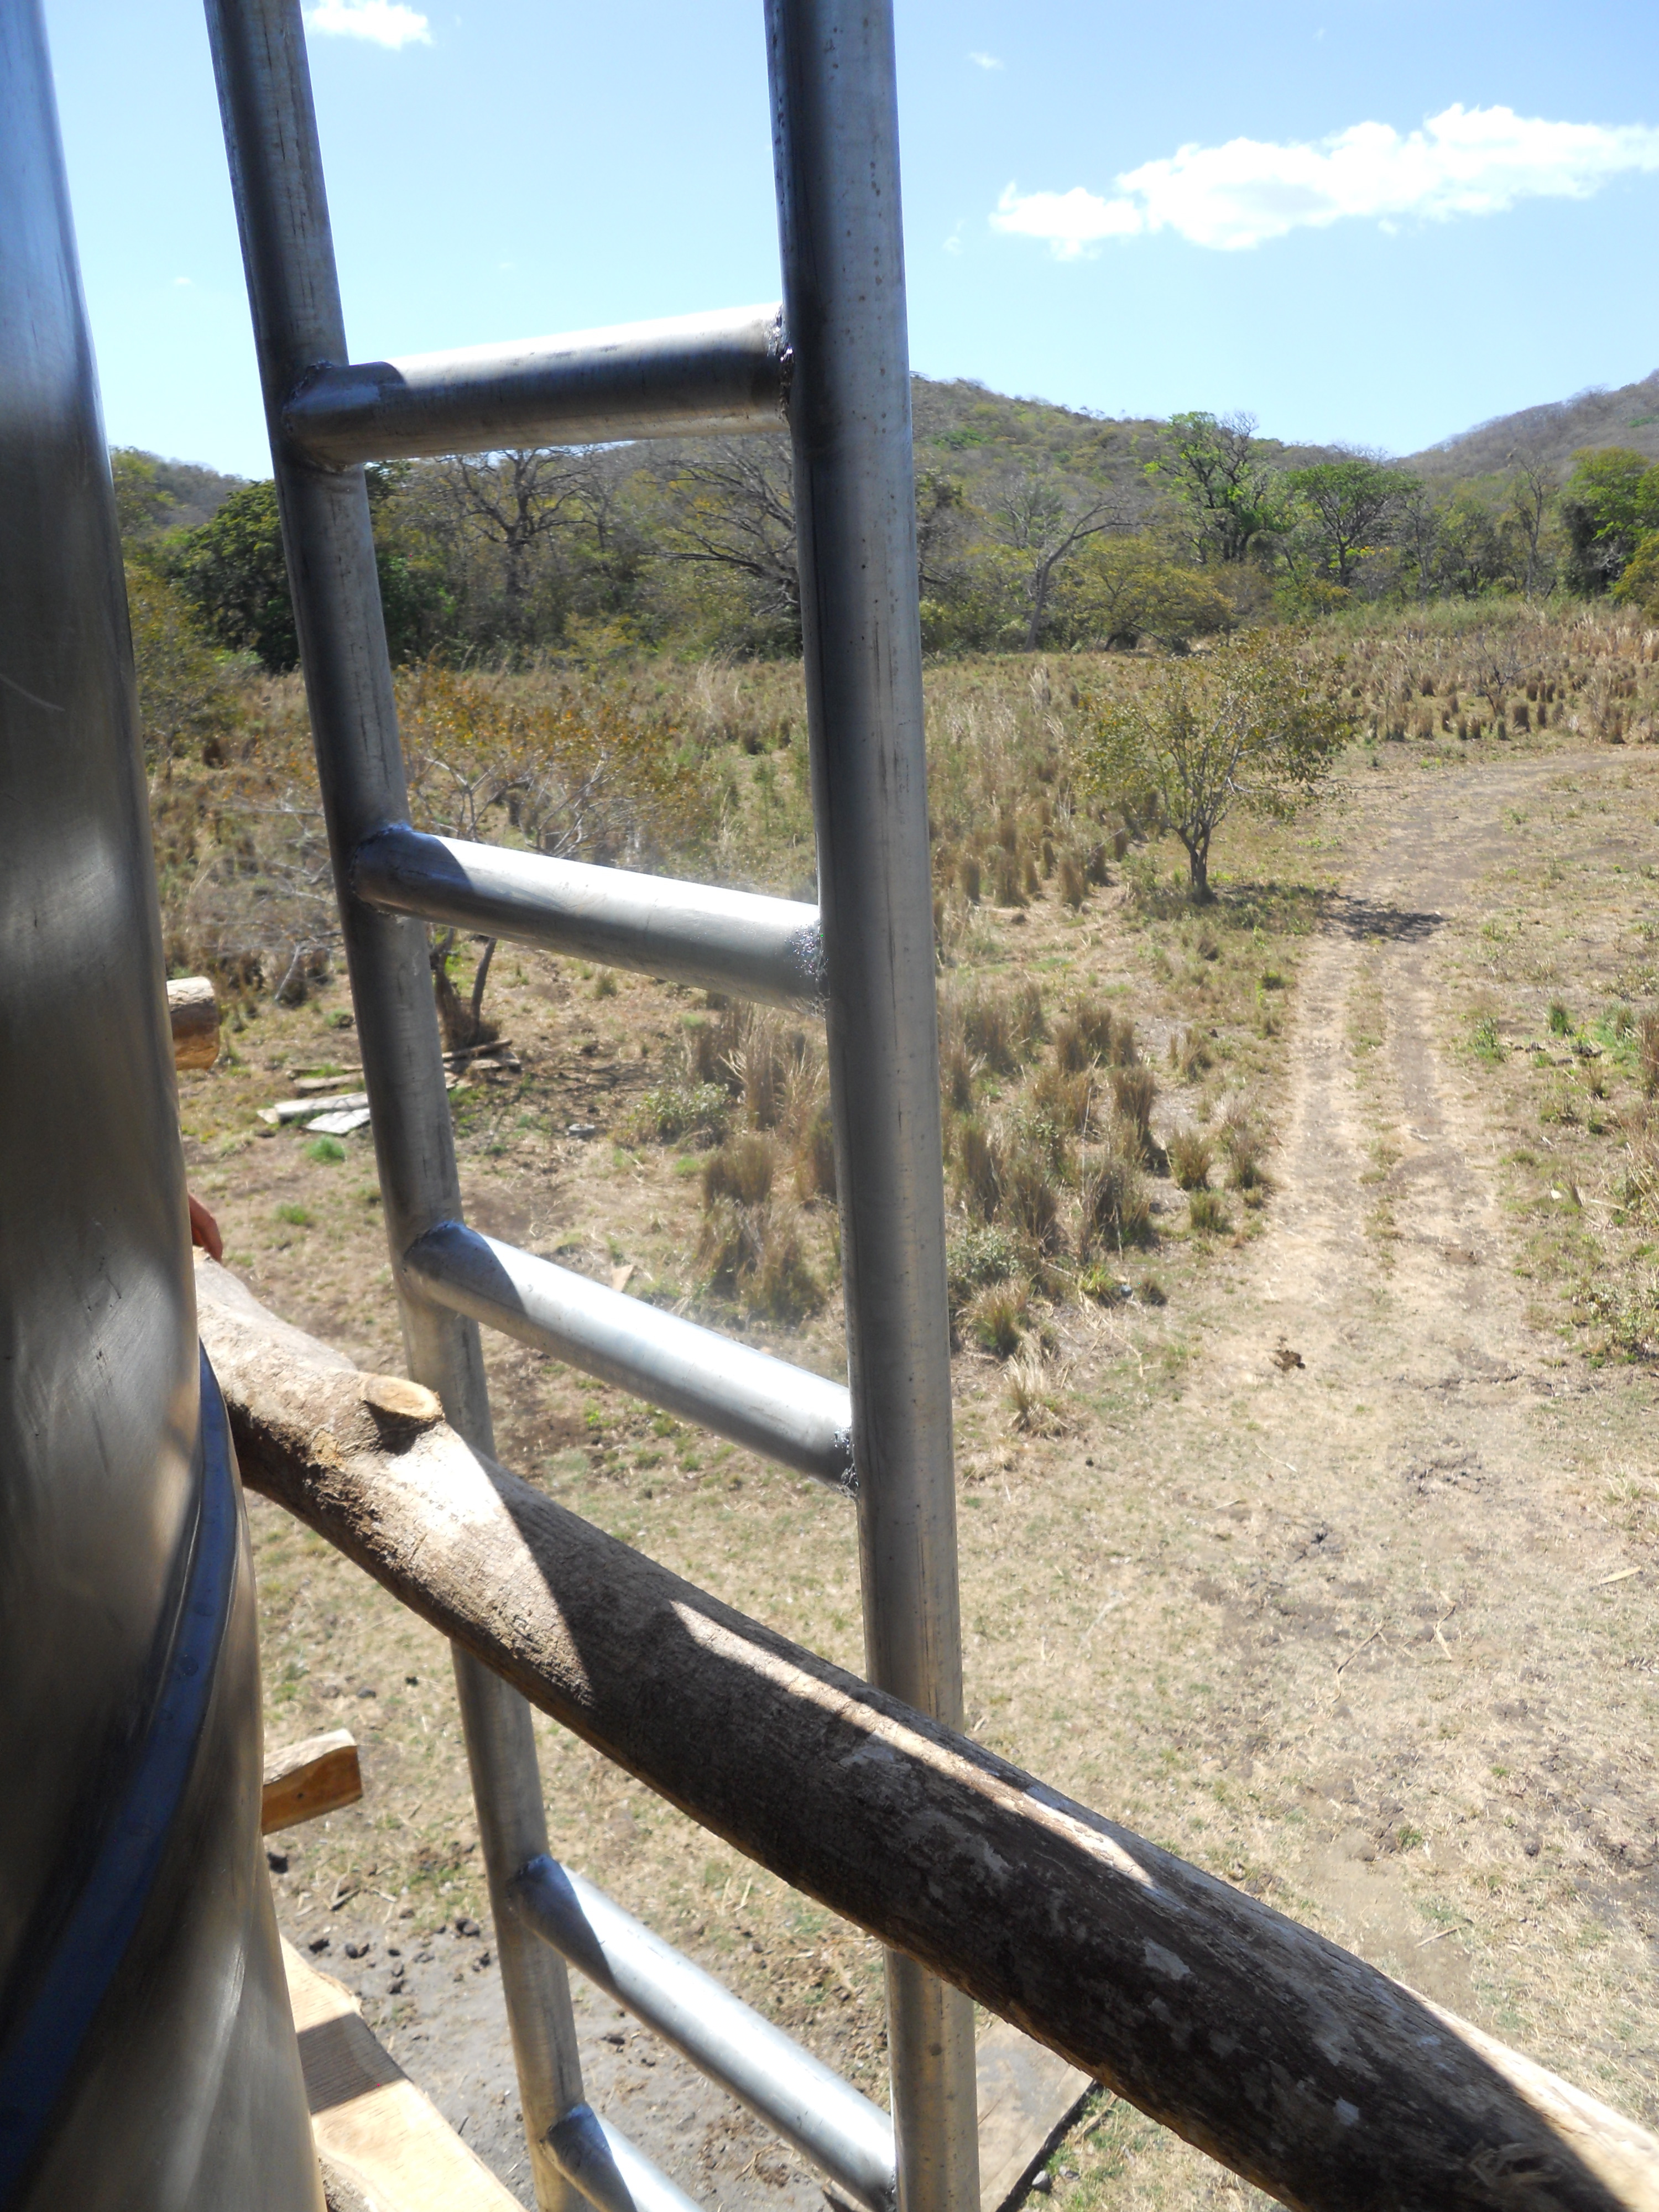
View looking west from the water tank.
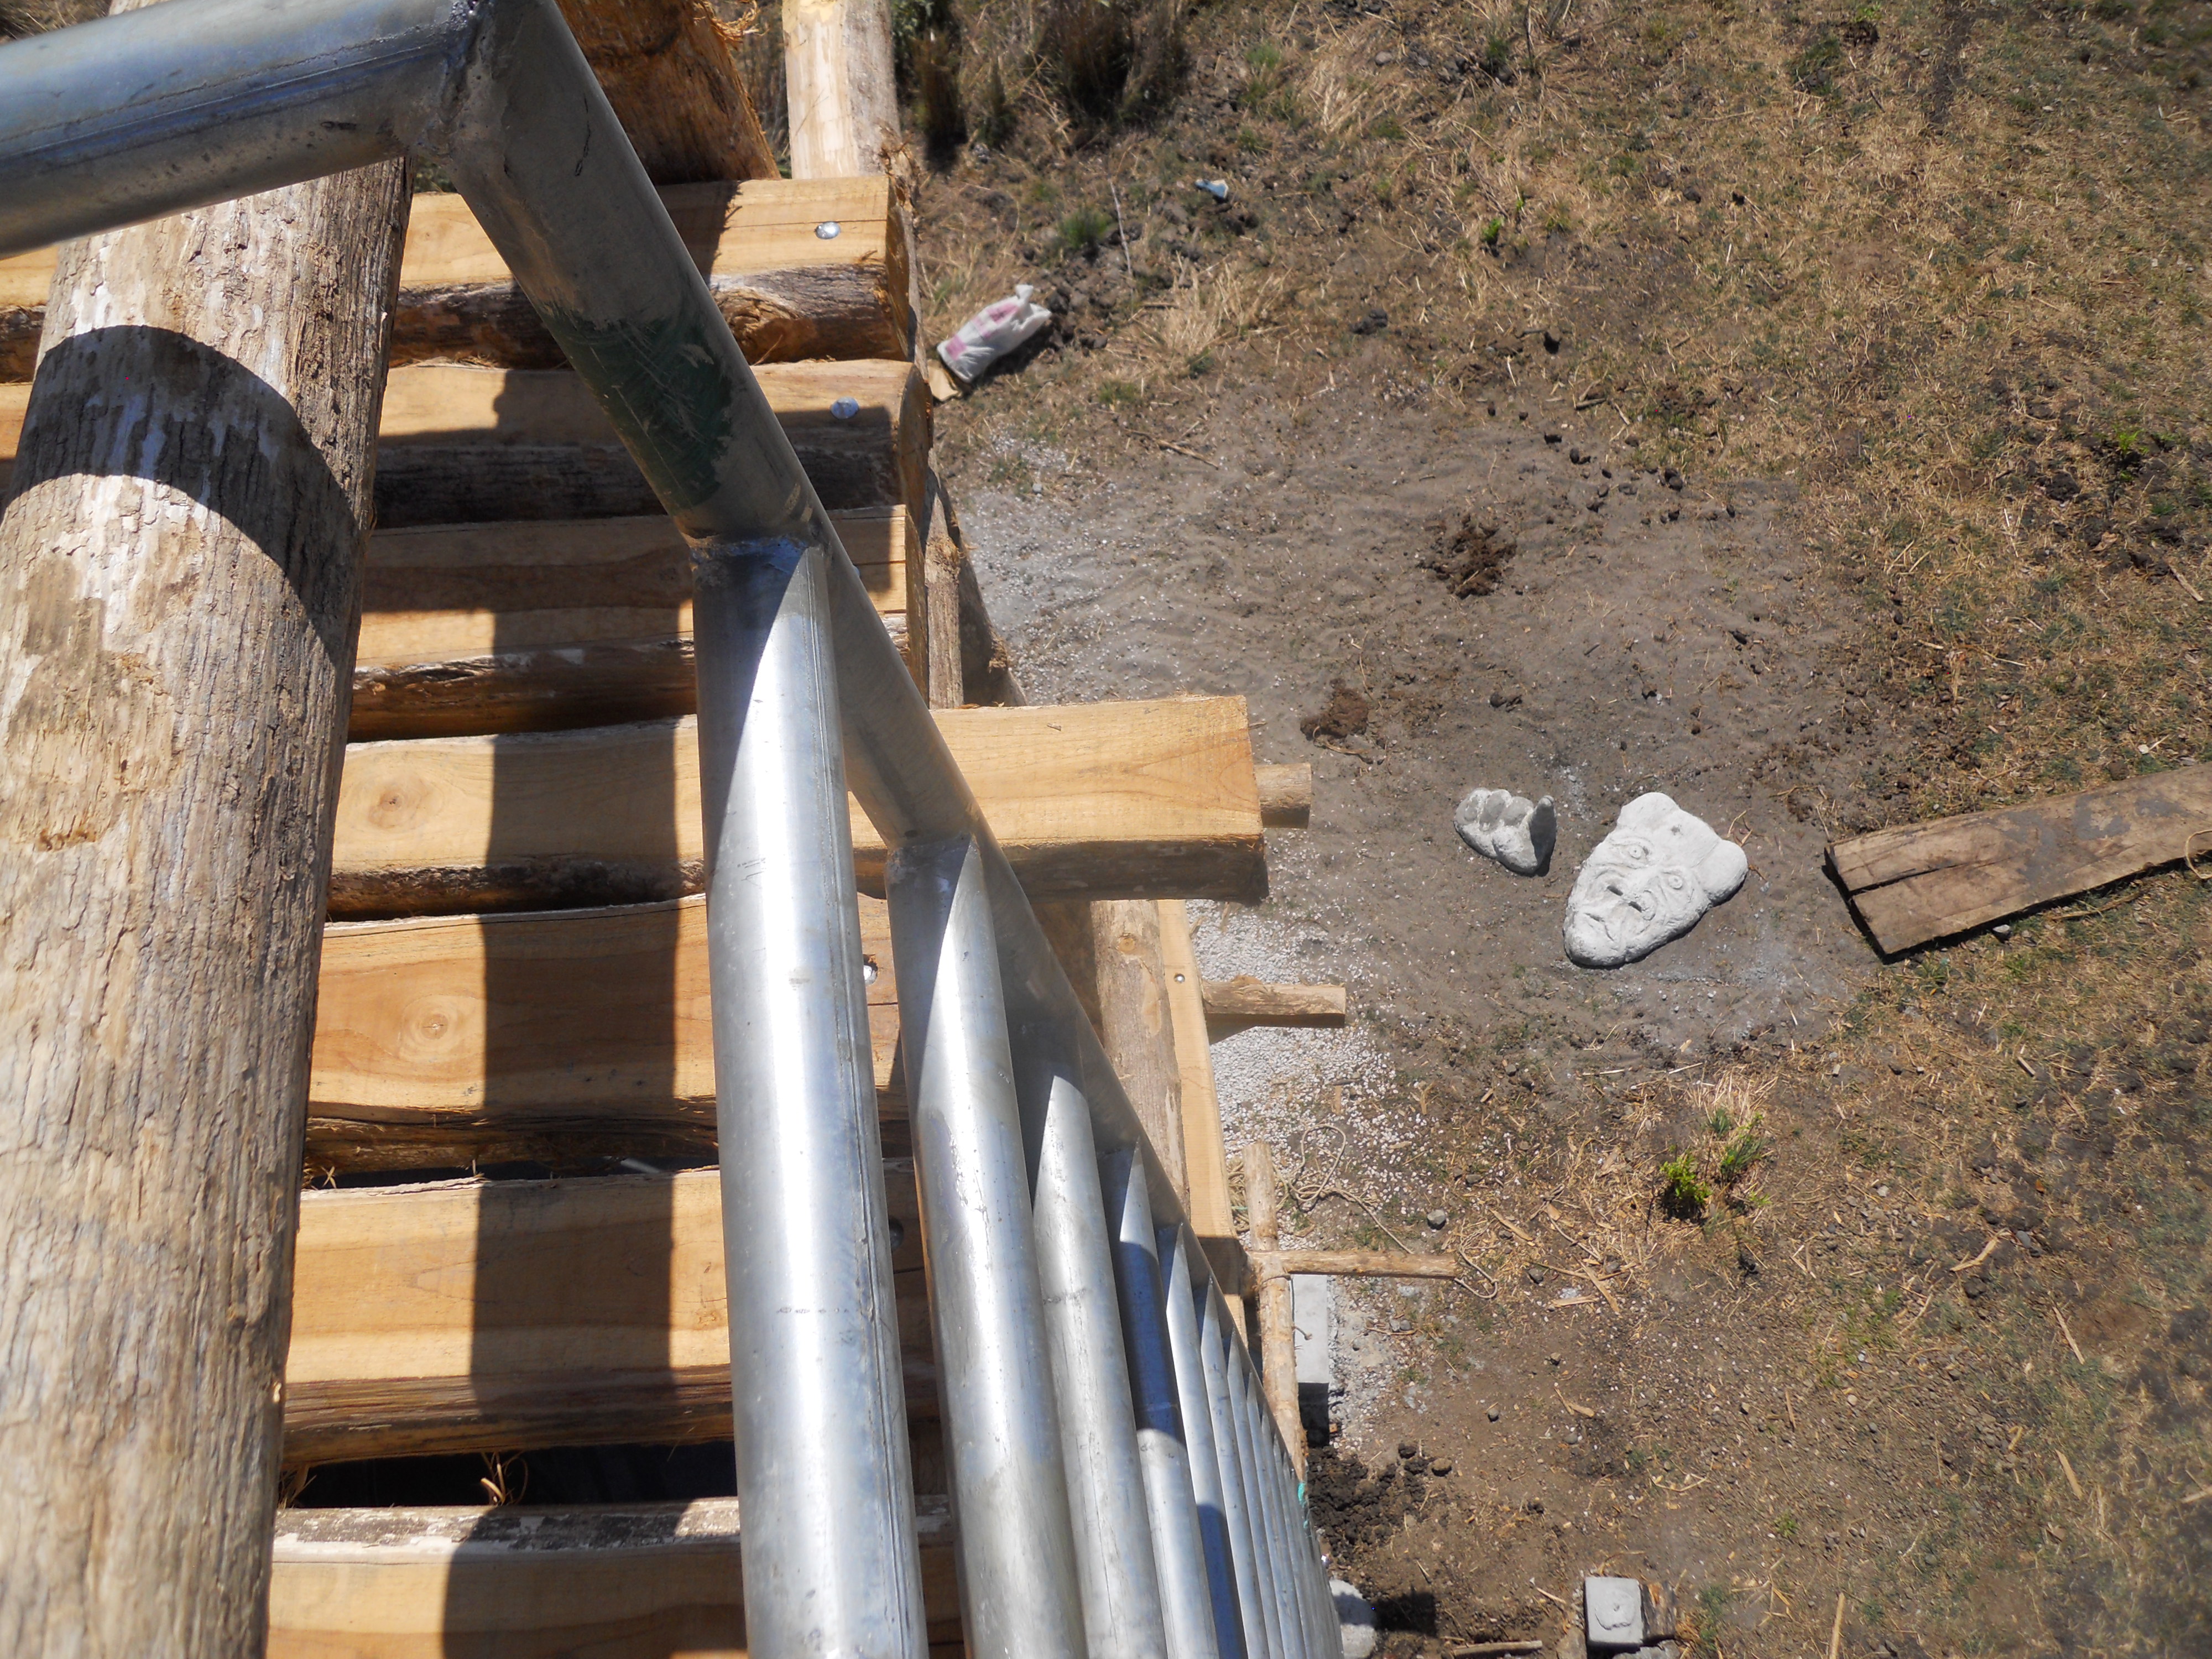
The pointing sculpture was made with leftover concrete from the foundation.
Gravity-fed water!!!!
