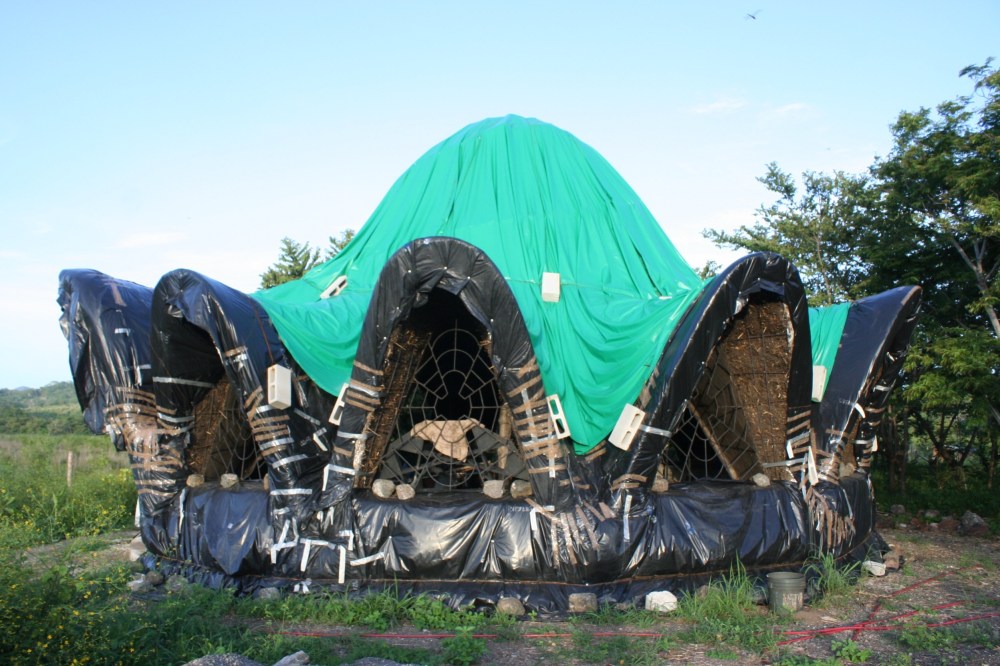
Until recently, I’d been very busy working on the project and a lot of time has passed since I last updated my blog so this entry is long overdue. I know you have been patiently waiting day and night to see the progress so I’m sorry for keeping you all in suspense for so long. Back in December of 2015, once the threat of rain had passed, we removed its “hat and raincoat”, repaired whatever damage the rain had caused, and continued where we left off–adding the missing cupola. In case you missed my last article about the mudding process, click here…
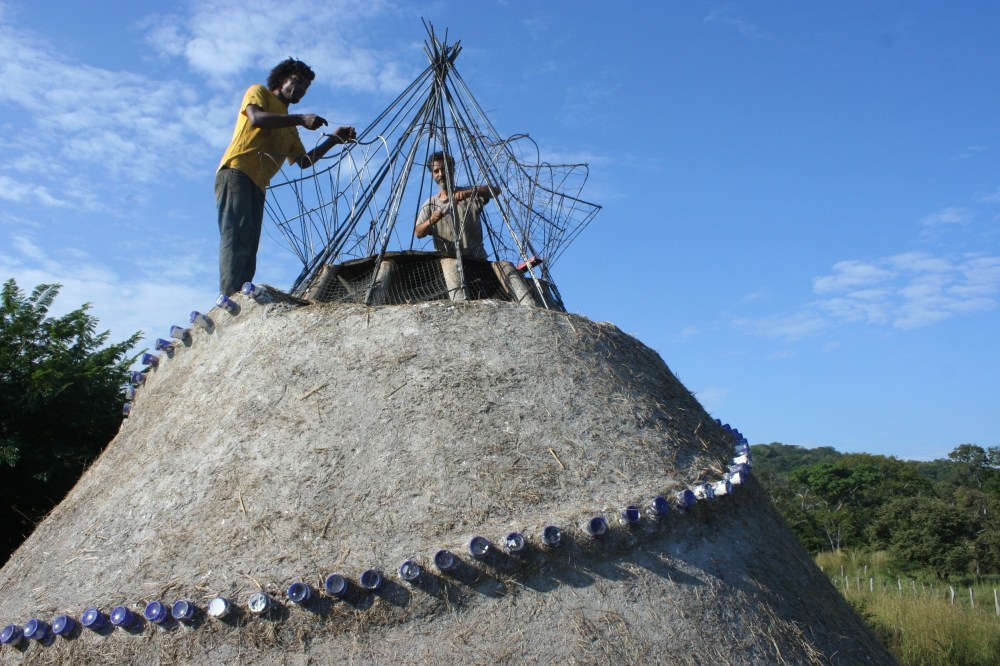
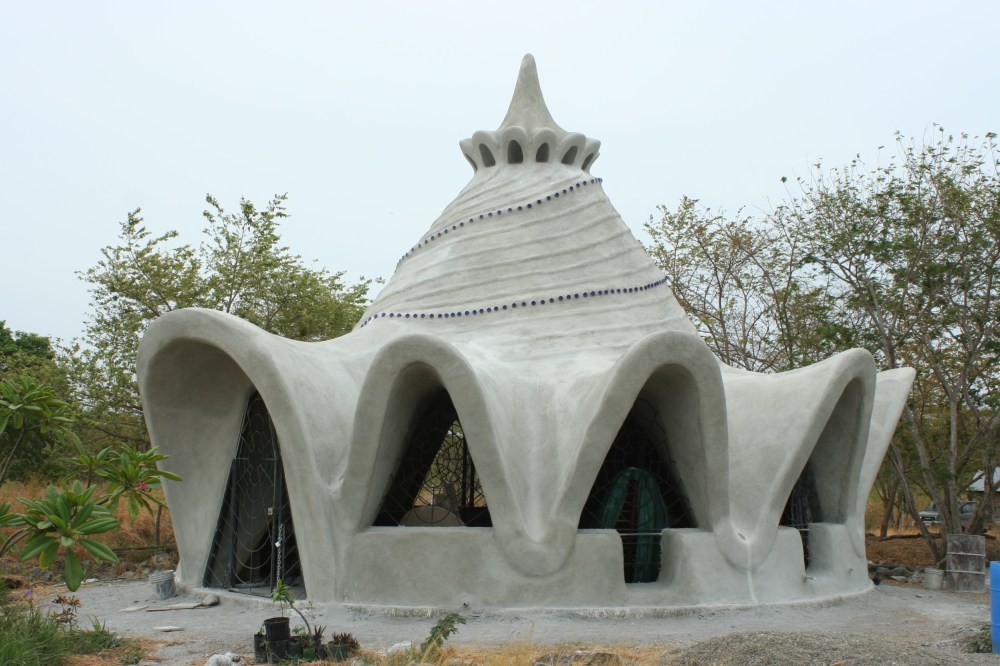
 Since time was no longer an issue, I opted for a slightly more complex design than I originally planned and decided to crown it with a miniature version of the house itself. The 12 arches (above and below) help promote ventilation by catching breezes from any direction, and allowing the warmer air to escape, keeping the house a comfortable temperature all year round without the need for air conditioning. Here’s a photo of us constructing the cupola’s skeleton…
After the mud-straw was applied to the cupola’s frame, I used it to define the spirals…
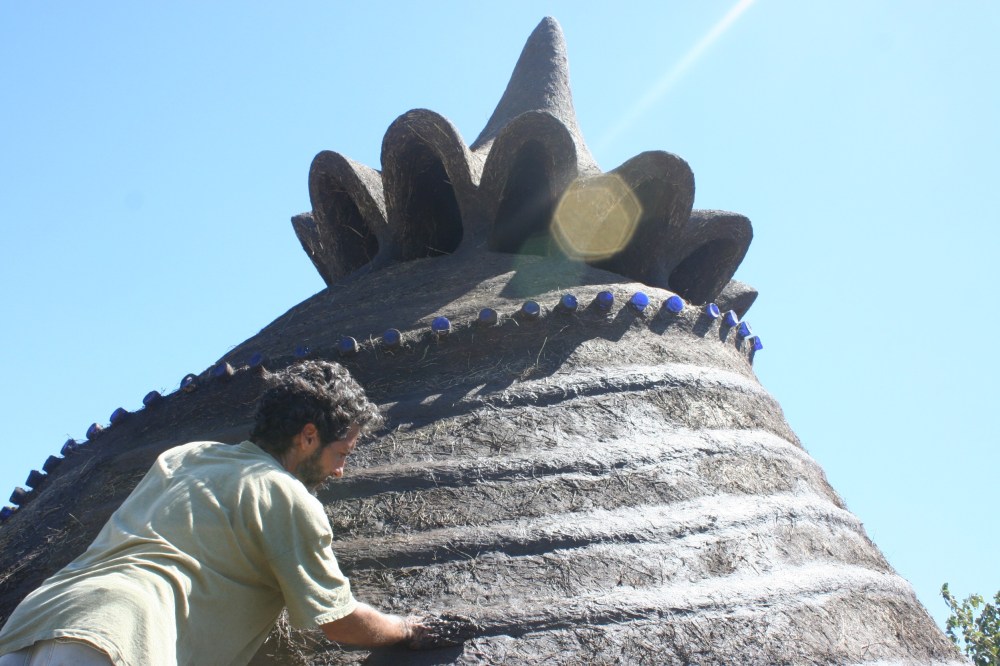
Here’s what it looked like after the spirals were sculpted but before the lime was applied…

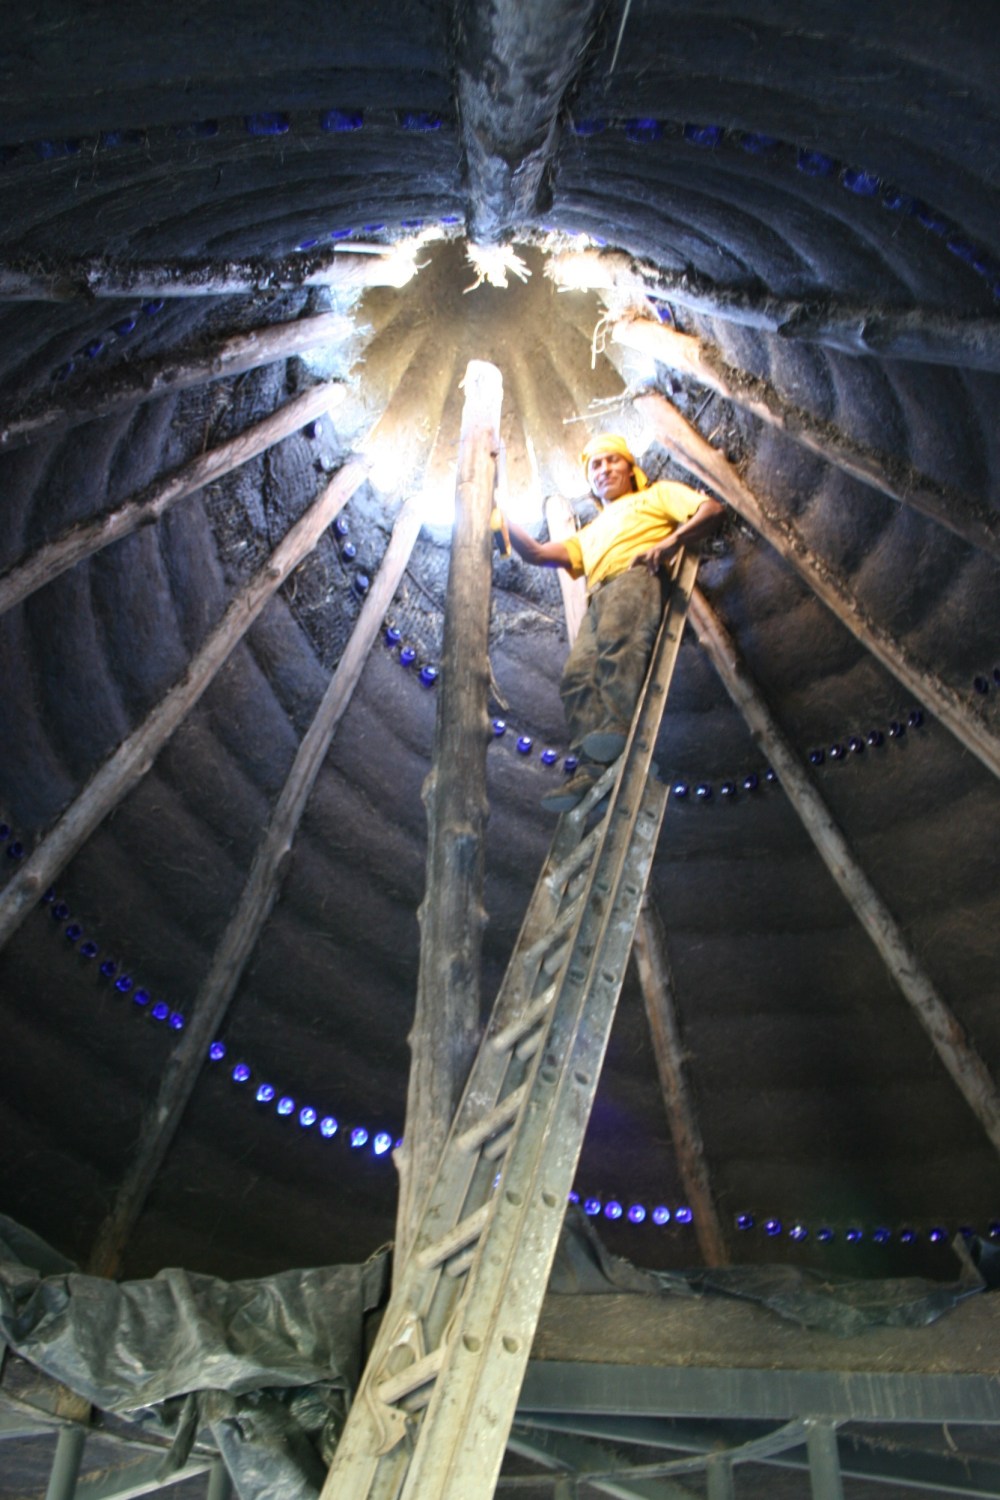
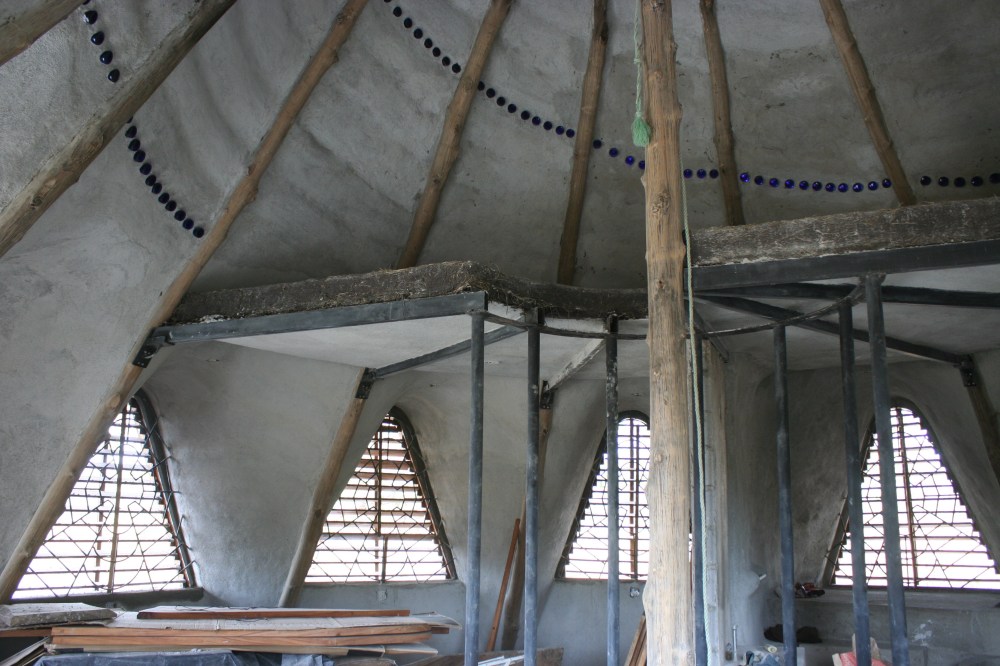
We were all very excited to see what the cupola looked like from the inside but couldn’t until removing the 4-foot plywood disk that was used to lean the teak poles against when building the initial tipi-like frame. This is what it looked like after removing the disk but before applying the mud to the inside of the cupola and blending it in with the spiralling walls…
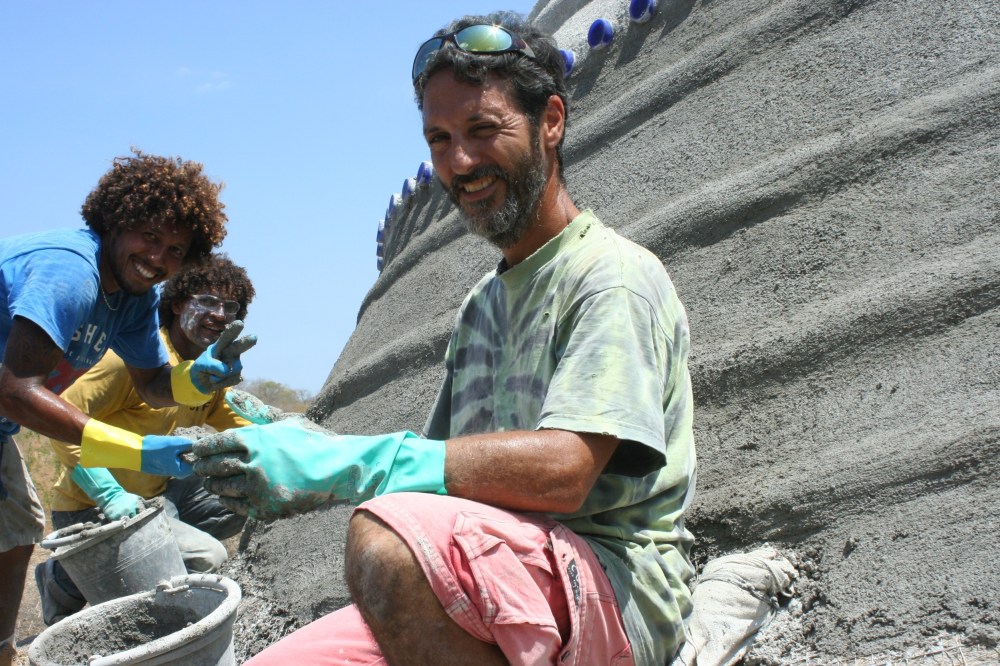
With the house restored/reincarnated to its former glory and the missing cupola/capstone installed, it was time to sheath it with a lime-sand plaster, as was traditionally used here in Costa Rica and many other places around the world. Besides filling in all of the small cracks and other imperfections in the mud-straw, this artificial limestone layer provides a hard and durable shell that helps to protect the mud-straw walls, creates an antiseptic, anti-fungal, caustic barrier to help keep out insects and rodents, allows the walls to breathe and expel water vapor. Lime has at least 30% less embodied energy than cement and is very compatible with earthen walls because it expands and contracts similarly.
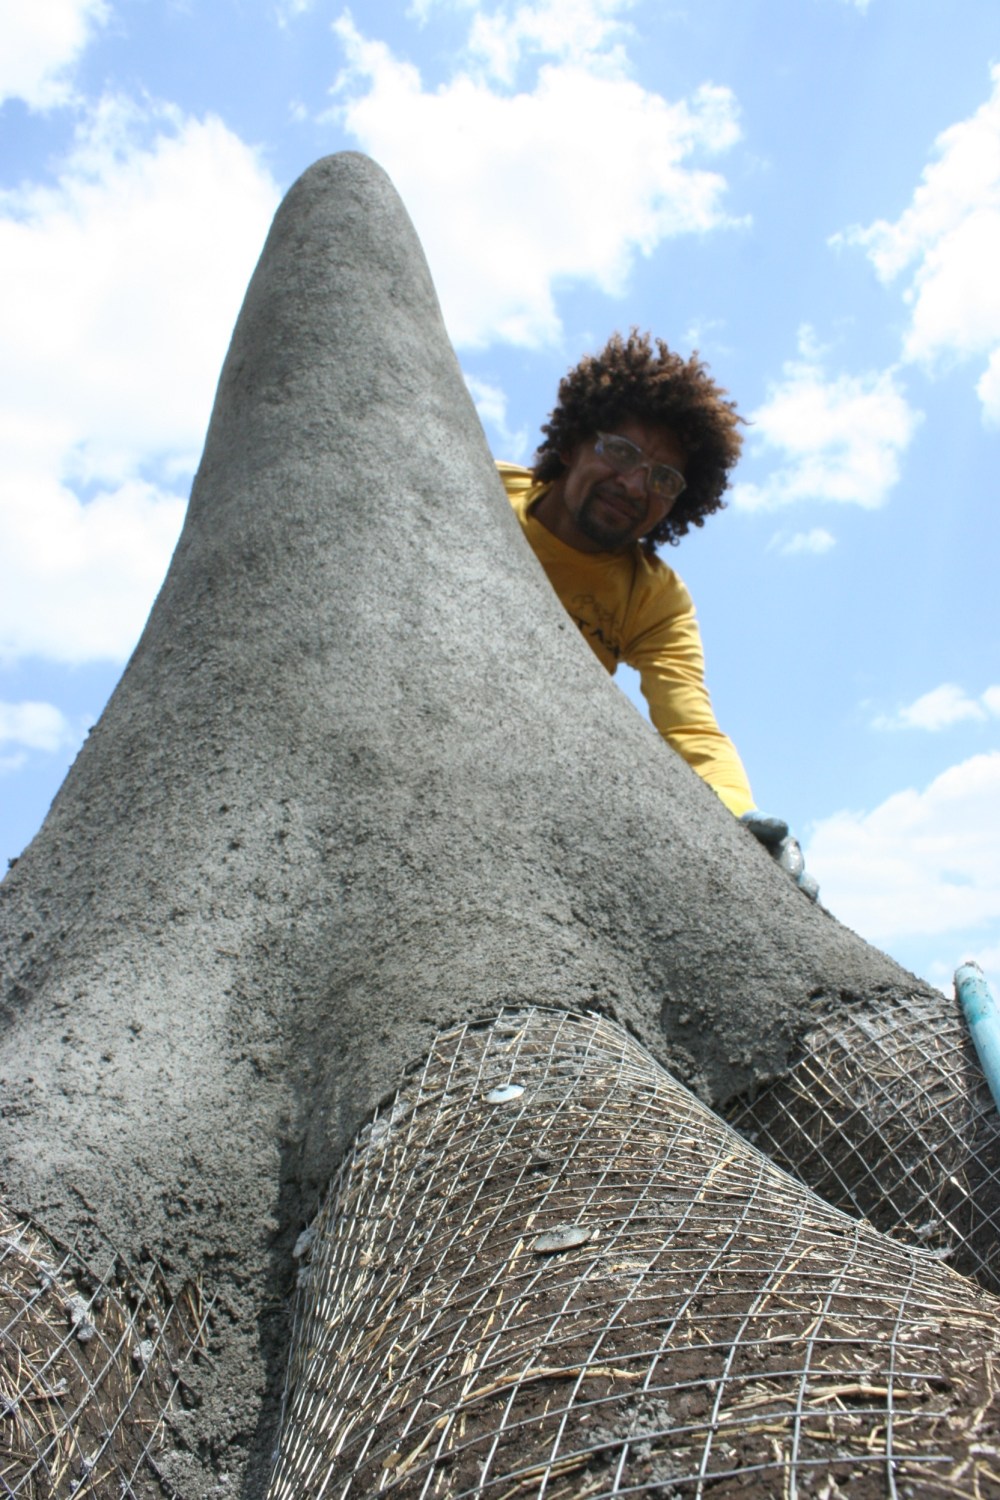
Although I didn’t use it on my mud hut in California, I opted to use a thin 1” metal mesh attached to the exterior of the mud walls with the same roofing nails I used to secure the plastic to protect it from the rain.
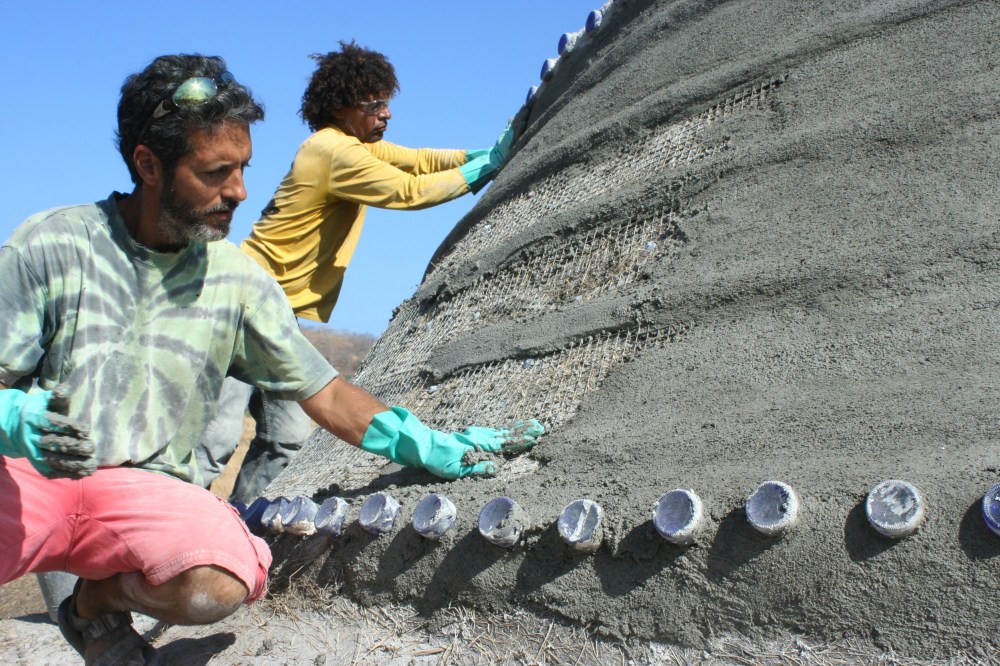
Seemed like a good idea to help the lime adhere to the outer earth layer since, although they are similar materials, they do expand and contract slightly differently. Plus, the local hydrated lime is not nearly as good quality as the fancy French hydraulic lime that I used for my last project, and the external shell is so important.
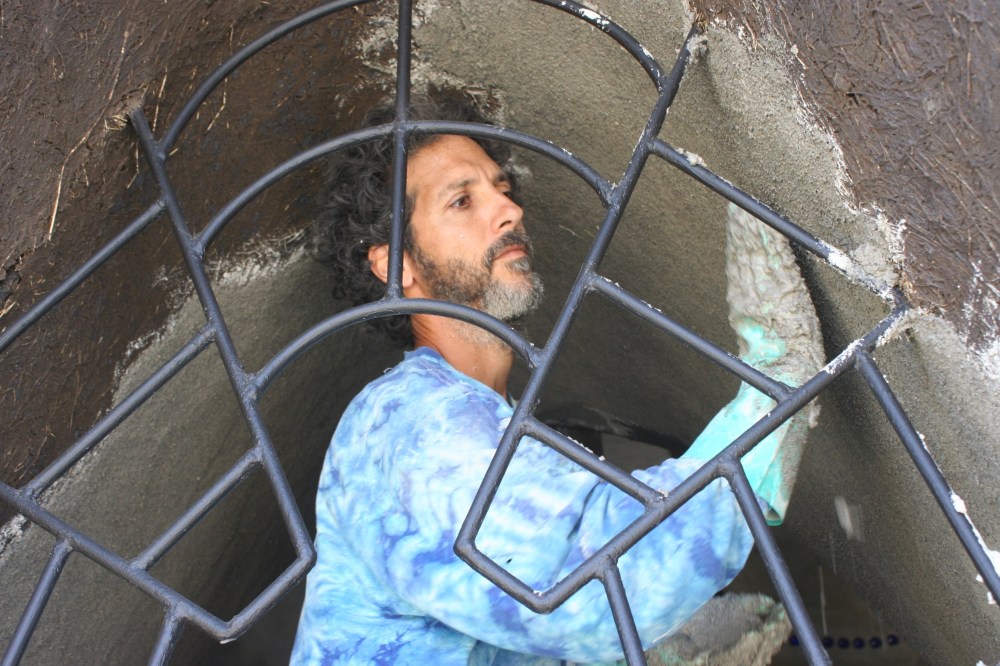
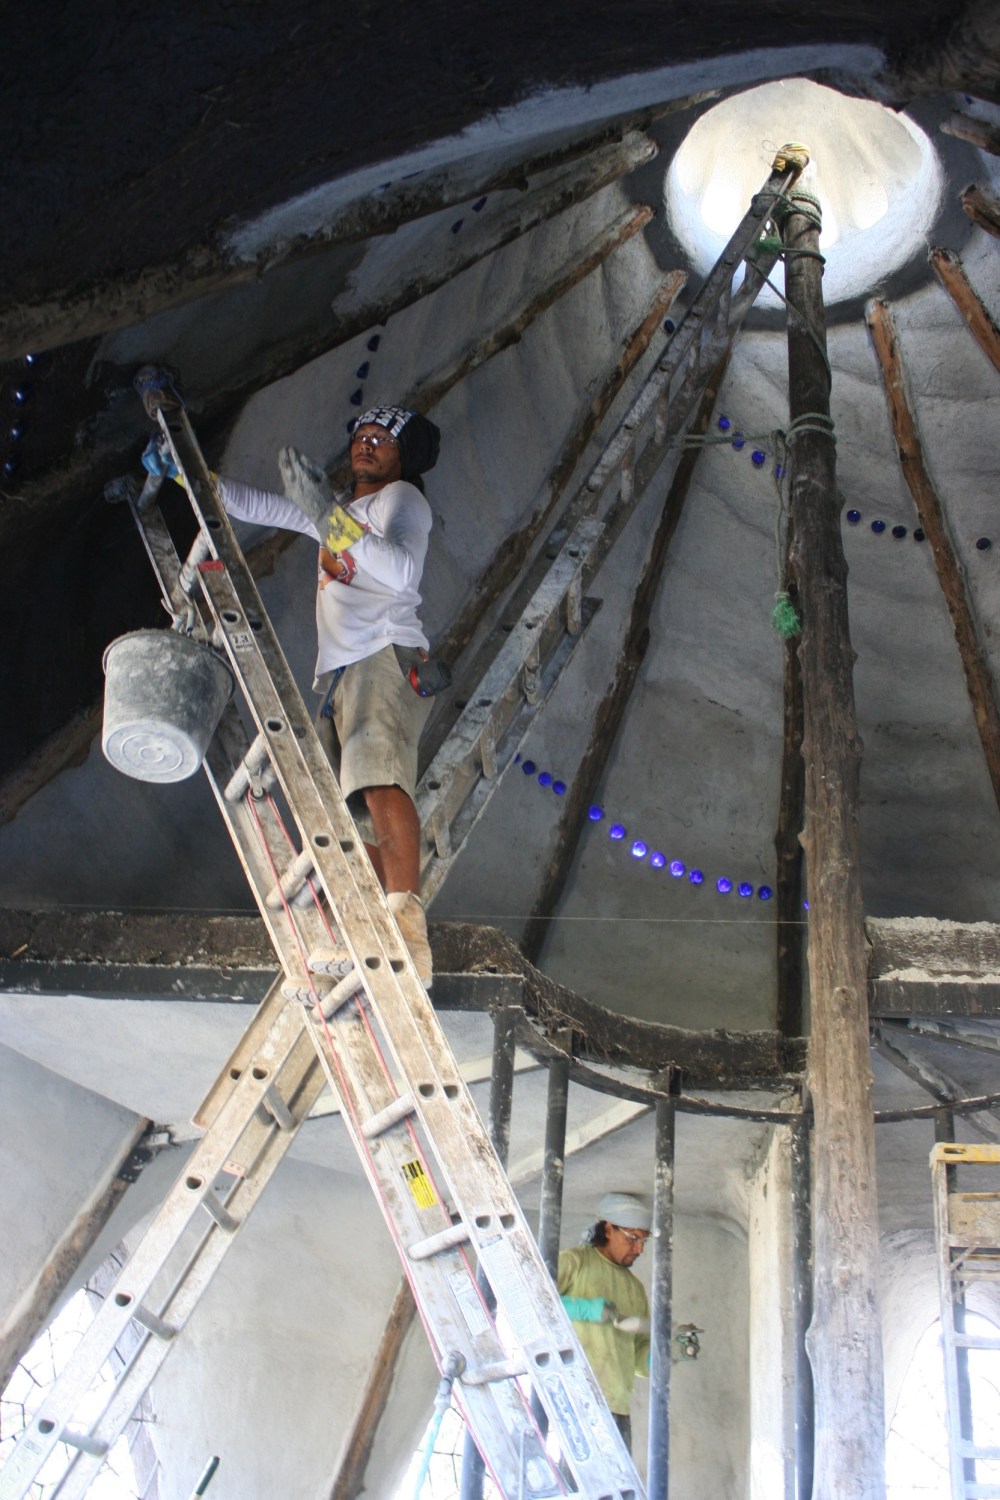
However, other than the underside of the loft, I didn’t bother to use any mesh on the inside… (Never mind the fact that I should have been wearing safety glasses, especially when lime plastering over my head, even though I was very careful.)
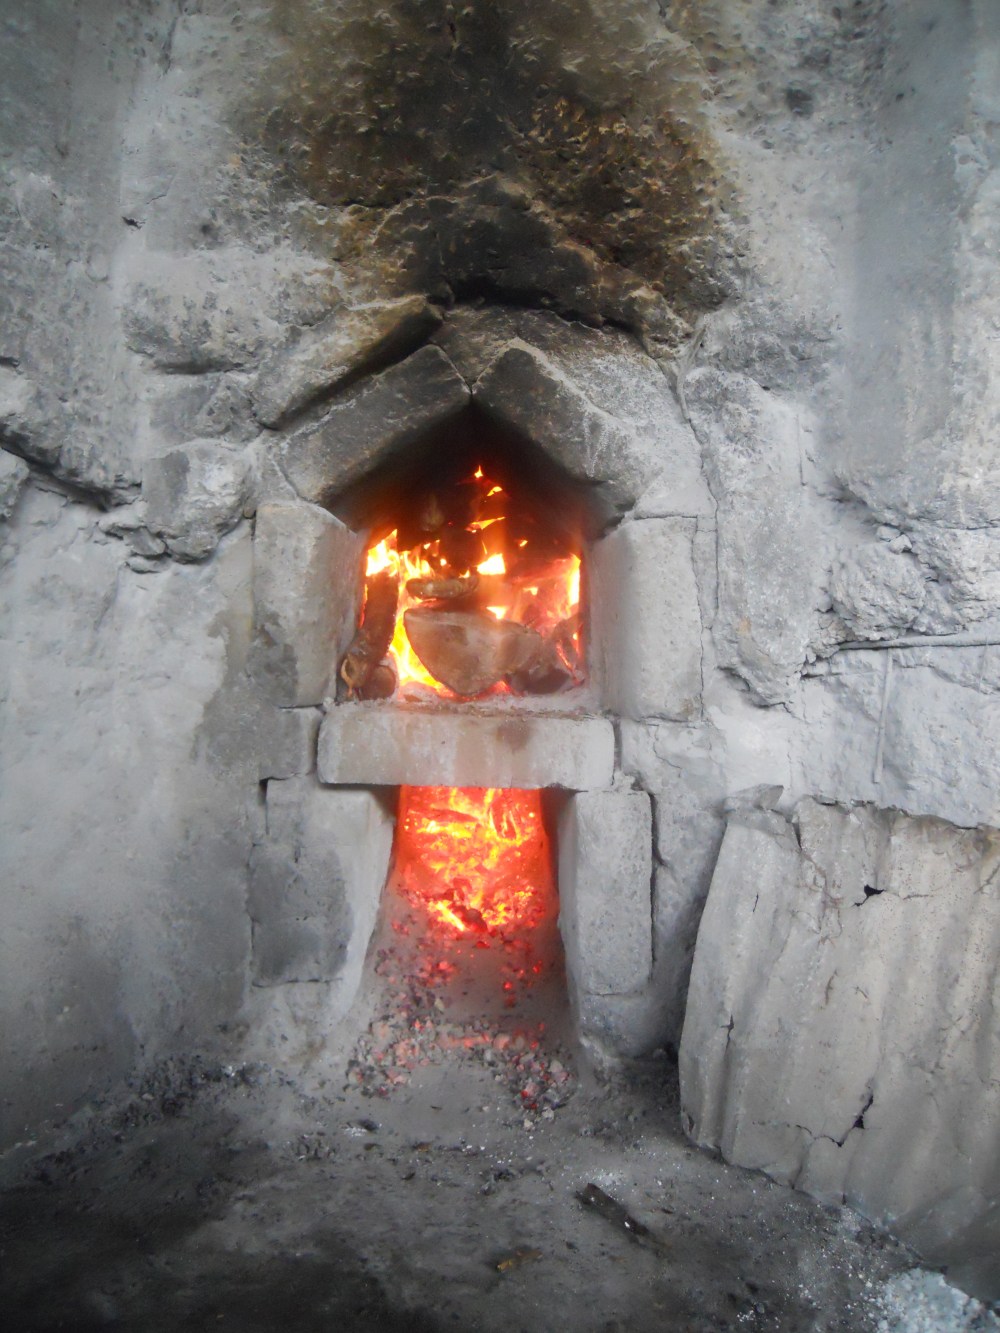
Hydraulic lime is simply not available here in Costa Rica and is prohibitively expensive to import. Besides, for sustainability and economic reasons, I preferred to use locally available materials. Here is a photo of one of the local lime factories…
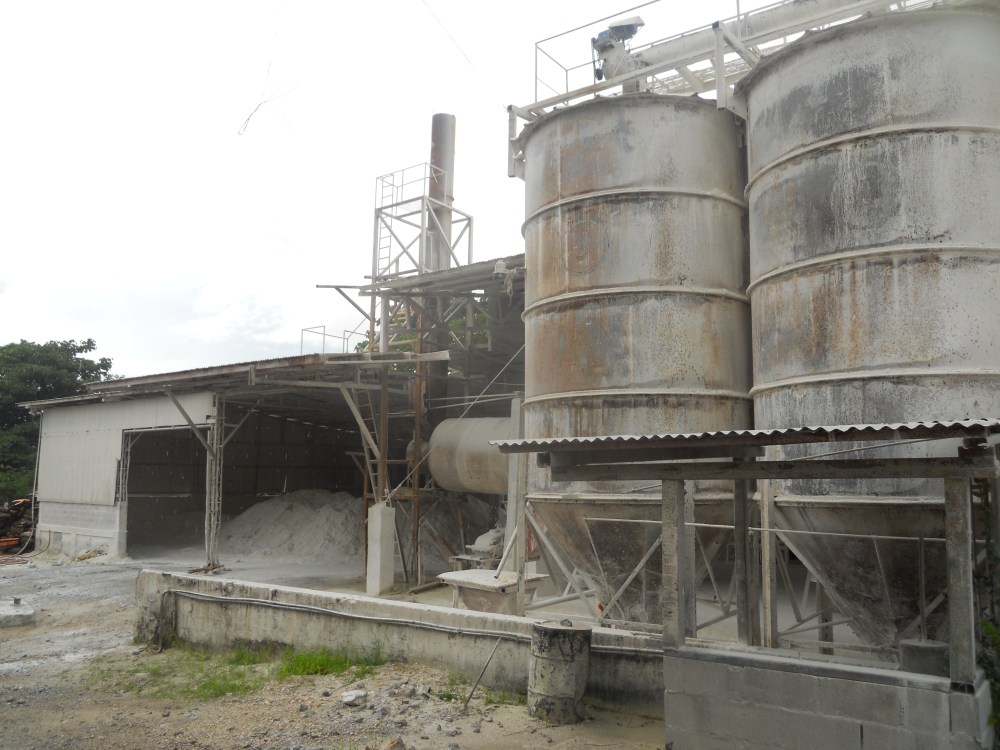
This is where the lime kiln is stoked with wood…
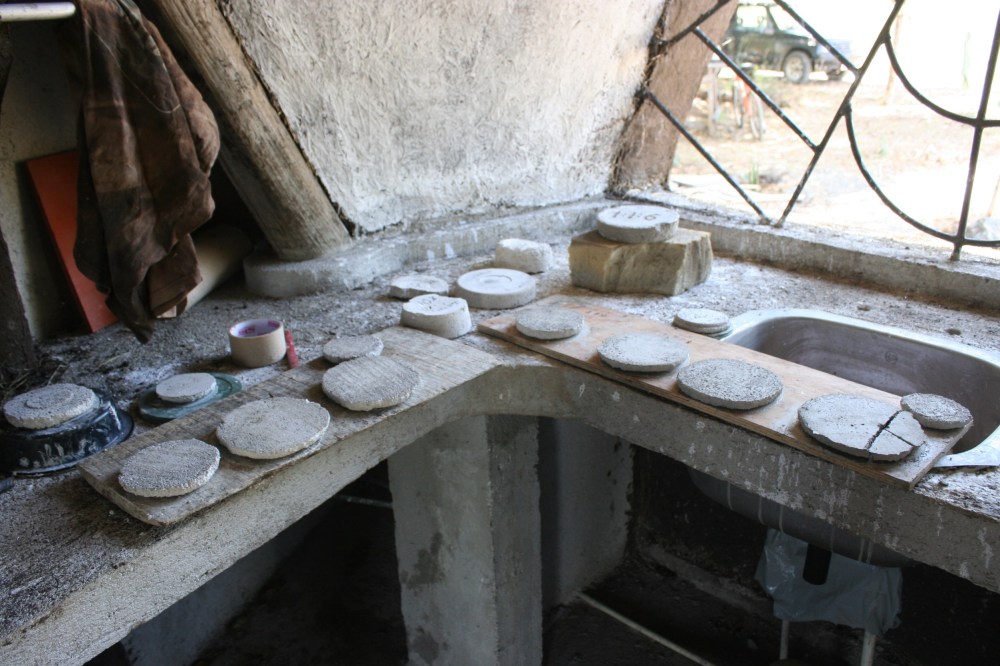
After doing some experiments with the local lime and sand, I found it to be so soft and brittle that I seriously wondered if I had bought chalk by mistake, or if the limestone rocks were not fired to a high enough temperature in the kiln (above 1,517 °F/825 °C) and hadn’t yet converted to calcium oxide/”quicklime”. Upon further investigation, I found that it was indeed lime, just not at all like the high-grade hydraulic lime I had used on my mud hut in California. True that it would have gotten harder over time, but after letting it dry for a few days before testing it, I was extremely worried that the plaster was going to be too soft and not adhere well enough. This wouldn’t have been a concern if it was protected by a conventional roof but, because it isn’t, a strong shell is crucial. After reconsidering importing natural hydraulic lime from Europe or possibly synthetic hydraulic lime from Mexico, I decided to modify the Costa Rican hydrated lime by adding some (hydraulic) cement, just as they do to make synthetic hydraulic lime–to make it harder and give it more hydraulic properties. Actually, although some natural builders might object, it’s very common to add cement to lime mortars and though it does add strength, it makes them less breathable and potentially more prone to cracking. I decided to take the risk.

Using a cement-sand plaster is a big no-no when it comes to rendering earthen walls because it expands and contracts differently, causing hairline cracks that allow water to penetrate, and the impermeable nature of the material prevents the water from escaping, leading to structural failure behind a pristine-looking fascade. Then again, another cause of structural failure is plastering roofless earthen homes with poor quality lime that easily disintegrates. I reasoned that, once the walls are painted on both sides, very little water vapor would be passing through so I decided to trade some breathability for strength. One always has to balance the advantages with the disadvantages, right?
After reading studies about the varying levels of breathability and doing a series of stress tests on plasters made with different ratios of lime and cement, I ended up deciding to amend the local lime by mixing two parts of it with 1 part cement and 9 parts of sand—a 1:2:9 ratio.
Based on Straube’s (2000) vapor permeability study, the 1:2:9 ratio I decided on would only have decreased the permeability by about 21%.
However, unbeknownst to me until much later, my hard-working and well-meaning helpers (thinking that it would be better) took the liberty of changing the ratio by using equal parts of lime and cement—a 1:1:6 ratio that improved the workability but decreased the permeability by about 61%–almost 3 times less!
I must admit that using equal amounts of lime and cement did make the plaster dry quicker and harder, allowing it to be applied easier and thicker, saving labor by requiring only two coats instead of three. Still, I was extremely irritated that they had done this, and was initially very concerned that the moisture within the walls would be trapped and eventually cause structural failure but decided to continue with the 1:1:6 ratio. Turns out, based on test results of the relative strengths of mortars*, the 1:2:9 mix I intended to use, could potentially have made the plaster weaker than one without any cement, due to the possibility of the cement separating from the lime.
*See English Heritage’s “The Smeaton Project”: http://www.buildingconservation.com/articles/cement/cement.htm
Thankfully, this is not an issue with a 1:1:6 ratio, which is certainly stronger (due to the extra cement), but far less vapor permeable. The question was and still remains, is it breathable enough? Only time will tell but my reasoning was that, once I painted the walls inside and out with a vapor permeable paint, not much vapor was going to be passing through anyway.
Here’s a photo of Carlos and Olman Espinoza plastering the interior…
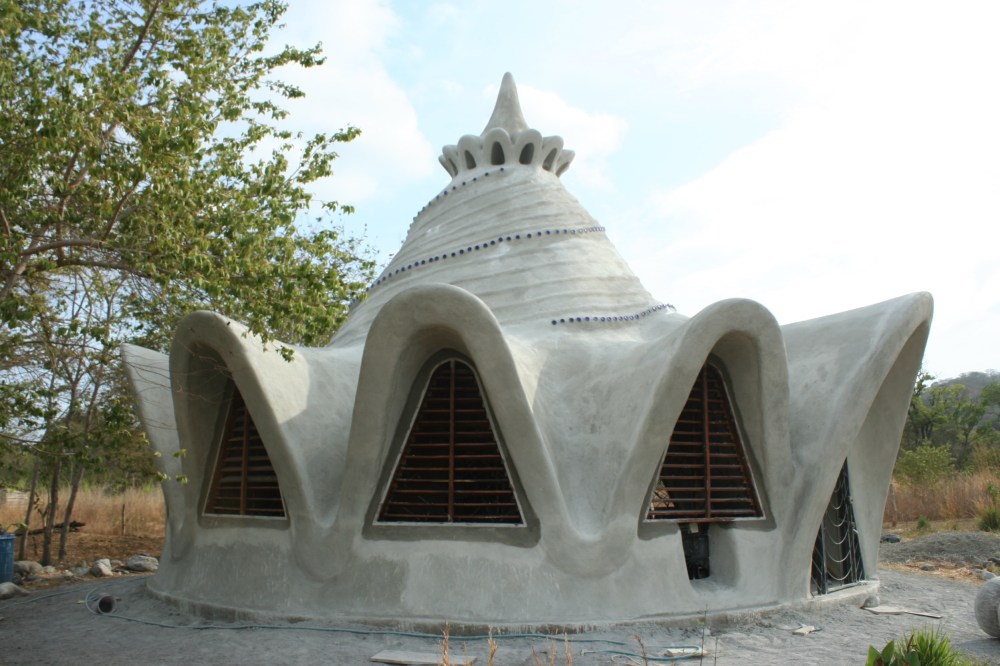
Though the lime-sand plaster looks gray when first applied, once it dries, it turns white…
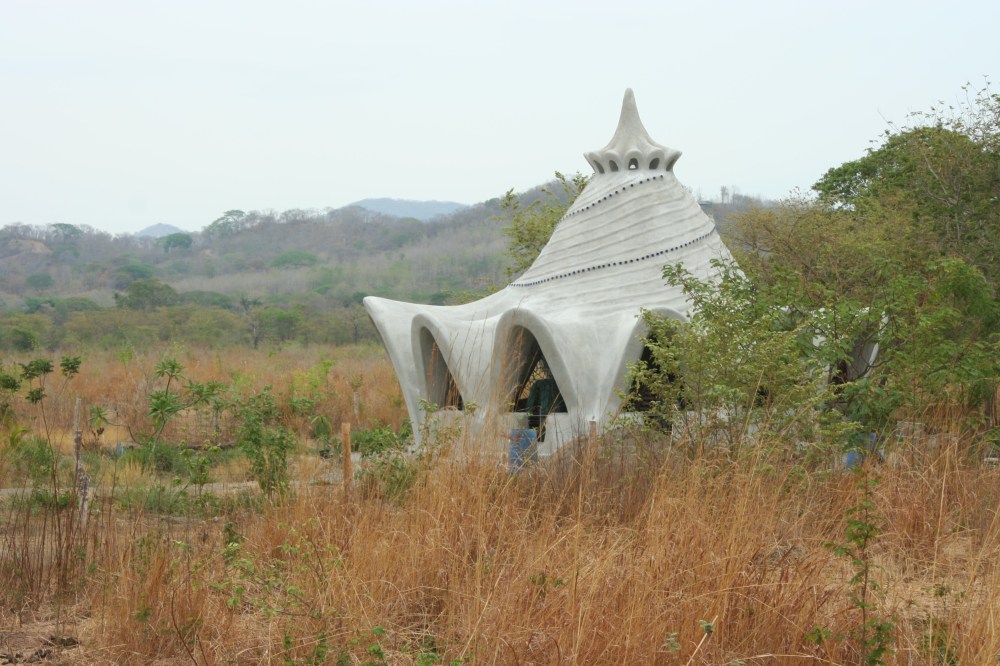
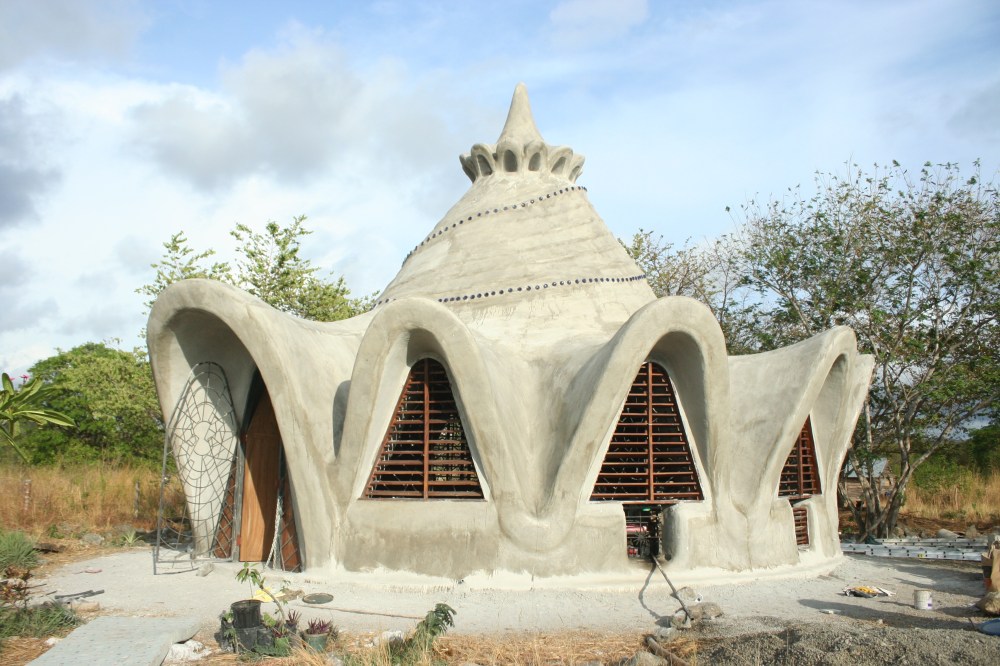
View from the west…
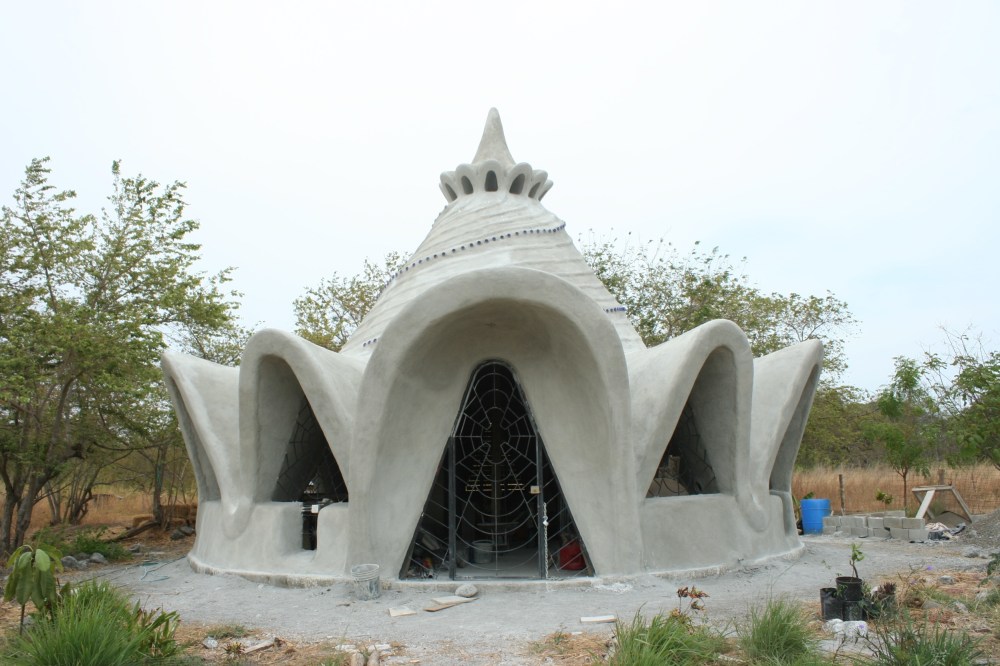
Entry view…
After a couple of coats of lime were applied, it was time to install the eleven sets of louvers into the rough openings. The louvers were made by “Chino”, a local carpenter, from a Guanacaste tree that fell close to where the home was built. To install them, we hammered nails halfway into the outside edges, braced them with some rope, and then limed them into place.

The louvers provide privacy and prevent rain from entering while allowing the much needed breezes (from any direction) to pass through the structure for great cross-ventilation. This is critically important when building in the tropics. People are always shocked when they experience how nice and cool it is inside, without any air-conditioning or even a fan, no matter how scorchingly hot it may be outside. Although Costa Rica currently uses 100% renewable energy, the use of air conditioning is not only expensive but an extreme burden on the electrical system (as it would be with an off-the-grid solar PV power system as well) and there are regular power outages as a result. To cut down on expenses and because the house will never need any A/C (which will also save us a lot of money whether we generate our own power or not), I decided to not bother installing any windows since the temperature never gets too cold here in this part of Costa Rica.
It’s normal for the lime to look a bit splotchy but the paint will soon solve that problem.
In the last couple of photos, you can see the two clean-out doors for the built-in compost toilets before they were mosaicked…
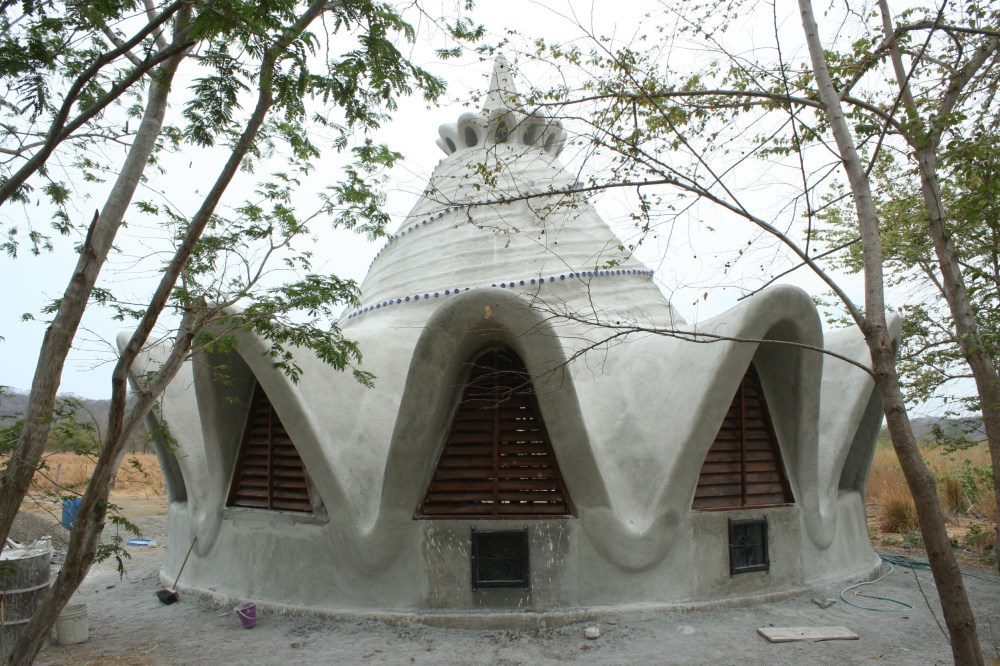
This is how it looked by the end of April, 2016…
In my next blog entry, I will show the finishing touches being applied to the structure: the front and bathroom doors, spiral staircase, kitchen and bathroom countertops and cabinets, shower, interior walls, built-in desk, ceramic tiling/mosaics, lower vents, and what it looks like after being painted…
